Disclosure: this article contains affiliate links. If you buy through them, we may earn a commission at no extra cost to you. How this works.
Short answer
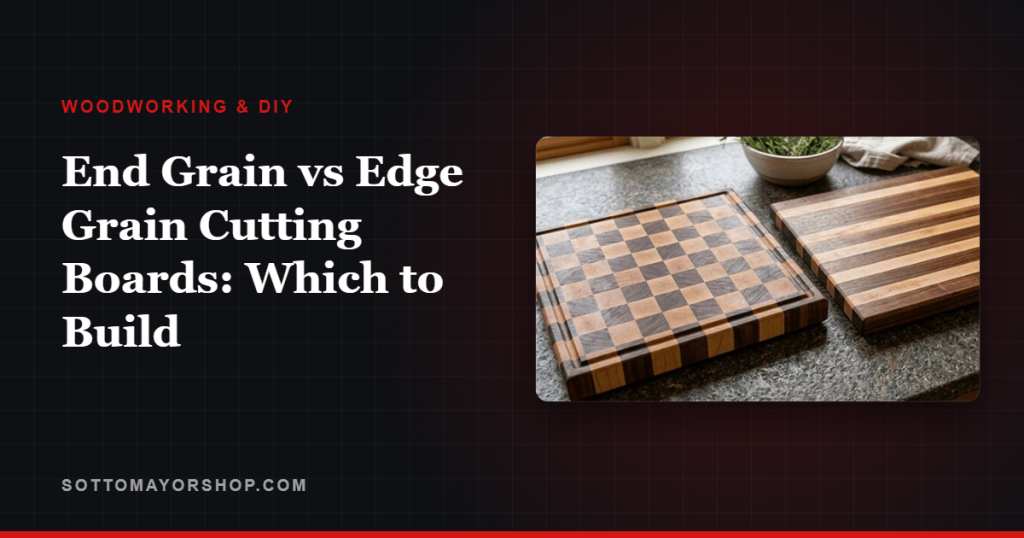
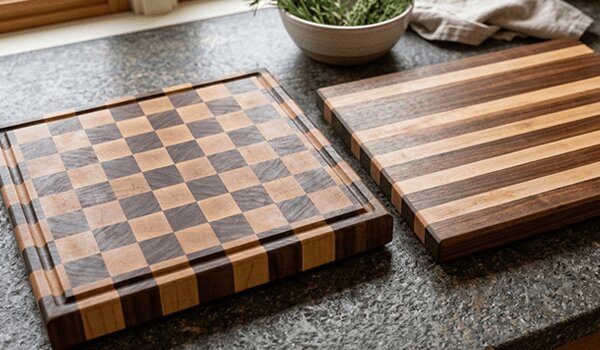
End grain vs edge grain comes down to how the wood fibers meet the knife. On an end grain board the fibers stand up like the bristles of a brush, so the blade slips between them; on an edge grain board they lie flat and the blade cuts across them.
End grain is kinder to knives and hides cut marks, but it takes two glue-ups and more care. Edge grain is the better first build: faster, lighter and very durable.
Cutting board plans with exact cut lists
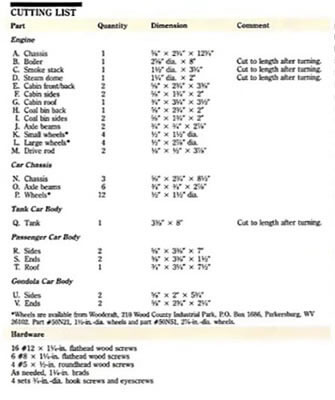
- 16,000 plans with step-by-step instructions, exact cut lists and materials lists
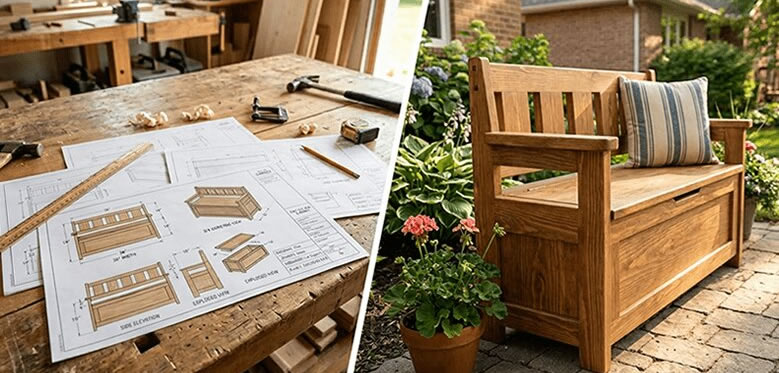
- Multi-angle drawings with exploded views of every joint
- Search by keyword or browse 100+ categories by difficulty
- New plans every month and a 60-day money-back guarantee
The difference in one table
| Edge grain | End grain | |
|---|---|---|
| Fiber direction | Along the board | Straight up toward the knife |
| Knife edges | Dull a little faster | Stay sharp longer |
| Cut marks | Show over time | Close up and mostly disappear |
| Build | One glue-up | Two glue-ups, plus flattening |
| Typical thickness | 3/4 to 1-1/4 in | 1-1/2 to 2 in |
| Care | Oil now and then | Oil more often; can crack if it dries out |
Pick a wood that suits a kitchen
Closed-grain hardwoods are the classic choices. Hard maple is the standard, with a Janka hardness rating of about 1,450; black walnut (about 1,010) and cherry (about 950) are a little softer, easier on knives and beautiful together in a striped board.
Open-pored woods such as red oak are a poor match for a cutting board, because their pores trap moisture and food. Leave exotic hardwoods for other projects too; several are known skin and respiratory irritants.
Buy boards that are straight and dry. A board that is still moving will pull a glue-up out of flat, a problem explained in wood movement.
Glue and clamping
Use a water-resistant (Type II) or waterproof (Type I) wood glue. Some glue makers state that their water-resistant glues are approved for indirect food contact; check the label of the bottle you buy.
Cutting boards are all long-grain glue joints on the first glue-up, and those are stronger than the wood itself when the surfaces are fresh and the clamps bring out an even bead of squeeze-out. The routine in wood glue and clamping applies line for line.
Building an edge grain board
- Rip strips about 1-1/2 inches wide from boards of the same thickness.
- Arrange them for color and grain, and mark a big triangle across the top so the order survives the glue-up.
- Glue edge to face, clamp flat, and alternate the clamps above and below the panel to keep it from bowing.
- Flatten, sand through the grits to 180 or 220, and round over the edges so they do not chip.
Building an end grain board
- Glue strips into a panel, exactly as for an edge grain board.
- Crosscut the panel into slices 1-1/2 to 2 inches thick, using a sled and a stop block so every slice matches.
- Turn every other slice end for end to make the checkerboard, then glue the slices together.
- Flatten with a router sled or a drum sander. Never run end grain through a thickness planer: the trailing edge can blow out, and the board can be thrown.
- Sand carefully; end grain drinks up sanding scratches and shows every one.
The finish that keeps it food-safe
Food-grade mineral oil is the standard: flood it on, let it soak in, wipe off the excess, and repeat until the wood stops drinking. A board butter of mineral oil and beeswax adds a little water resistance on top.
Leave olive and other cooking oils in the kitchen. They can turn rancid in the wood. Film finishes such as polyurethane look good on day one and chip under a knife on day ten.
Hand wash, dry the board on its edge, and never put it in the dishwasher. Re-oil whenever it looks dry. More on why oil suits a surface like this is in choosing a wood finish.
Where to start
If this is your first build, make an edge grain board — it is the first project in our weekend project list for a reason. Make the end grain board second, when the glue-ups feel routine.
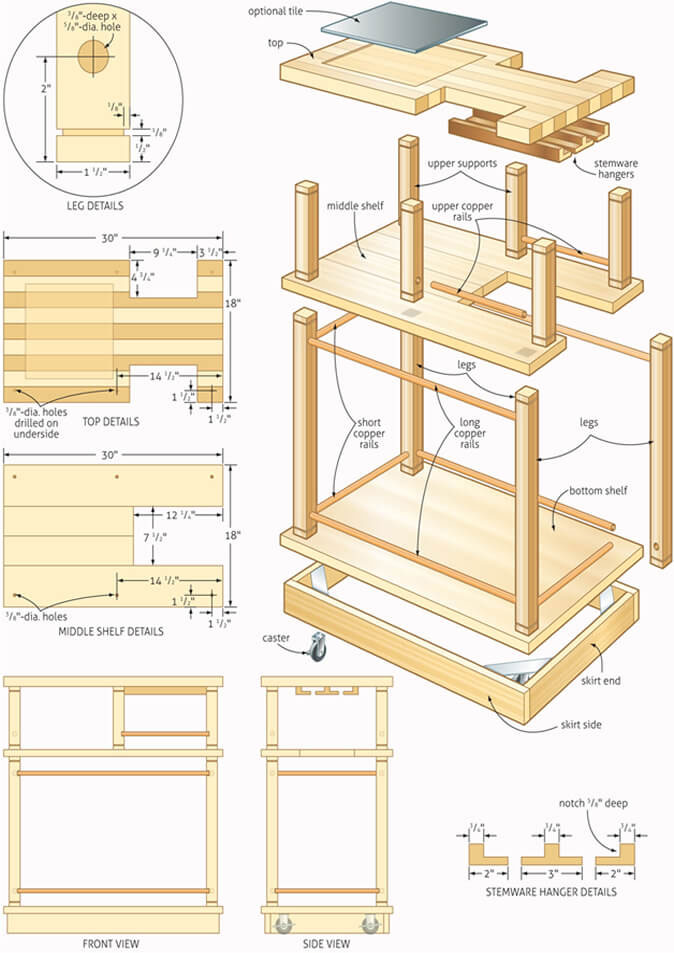
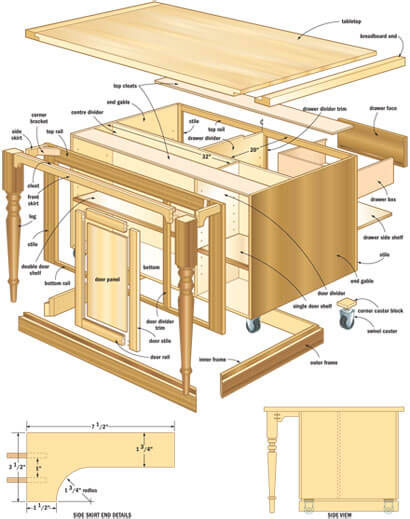
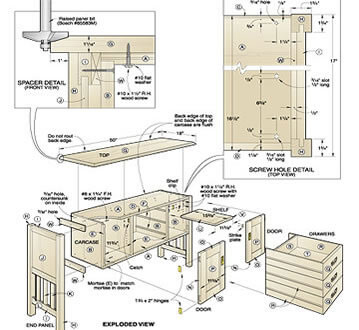
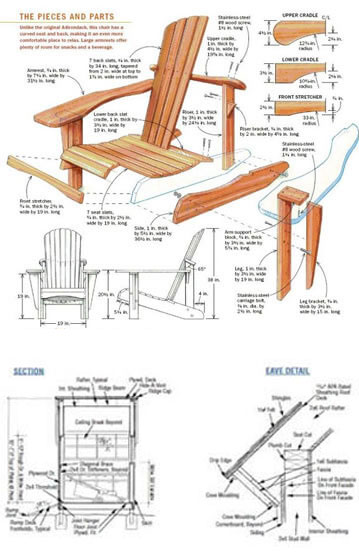
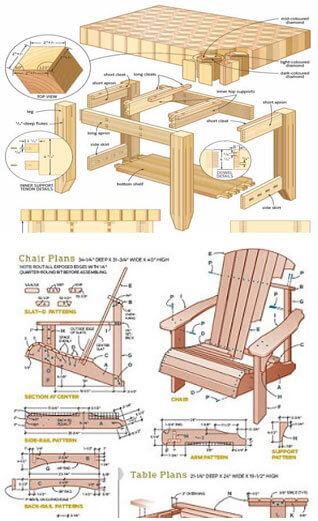
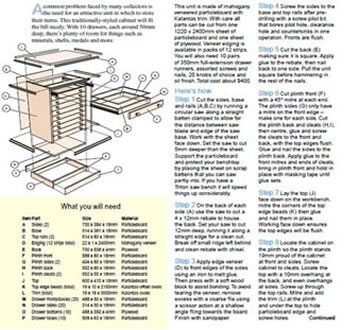
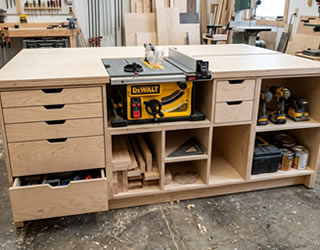
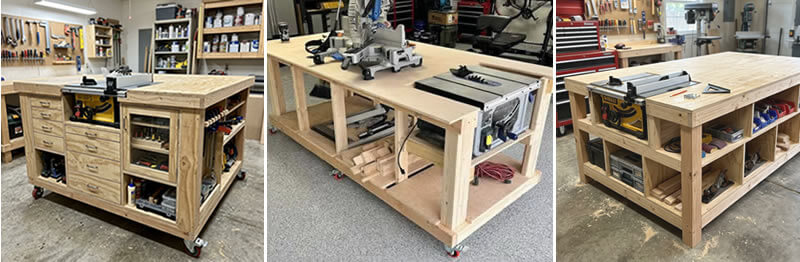
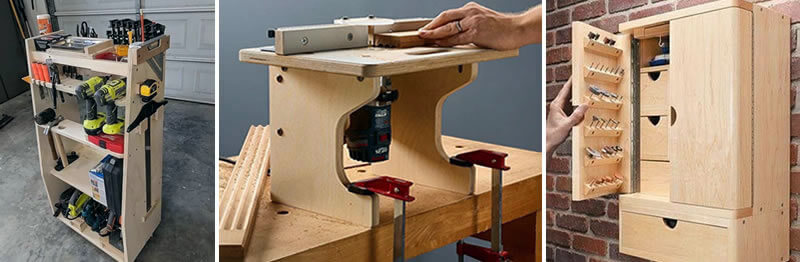
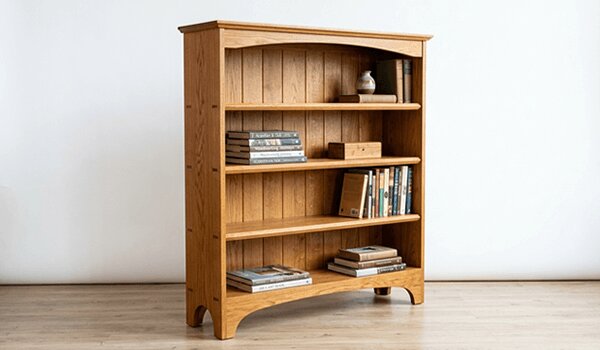
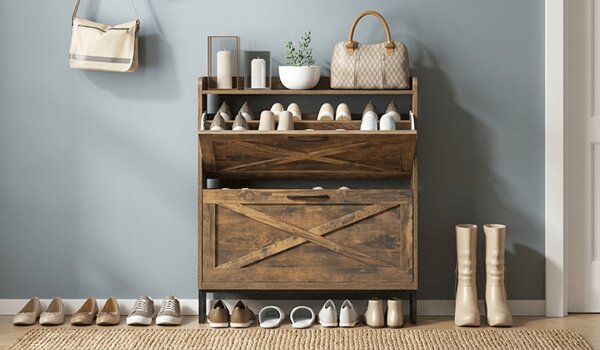
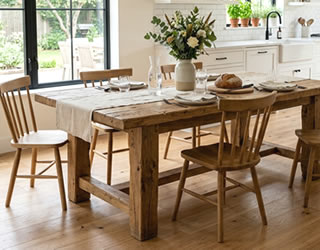
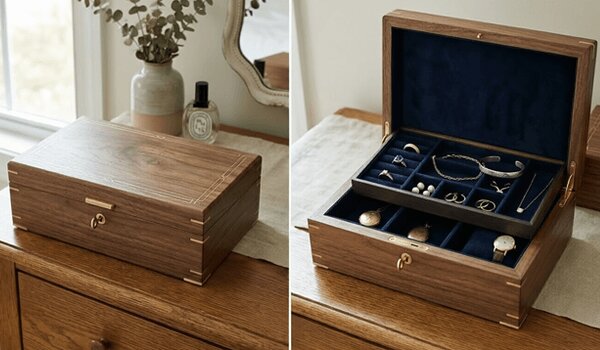
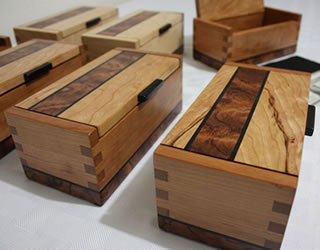
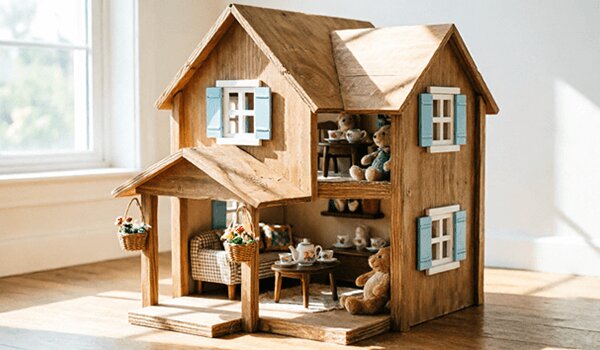
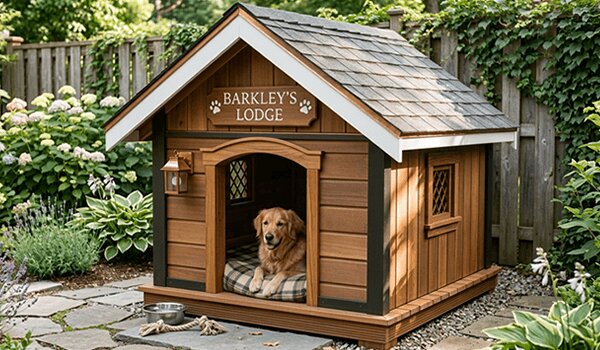
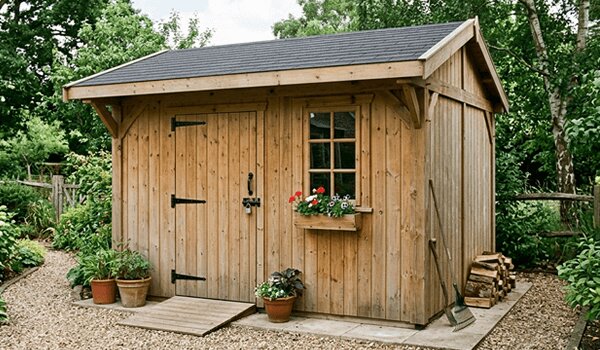
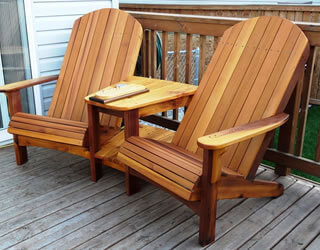
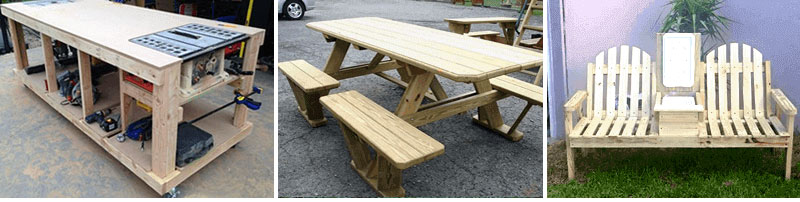
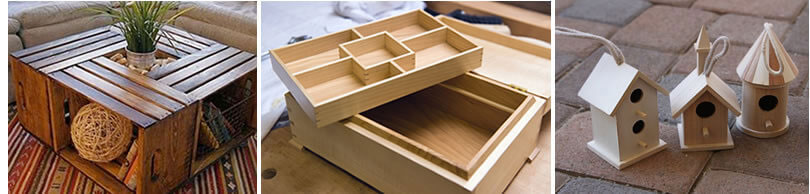
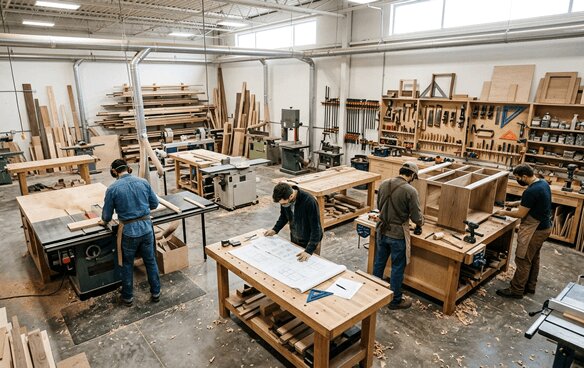
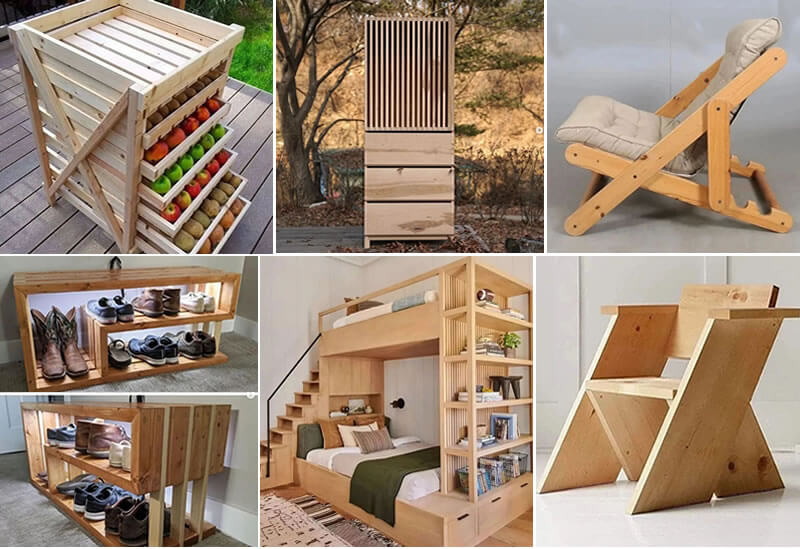
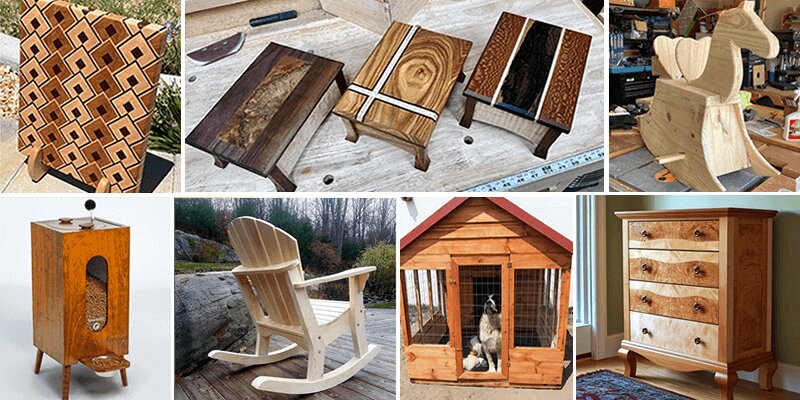
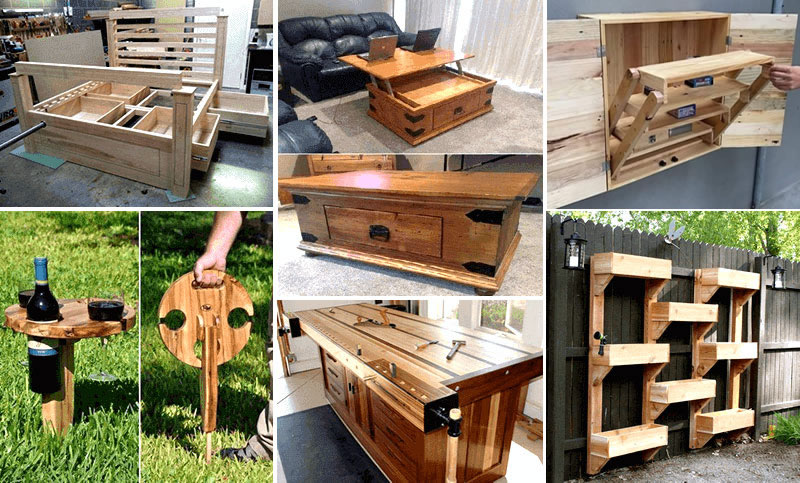
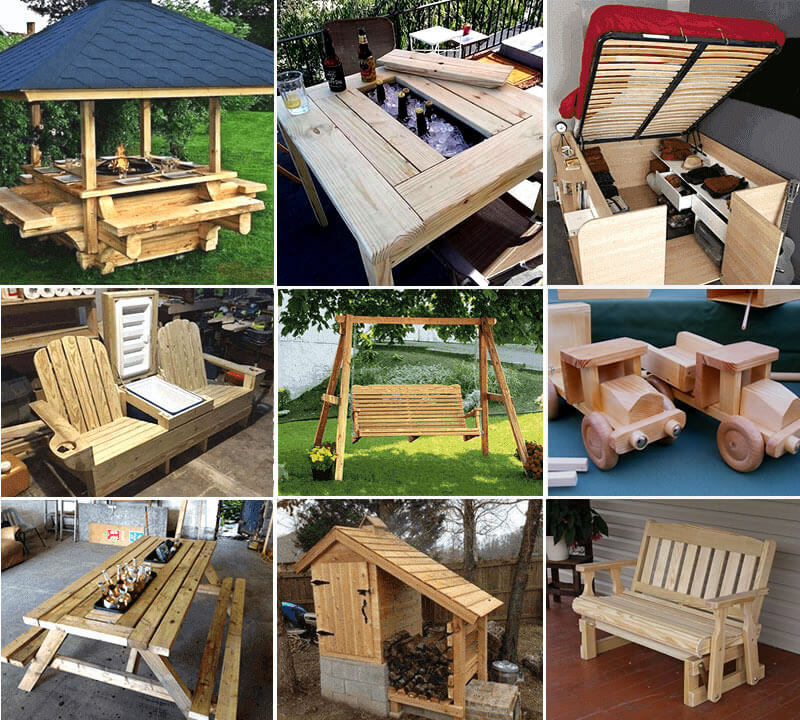
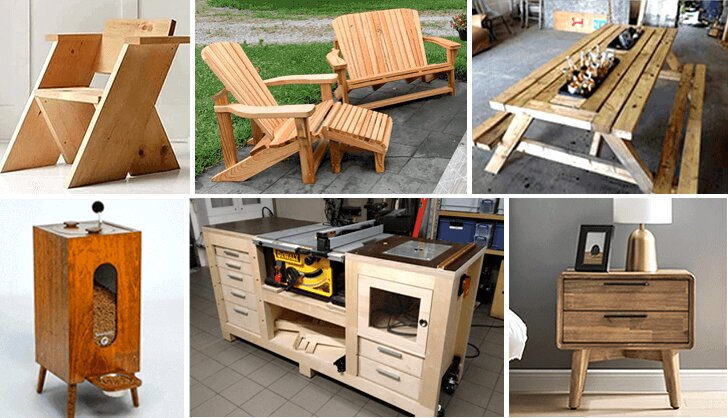
TedsWoodworking lists more than 1,250 plans in its Kitchen & Dining category, cutting boards among them, and every plan in its 16,000-plan library comes with step-by-step instructions, an exact cut list and a complete materials list.
A look inside TedsWoodworking



FAQ
Is end grain better than edge grain?
It is kinder to knives and better at hiding cut marks. It is also harder to build and needs more oil. For a first board, build edge grain.
What wood is best for a cutting board?
Hard maple is the classic: dense, closed-grained and light in color. Walnut and cherry are a little softer, still excellent, and easier on knives.
How thick should an end grain cutting board be?
1-1/2 to 2 inches. Thinner end grain boards are more likely to crack.
How often should I oil a cutting board?
Whenever it looks dry or water stops beading on it — often about once a month for a board in daily use, more often for end grain.
Next step
Choose the wood and the grain tonight. For a first board, go edge grain in maple or walnut, and plan the strips before you buy.
Based on standard cutting-board construction practice, on published Janka hardness ratings for hard maple, black walnut and cherry, and on common food-safe finishing guidance. Product details for TedsWoodworking are from the vendor’s published offer page as of September 29, 2026.