Disclosure: this article contains affiliate links. If you buy through them, we may earn a commission at no extra cost to you. How this works.
Short answer
Wood glue and clamping fail together, almost always for one of three reasons: the joint did not fit before glue went near it, the glue skinned over before the clamps went on, or the clamps squeezed the joint dry.
A properly glued long-grain joint is stronger than the wood around it. If a glue line breaks, the fit or the process was wrong, not the bottle.
Plans that show every joint before the glue-up
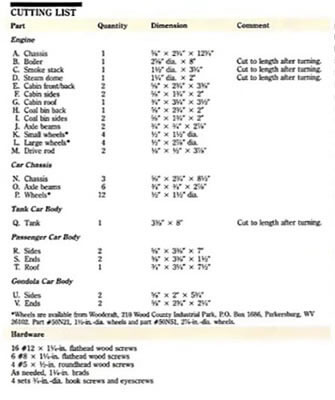
- 16,000 plans with step-by-step instructions, exact cut lists and materials lists
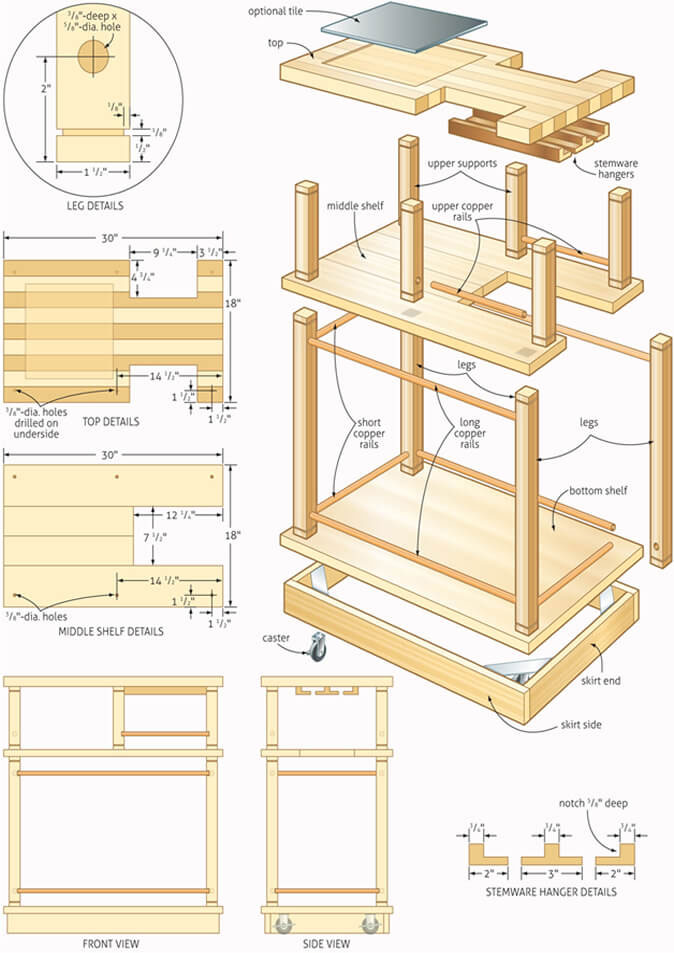
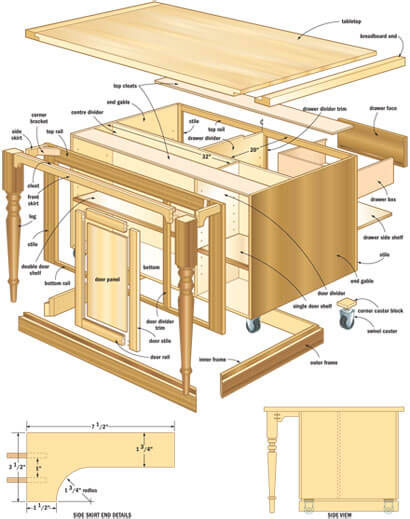
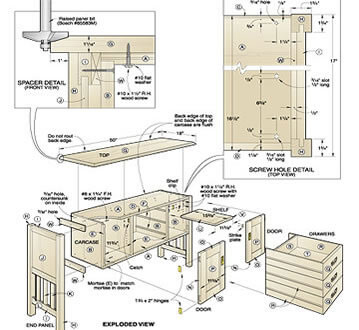
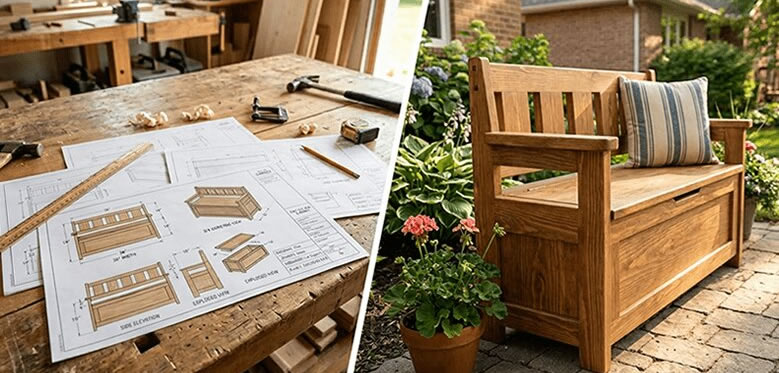
- Multi-angle drawings with exploded views of every joint
- Search by keyword or browse 100+ categories by difficulty
- New plans every month and a 60-day money-back guarantee
Which glue for which job
For furniture in a house, a Type II yellow PVA covers the overwhelming majority of joints, and the reason to reach for anything else is usually water, gaps or oily timber.
| Glue | Open time | Water resistance | Use it for |
|---|---|---|---|
| PVA (yellow, Type I/II) | 5–10 min | Type II: moderate; Type I: waterproof | Almost everything indoors |
| Liquid hide glue | 10–20 min | Low | Instruments, repairable joints, veneer |
| Polyurethane | 20–30 min | High | Mixed materials, gappy outdoor joints |
| Epoxy | 20 min–hours | High | Gaps, end grain, boats, oily woods |
| CA (superglue) | Seconds | Low | Small repairs, holding jigs, not structure |
The joint has to fit first
Glue is not a filler. A PVA joint with a visible gap has no strength there, because the glue shrinks as its water leaves and pulls away from both surfaces.
Dry-fit everything, with clamps, before any glue is opened. If a joint needs force to close dry, it will need more force with glue in it, and something will move where you did not want it to.
Fresh surfaces glue better than old ones. A board machined two weeks ago has oxidised and, if it is oily timber, migrated resin to the surface — a light pass with a plane or 120 grit right before glue-up is worth the minute.
Open time is the clock you are actually racing
If you find yourself hurrying, stop, take the assembly apart, clean it and start again. A joint closed badly is worse than a joint glued tomorrow.
- Assembly time is shorter than open time: it ends when the glue skins over, not when it sets.
- Heat and dry air shorten it. A summer garage can halve the number on the bottle.
- Complex glue-ups need a plan. Lay out clamps, cauls and a wet rag before you open anything.
- Break the job up. Glue a case in two stages rather than fighting eight joints at once.
- Extended-open-time PVAs exist and are worth it for anything with more than four joints.
How much clamping pressure
Enough to close the joint and bring a continuous, fine bead of squeeze-out along the line. That bead is the readout: no squeeze-out means too little glue, and a heavy run means too much.
Softwoods want less pressure than hardwoods. Over-clamping a soft, well-fitted joint can starve it, squeezing out so much glue that the line goes dry, and it can also crush fibres and print clamp marks that show up under finish.
Use cauls to spread pressure across a panel rather than adding more clamps at the edges. A curved caul, thickest in the middle, presses the centre of a wide joint where a bar clamp cannot reach.
Squeeze-out, and when to clean it
Wait until it goes rubbery — usually fifteen to thirty minutes — then lift it off with a chisel or a plastic scraper. Wiping it wet pushes glue into the pores, and that patch will refuse stain later.
Inside corners are where this bites. Pre-finishing the inside faces, or masking the glue line with tape before assembly, saves an hour of scraping in a corner you cannot reach.
Any glue left on a surface is invisible until the finish goes on, and then it is the only thing you can see.
Clamp time and cure time are different
Most yellow PVAs can come out of clamps in thirty to sixty minutes, but they reach full strength over roughly 24 hours. Do not machine or stress a joint the moment the clamps come off.
Cold slows everything. Below about 50 °F many PVAs will not form a proper film at all, and the joint stays weak no matter how long you wait. Check the bottle’s minimum temperature before a winter glue-up in an unheated shop.
Leave the assembly flat and unstressed while it comes up to strength. A case left leaning against a wall dries into the shape it was leaning in.
Long grain, end grain, and what actually holds
Long grain to long grain is the strong joint — stronger than the wood. End grain sucks glue into the fibres and leaves a starved line, which is why joinery exists: a mortise and tenon or a dowel converts an end-grain connection into long-grain gluing surface.
If you must glue end grain, size it first: a thinned coat of glue, left a few minutes to soak in, then a full coat and assemble. Or use epoxy, which does not depend on the same mechanism.
And remember the joint will keep moving after it is glued. Cross-grain glue lines are a crack waiting for a season change — see wood movement for which ones to avoid entirely.
Everything here assumes the parts were cut to fit in the first place, which comes back to measuring and marking from one reference.
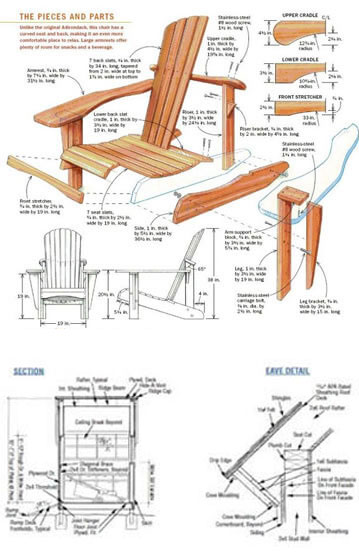
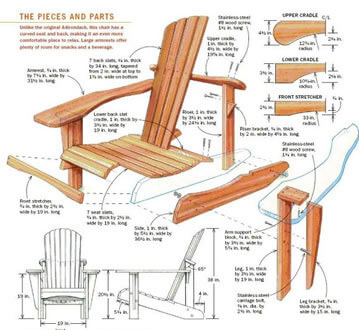
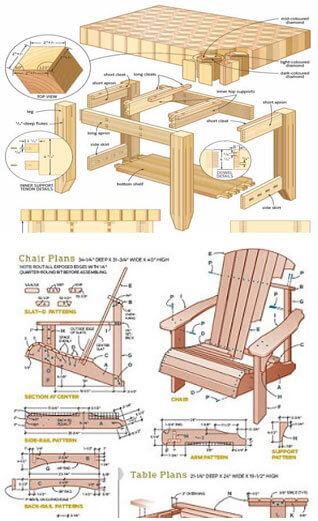
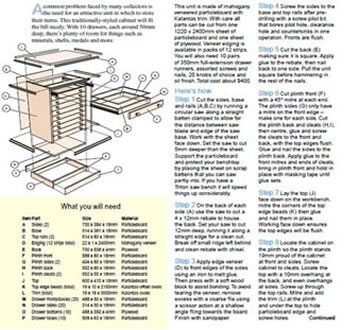
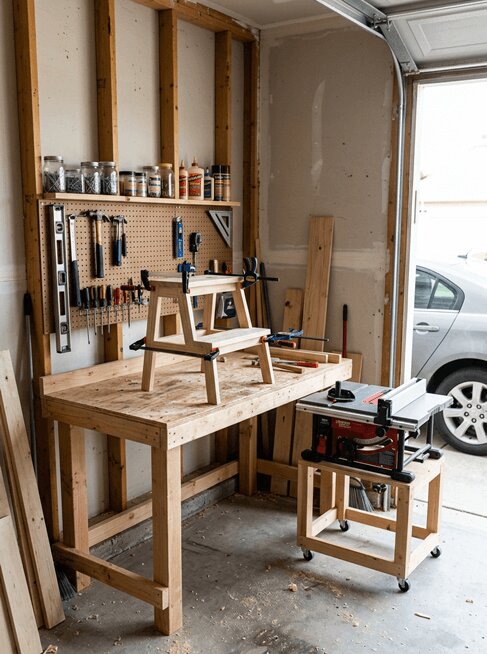
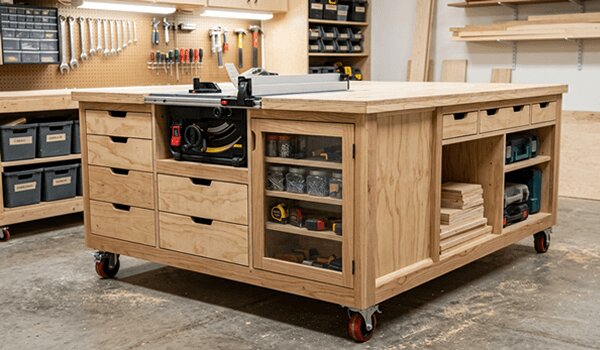
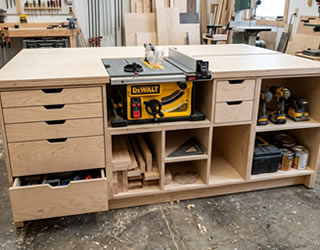
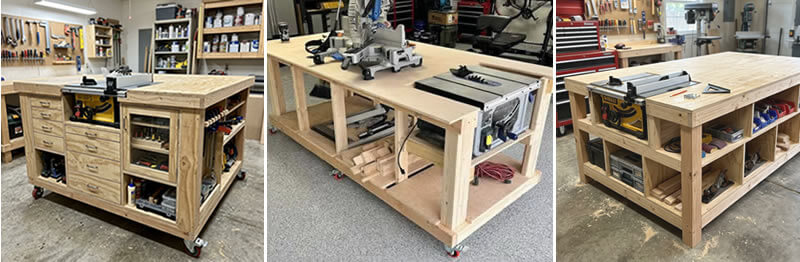
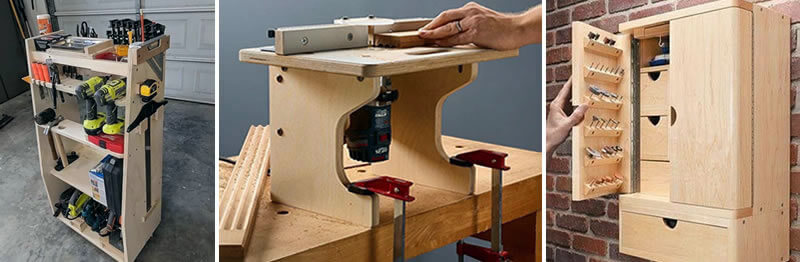
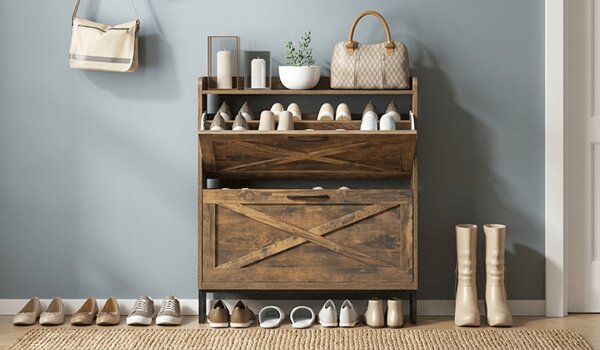
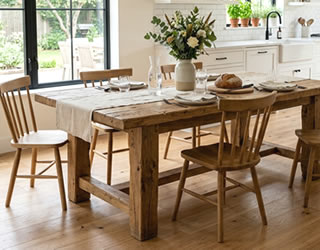
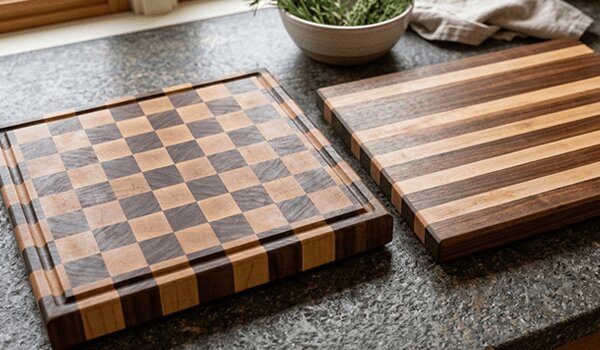
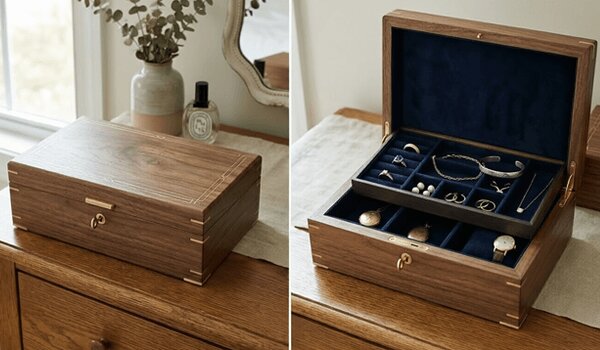
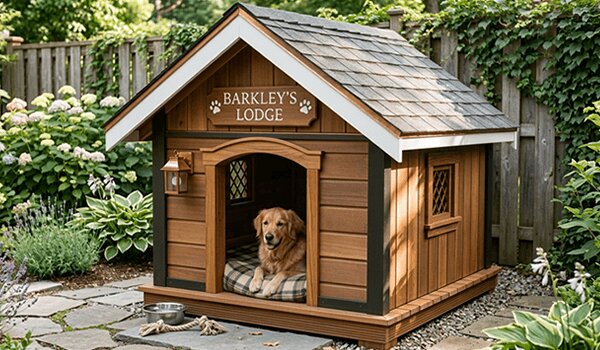
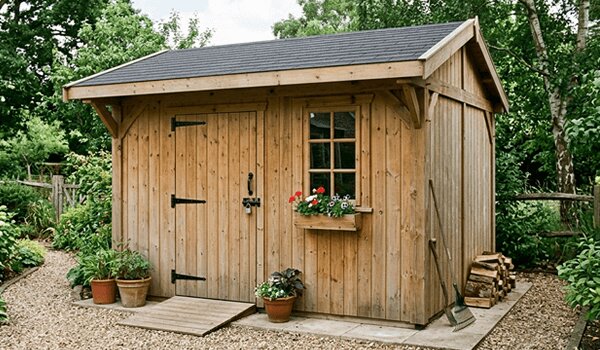
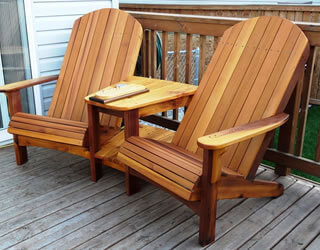
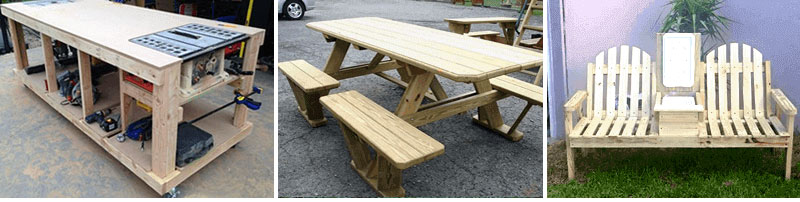
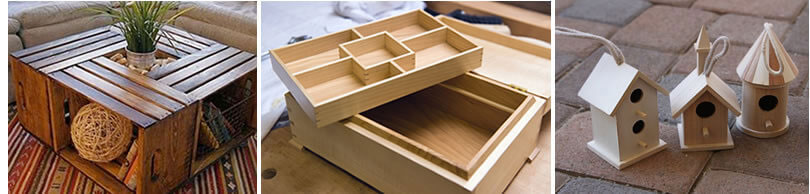
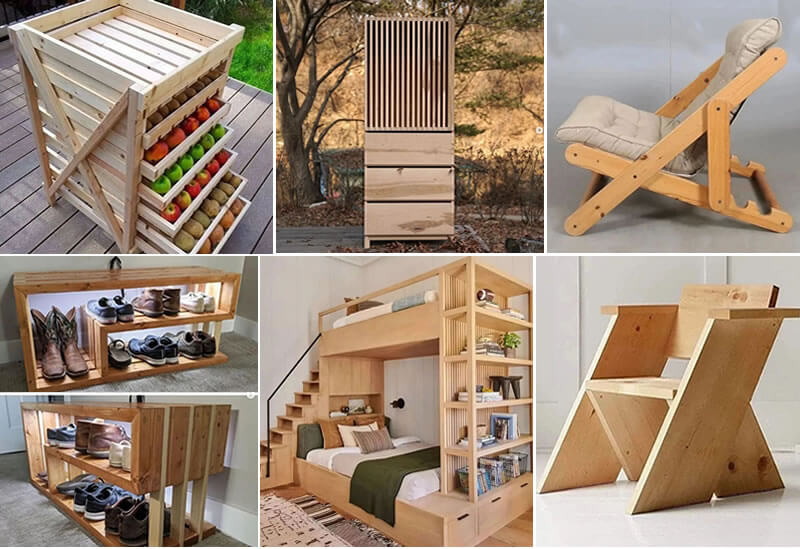
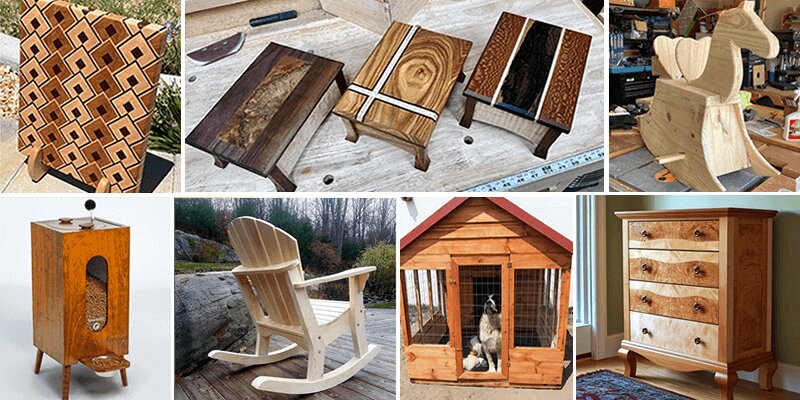
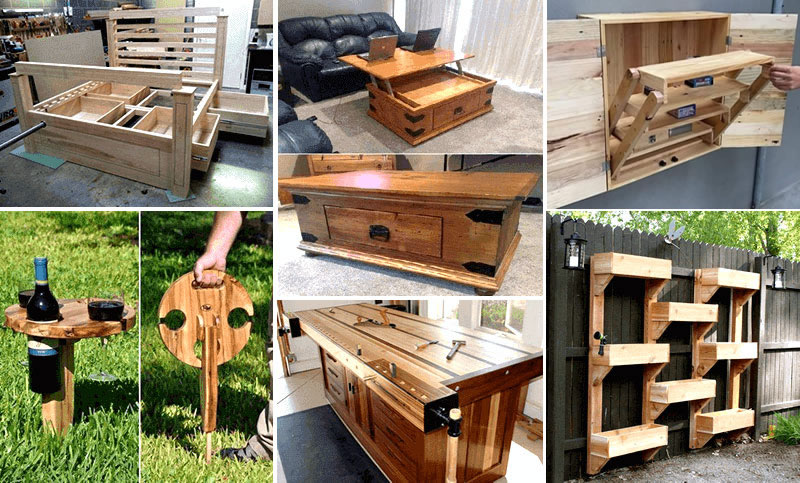
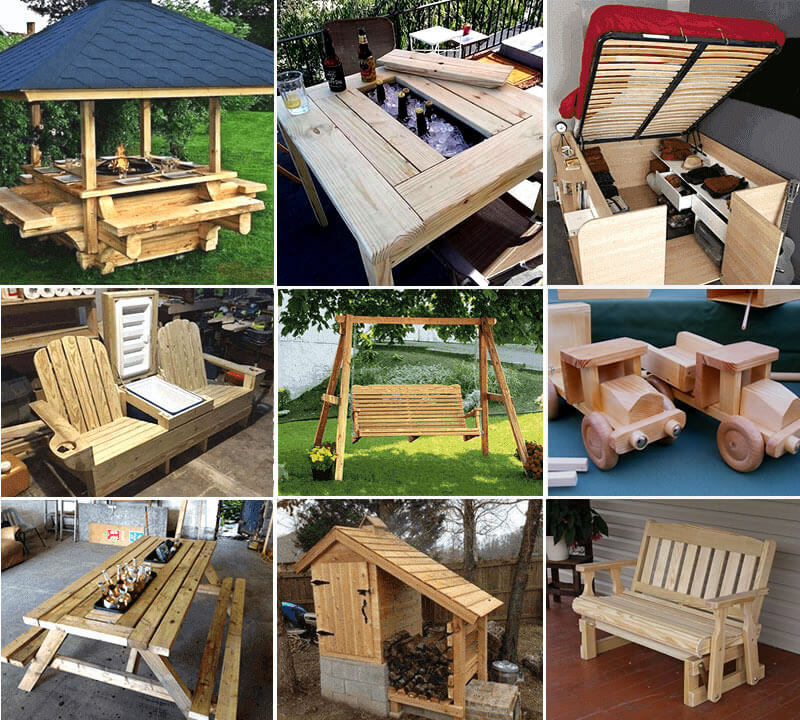
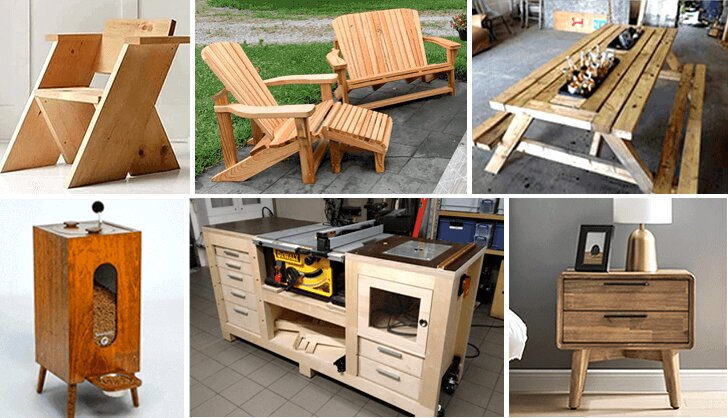
A good plan does half of that work for you. Every one of the 16,000 plans in TedsWoodworking comes with step-by-step instructions, an exact cut list, a complete materials list and multi-angle schematics, so every part has a number before the glue comes out.
A look inside TedsWoodworking





FAQ
How many clamps do I need?
For panel glue-ups, roughly one every 8 to 10 inches, alternating above and below. For casework, enough to close every joint at once — which is usually more than you own.
Can I glue oily woods like teak?
Wipe the surfaces with acetone right before assembly, or use epoxy. PVA struggles on resinous timber.
Is Titebond III necessary for outdoor work?
A Type I waterproof PVA is a sensible choice for outdoor furniture. For anything submerged or structural outdoors, epoxy is the safer call.
Why did my joint fail along the glue line?
Usually a starved joint: too little glue, too much clamp pressure, or glue that skinned over before the clamps went on. A dry line looks glossy and clean where it broke.
Next step
Dry-fit your next glue-up completely, with the clamps on, before you open the bottle. Lay out the cauls and a scraper first, and time yourself against the open time. Need the next project?
Based on standard adhesive practice for woodworking and on manufacturer specifications for open time, minimum application temperature and clamp time for common PVA, polyurethane and epoxy adhesives. Product details for TedsWoodworking are from the vendor’s published offer page as of September 28, 2026.