Disclosure: this article contains affiliate links. If you buy through them, we may earn a commission at no extra cost to you. How this works.
Short answer
Wood finishes divide into two families: those that soak in and leave nothing on top, and those that build a film. Oils are easy to apply and easy to repair; films protect far better and are harder to fix.
Choose by what the surface has to survive, not by what looks nicest in the can. A dining table and a bookshelf want different answers.
Build something worth the finish
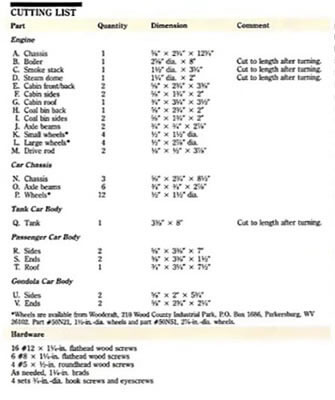
- 16,000 plans with step-by-step instructions, exact cut lists and materials lists
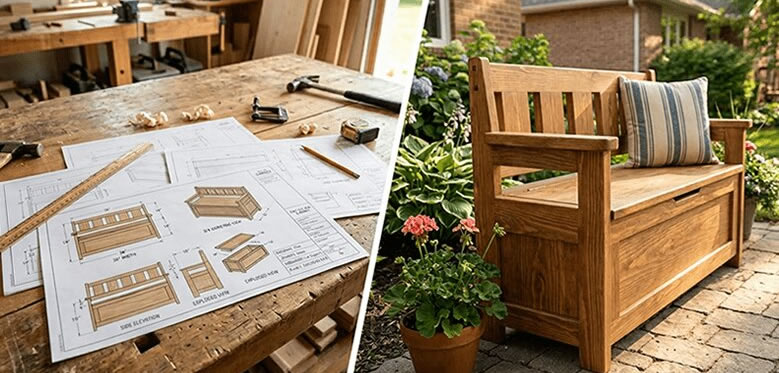
- Multi-angle drawings with exploded views of every joint
- Search by keyword or browse 100+ categories by difficulty
- New plans every month and a 60-day money-back guarantee
The five finishes worth knowing
If you want one answer for a first project: a wiping varnish. It is forgiving, needs no spray gear, and gets a respectable result with a rag.
| Finish | Protection | Repairable | Application | Best for |
|---|---|---|---|---|
| Penetrating oil (tung, linseed) | Low | Very | Wipe on, wipe off | Low-wear furniture, tool handles |
| Oil-varnish blend / wiping varnish | Medium | Fairly | Wipe on, several coats | Most furniture, first-timers |
| Oil-based polyurethane | High | Hard | Brush, 3 coats, sand between | Tables, floors, kitchen surfaces |
| Water-based poly / acrylic | High | Hard | Brush or spray, fast recoat | Light woods, low odour, fast work |
| Shellac | Medium | Very | Brush or pad, dries in minutes | Sealing, repairs, fine furniture |
Oils: easy in, easy to fix
A true penetrating oil soaks into the fibres and cures there. There is no film on top, so there is nothing to chip, scratch through or peel. A worn patch is repaired by wiping more oil on it, which is why oil finishes suit things that get handled.
The cost is protection. Water rings, hot mugs and spilled wine all reach the wood. An oiled dining table is a maintenance commitment, not a finish-and-forget.
Application is genuinely simple: flood the surface, let it sit the time the can says, then wipe every trace off. Oil left to dry on the surface leaves a sticky, blotchy film that has to be sanded away.
Films: protection, and less forgiveness
Polyurethane and the other film finishes build a plastic layer that sits on the wood. That layer takes the wear instead of the timber, which is why floors and kitchen tables get them.
The trade is repair. A scratch through the film cannot be spot-fixed invisibly; the honest repair is to sand the whole surface back and recoat.
Three thin coats beat one thick one, every time. Sand lightly between coats with 320 to give the next one something to grip, and wipe the dust off with a cloth barely damp with mineral spirits.
Shellac, the one people forget
Shellac dries in minutes, sticks to almost anything and is dissolved by alcohol, which makes it both an excellent sealer and an excellent repair finish.
Dewaxed shellac is the universal barrier coat: it goes over oil, under polyurethane, seals blotchy woods like pine and cherry, and blocks the odd stain that would bleed through.
It is not water resistant, so it is a poor choice for a surface that meets glasses. As a sealer and a first coat under something tougher, it is hard to beat.
Preparation decides the result
- Sand up through the grits without skipping — 120, 150, 180 for most work, and 220 is far enough for almost anything.
- Vacuum then wipe. Dust in the first coat is the most common visible defect.
- On blotch-prone woods — pine, cherry, maple, birch — seal first with dewaxed shellac or a conditioner, or the stain will go patchy.
- Any glue left on the surface will refuse stain and show as a pale ghost. Check under a raking light before you start.
- Test everything on an offcut of the same board, finished the same way. Not a different board: the same one.
The safety part people skip
Rags soaked in linseed or tung oil can ignite on their own. The oil generates heat as it cures, and a crumpled rag holds that heat. This is a real cause of shop fires, not a theoretical one.
Lay the rags flat outdoors to dry, or put them in water in a sealed metal can. Never leave them balled in a bin.
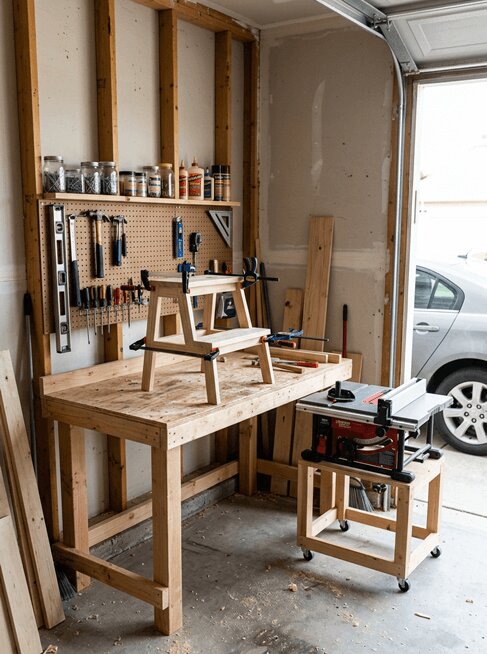
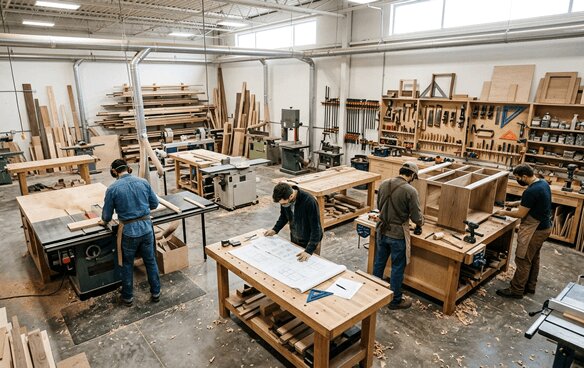
Solvent-based finishes also want ventilation and a respirator rated for organic vapour — the same reason the finishing zone sits near the door in our small workshop layout.
Finish both sides, always
A tabletop finished on top and bare underneath absorbs moisture unevenly and cups toward the unfinished face. Finishing both sides equally is the cheapest warp prevention there is.
The same logic applies to case sides, door panels and anything wide. It is covered in more detail in wood movement, and it is the rule most often broken on a first project.
And let it come up to strength before use. Most film finishes handle light use in a day or two but reach full hardness over two to four weeks; a hot dish on a three-day-old table leaves a mark that a three-week-old table would have shrugged off.
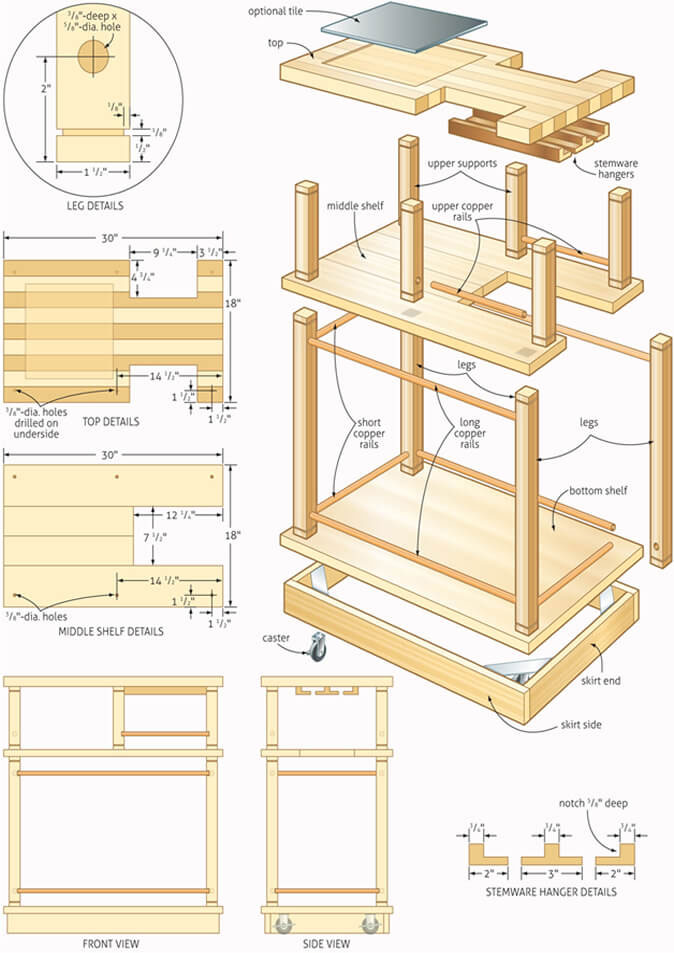
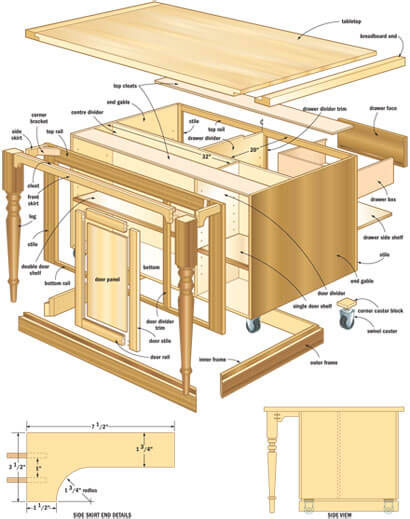
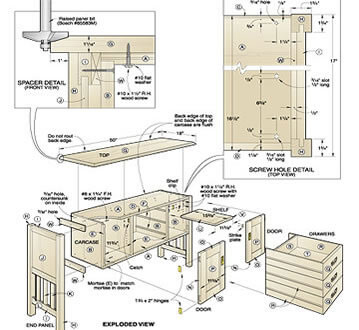
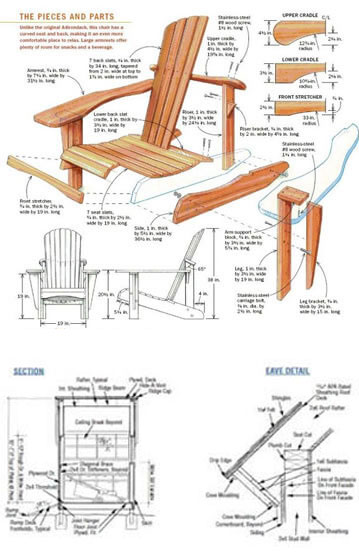
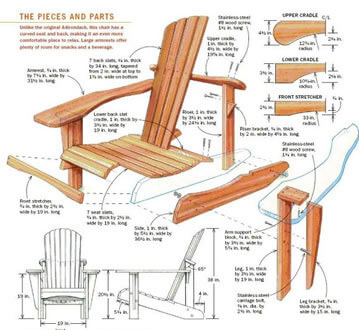
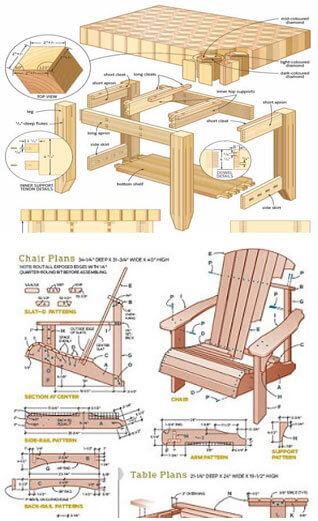
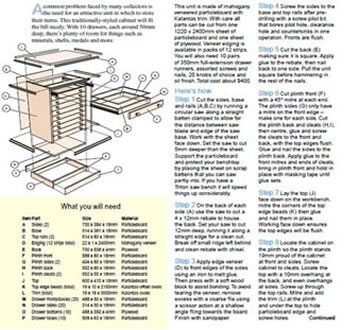
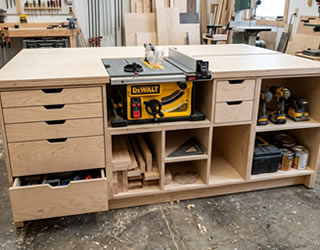
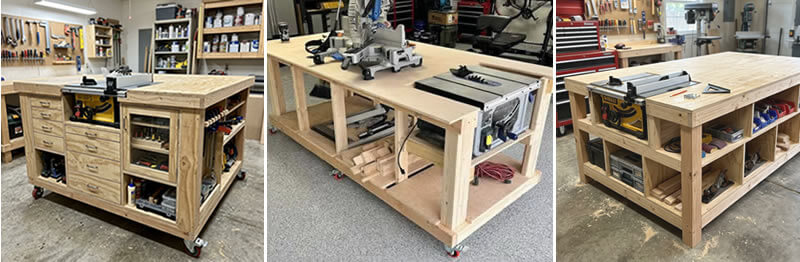
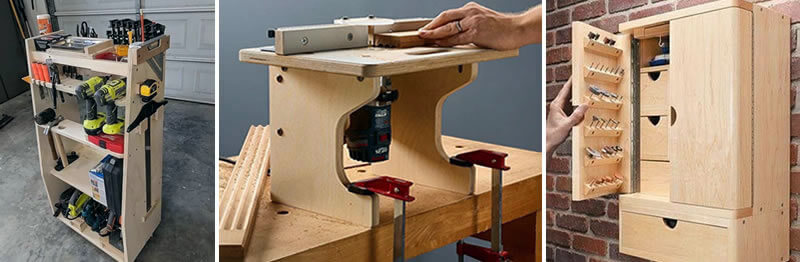
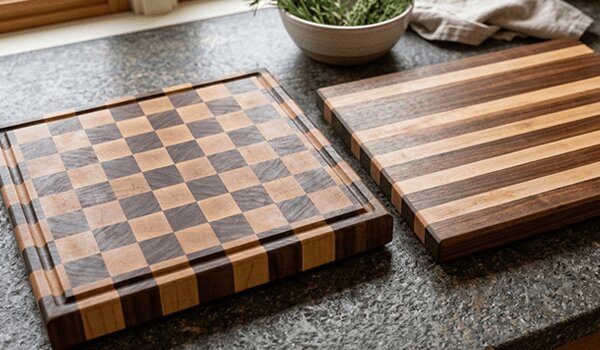
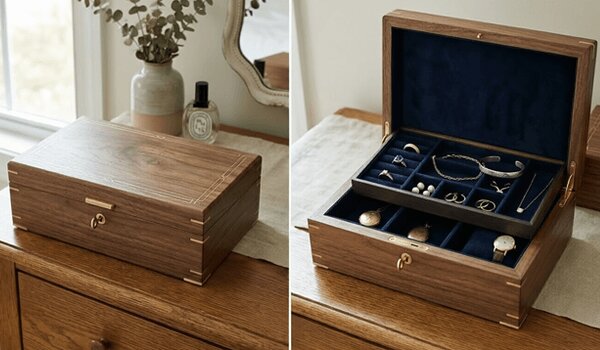
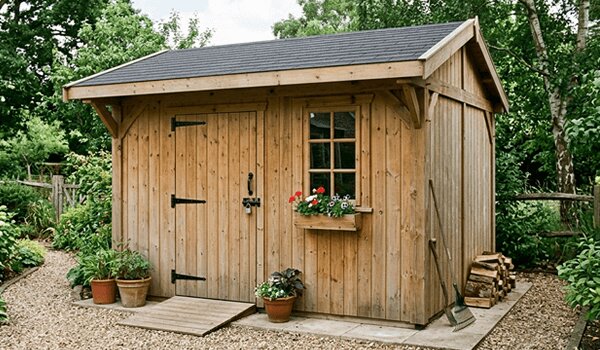
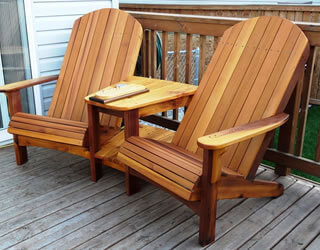
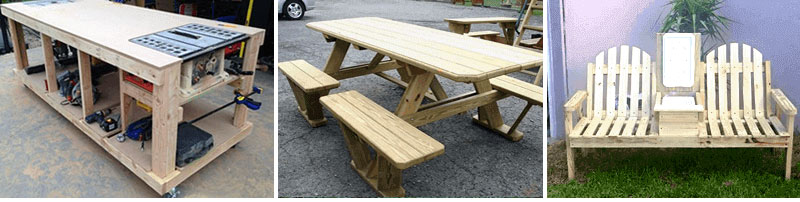
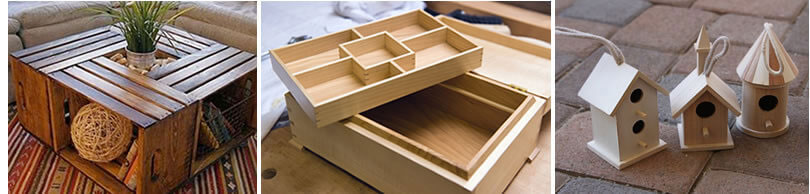
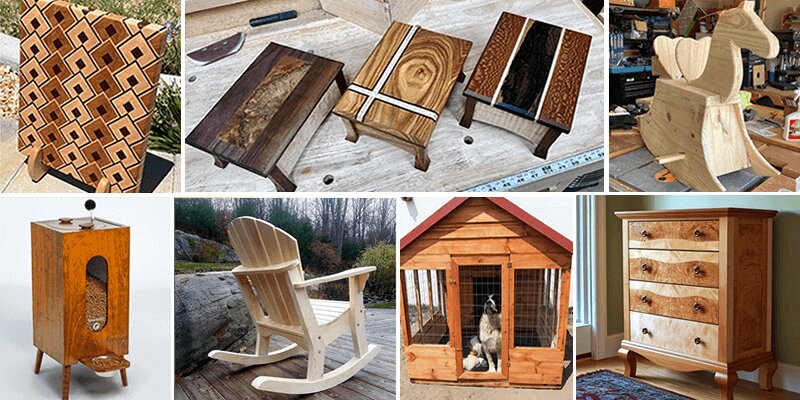
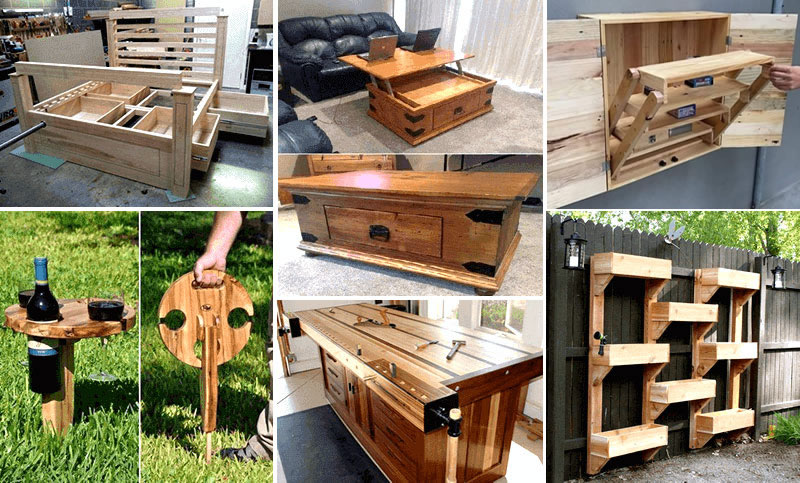
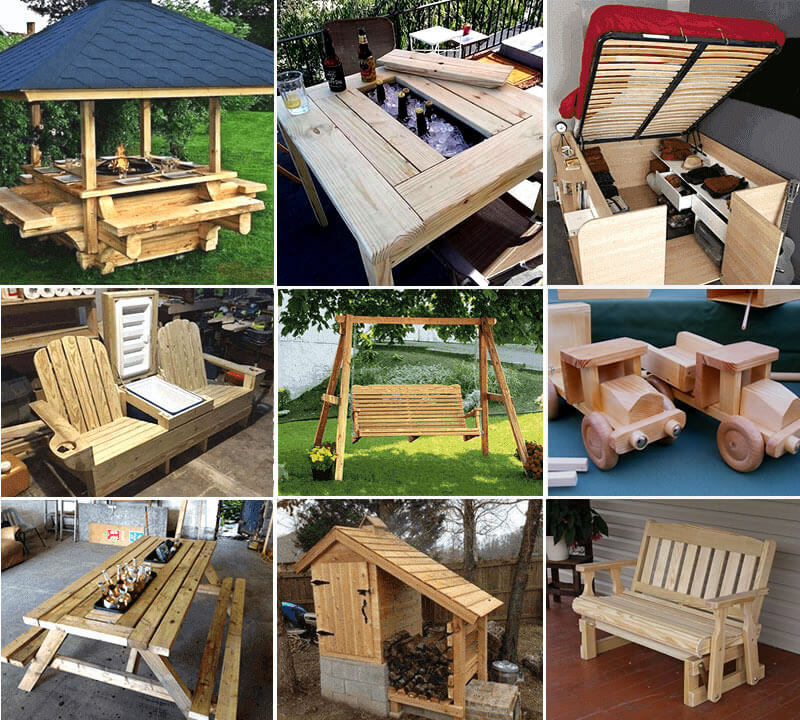
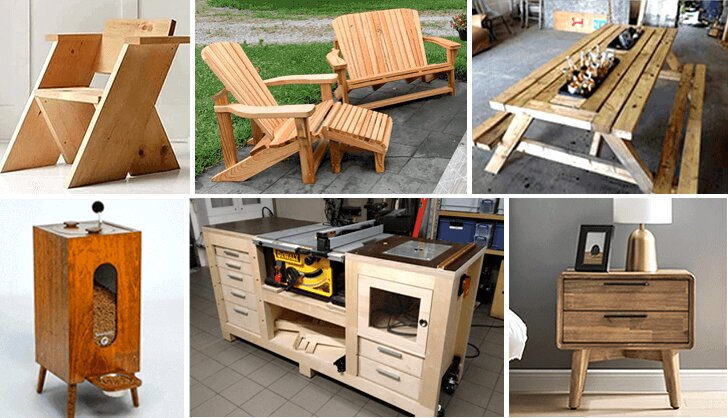
If the piece is still on the drawing board, start from a plan that has already solved the construction. TedsWoodworking has 16,000 of them, each with step-by-step instructions, an exact cut list and a complete materials list, which leaves your time for the part everyone sees: the finish.
A look inside TedsWoodworking








FAQ
What finish for a dining table?
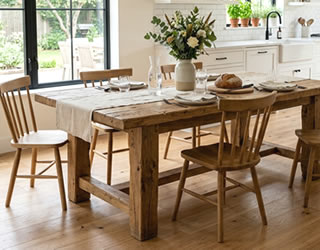
A film finish — oil-based polyurethane or a good water-based equivalent. It is the surface most likely to meet water, heat and wine.
Is Danish oil an oil or a varnish?
Most Danish oils are oil-varnish blends: easier than pure oil, more protective, still wipe-on. A good middle option.
Do I need to sand to 400 grit?
No. Past about 220 the wood stops accepting finish evenly, and on open-pored timber it makes no visible difference.
Can I put polyurethane over an oil finish?
Once the oil has fully cured, and with a coat of dewaxed shellac in between as insurance. Test it on an offcut first.
Next step
Before finishing your next piece, make a sample board from the same stock with the full schedule on it. Ten minutes there saves a refinish. Choosing that next piece?
Based on standard wood finishing practice and on manufacturer guidance for application, recoat times, curing and the spontaneous combustion risk of oil-soaked rags. Product details for TedsWoodworking are from the vendor’s published offer page as of September 28, 2026.