Disclosure: this article contains affiliate links. If you buy through them, we may earn a commission at no extra cost to you. How this works.
Short answer
The best beginner woodworking projects share three traits: one board of lumber, four tools, and a result you will actually use. Start with a cutting board, a step stool or a wall shelf.
Each project below teaches one skill you carry into the next build, and every one of them fits on a bench in half a garage.
Your next weekend project, with the full cut list
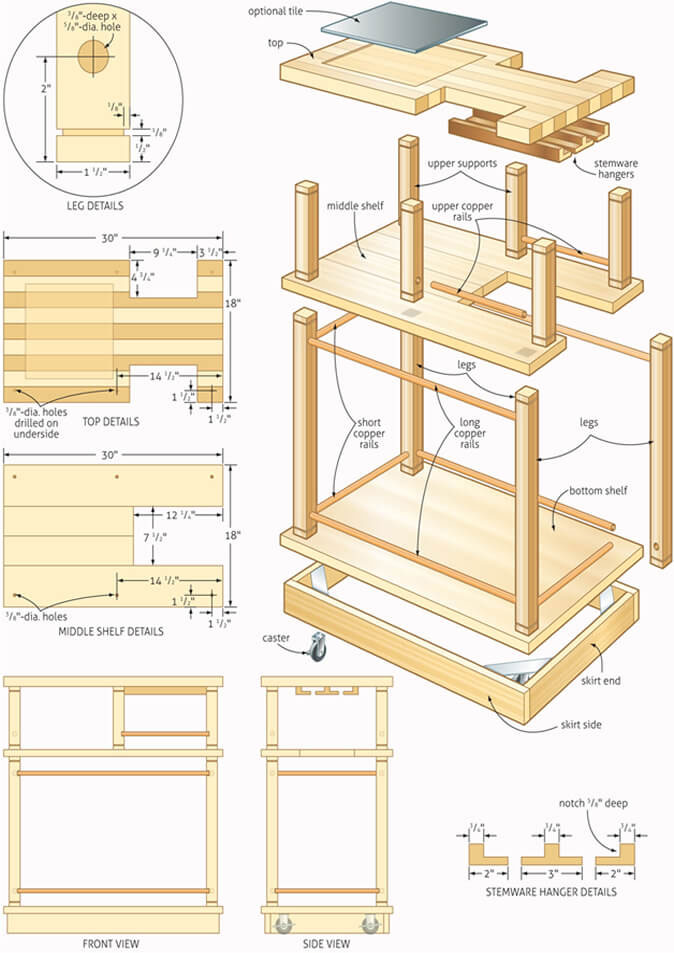
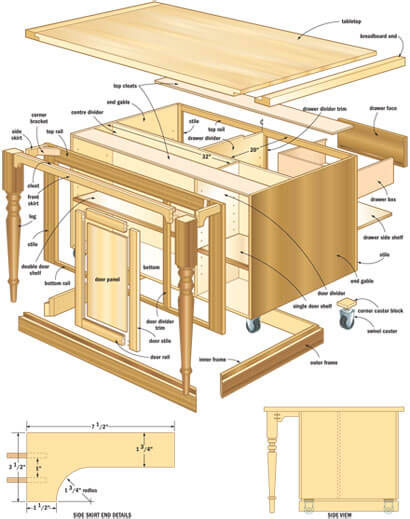
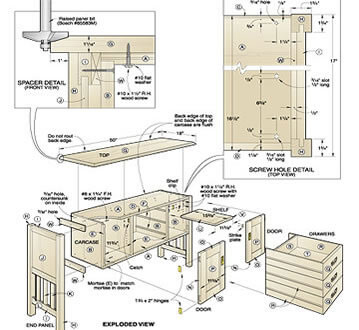
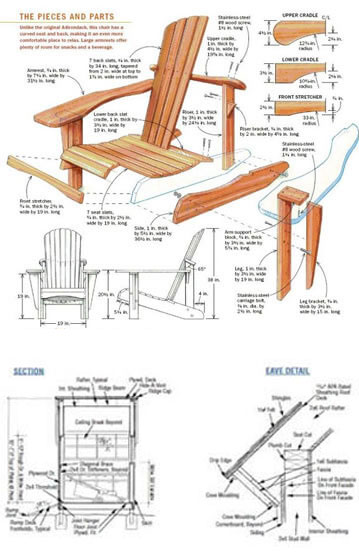
- 16,000 plans with step-by-step instructions, exact cut lists and materials lists
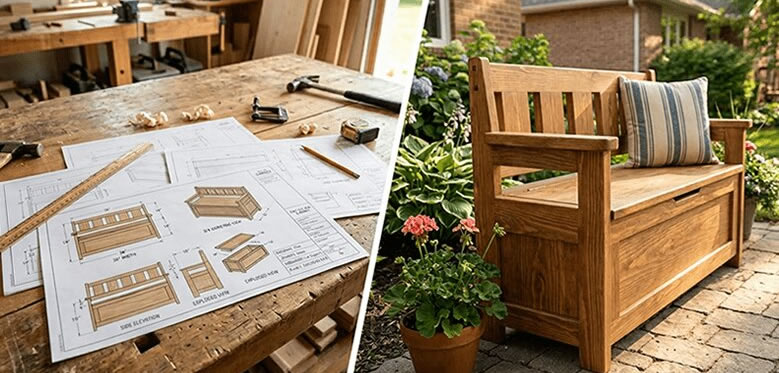
- Multi-angle drawings with exploded views of every joint
- Search by keyword or browse 100+ categories by difficulty
- New plans every month and a 60-day money-back guarantee
The four tools that cover the first year
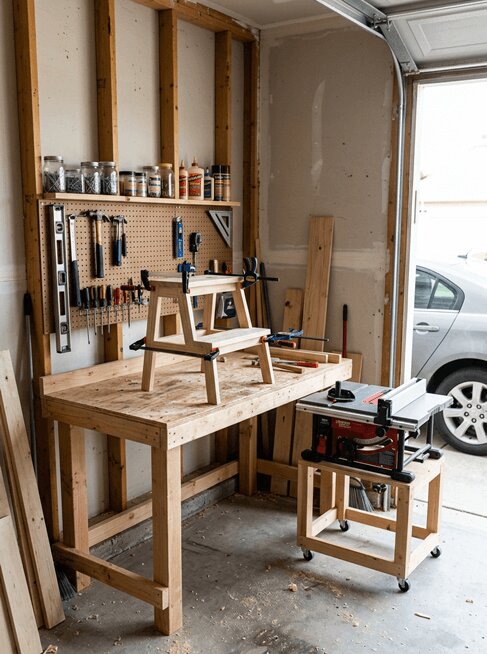
A circular saw or table saw, a drill, four clamps and a random orbit sander. That is the whole starting kit. Everything on this list is built with those, plus a tape measure, a square and a pencil.
Add tools when a project demands one, not before. A router, a planer and a pocket-hole jig all earn their place eventually; none of them is needed this weekend.
Six projects, in the order that builds skill
| Project | Skill it teaches | Lumber | Time |
|---|---|---|---|
| End-grain cutting board | Square crosscuts, glue-up, finishing | One hardwood board | A Saturday plus drying |
| Step stool | Repeatable cuts, simple joinery, squaring | One 1 × 10 | 3–4 hours |
| Floating wall shelf | Layout, hidden fasteners, leveling | One 1 × 8 and a cleat | 2–3 hours |
| Planter box | Outdoor stock, drainage, screw patterns | Two cedar fence boards | 2 hours |
| Tool tote | Handle cutout, rabbets, load carrying | One 1 × 6 | 3 hours |
| Workbench top from a door blank | Flattening, edge banding, mounting | Solid-core door plus 2 × 4s | A weekend |
Start with the cutting board
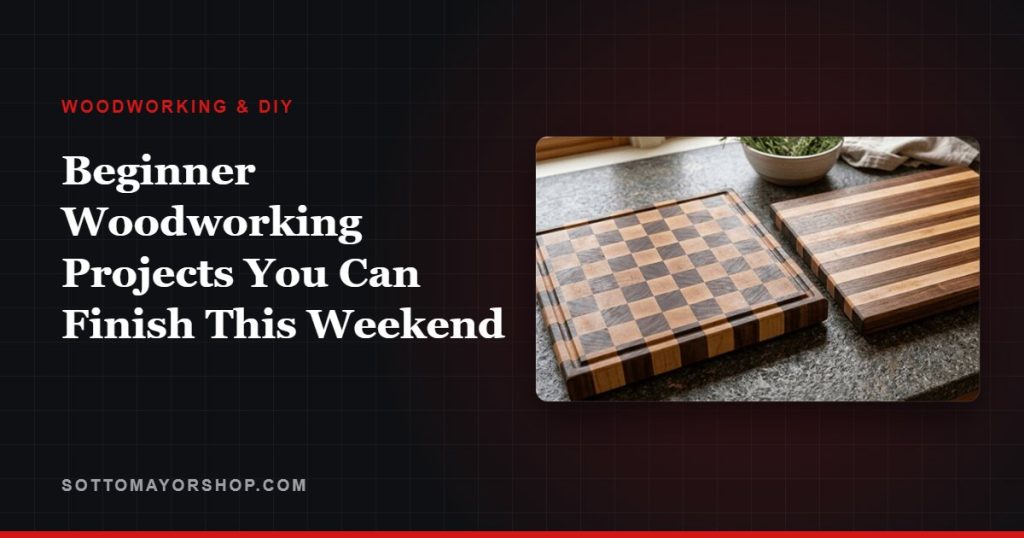
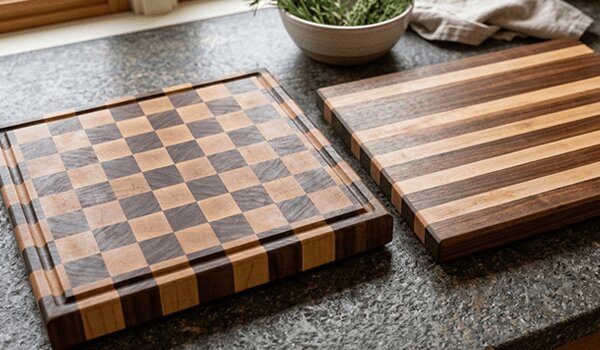
It is the fastest way to learn the two things every later project depends on: a square crosscut and a glue-up that stays flat. Rip strips from one board, alternate the grain direction, glue and clamp, then flatten and sand to 220 grit.
Finish with food-safe mineral oil. If your first board has a small gap in a glue line, the next one will not — that is the entire point of starting here.
Then the step stool and the shelf
The stool forces repeatable cuts: four legs the same length, two aprons the same length. If one leg is 1/16 in short, the stool rocks, and you learn to cut from a stop block instead of measuring each piece.
The wall shelf teaches layout and leveling — finding studs, marking a level line and hanging a cleat. It is the first project people notice in your house, which is a surprisingly good motivator.
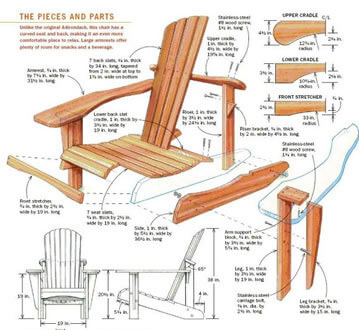
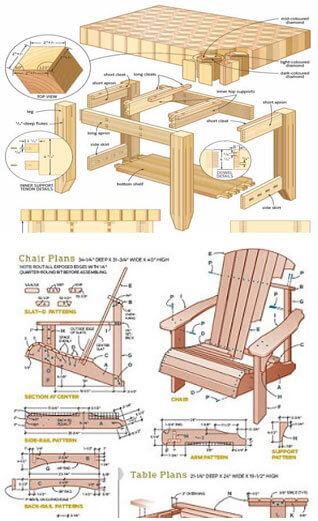
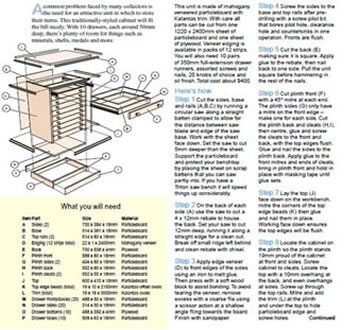
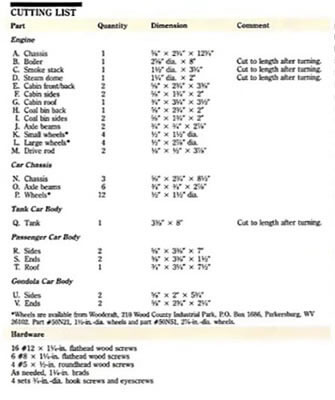
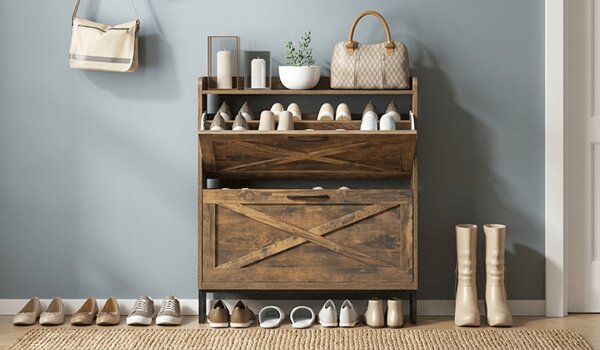
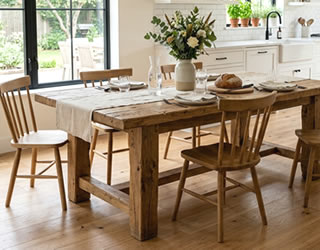
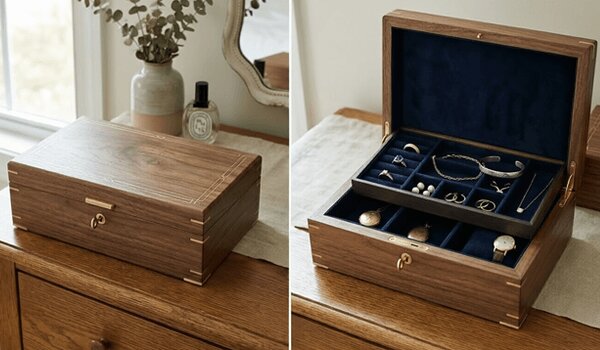
When those three are done, the fastest way to keep going is a plan that has already been worked out. TedsWoodworking has 16,000 of them, each with step-by-step instructions, an exact cut list and a complete materials list.
What to have ready before Saturday
Five things on the bench before you start, and the Saturday goes to building instead of driving.
- The cut list, with your kerf and defect margin already added — see how to read a cut list.
- Lumber bought and stacked indoors for a couple of days so it settles to the room’s humidity.
- Sandpaper in three grits (80, 150, 220) and more than you think.
- Glue, clamps, and a flat surface to clamp on.
- A finish chosen in advance: mineral oil for kitchen items, wipe-on poly for furniture, exterior oil for anything outdoors.
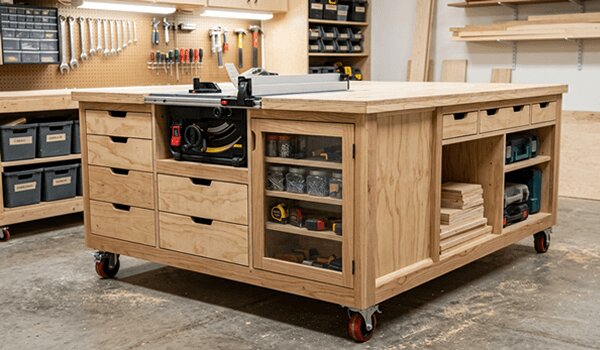
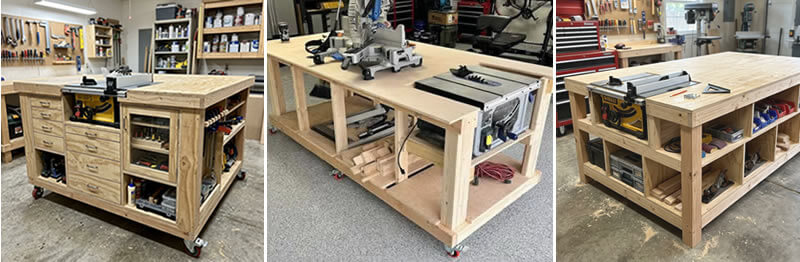
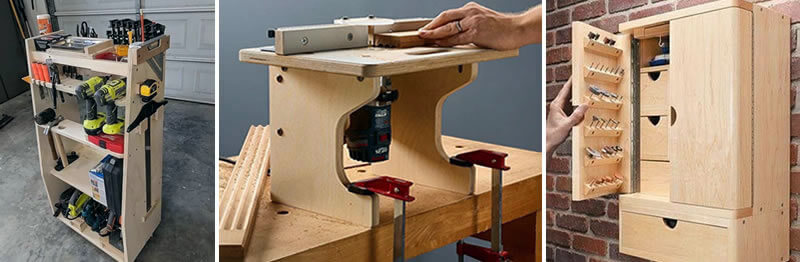
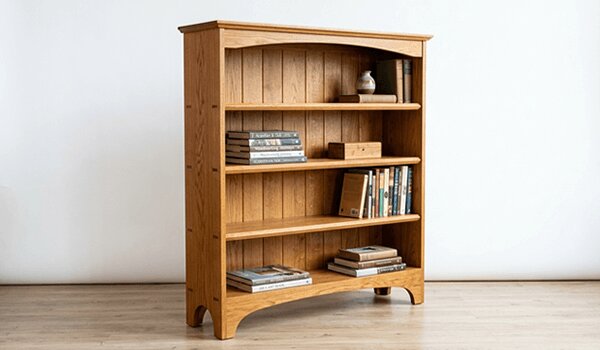
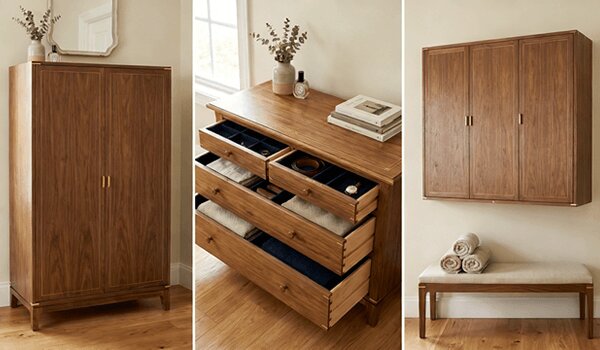
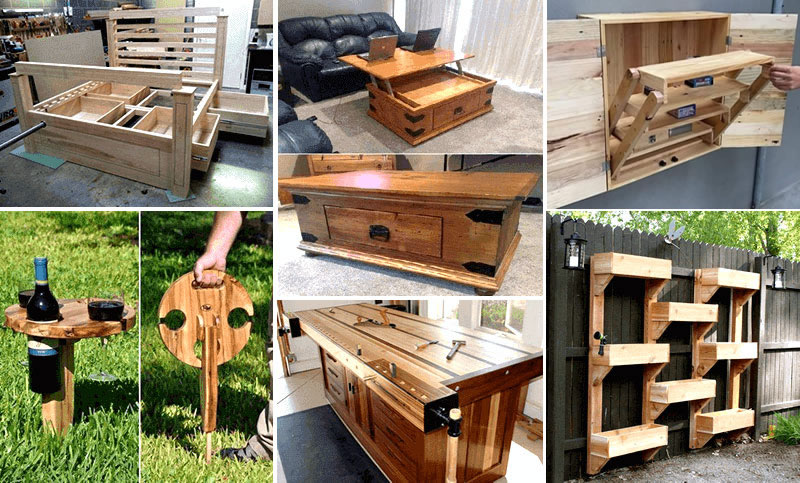
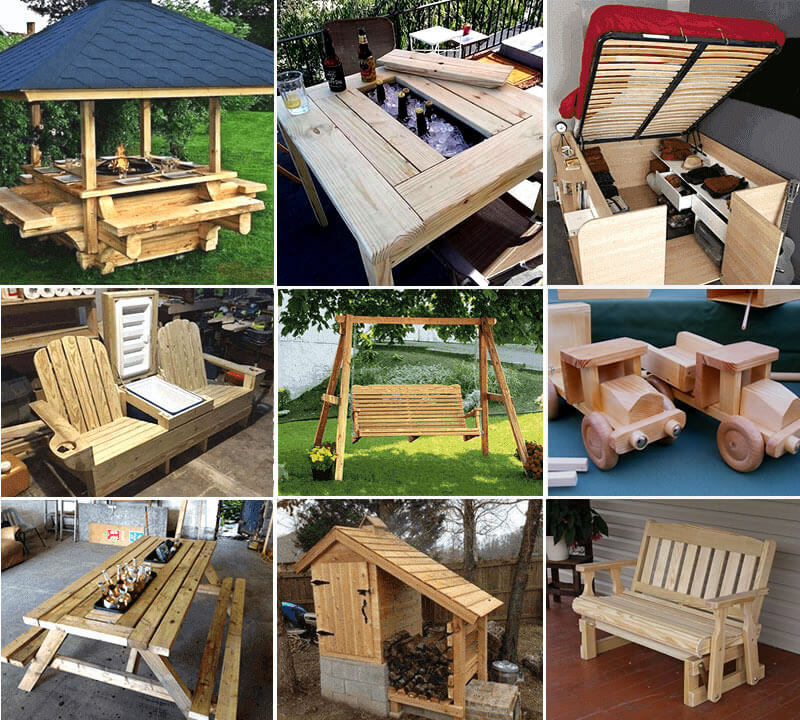
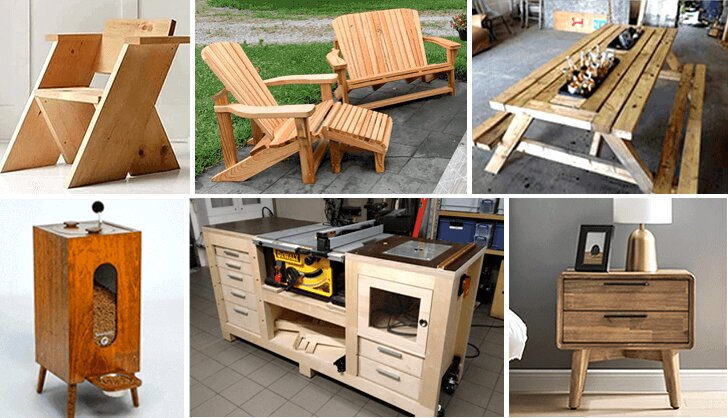
A look inside TedsWoodworking

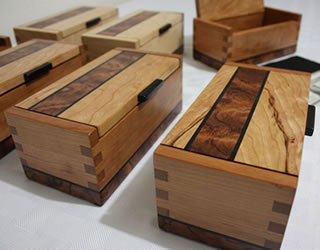
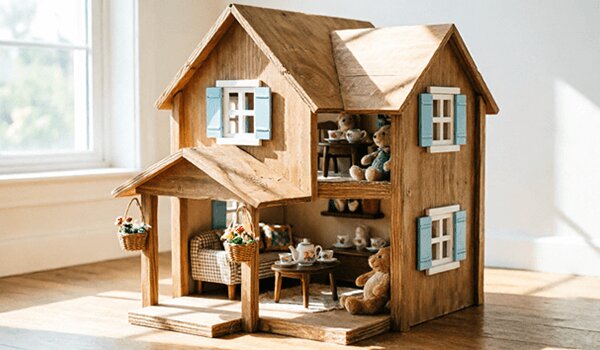
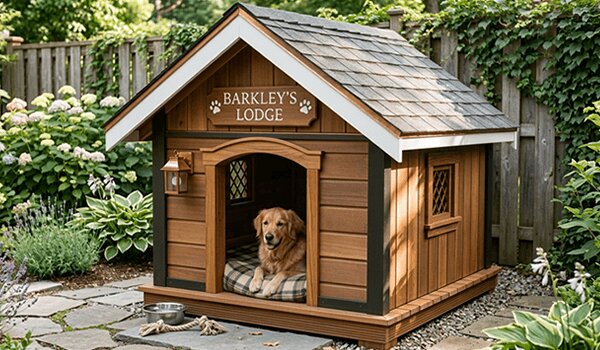
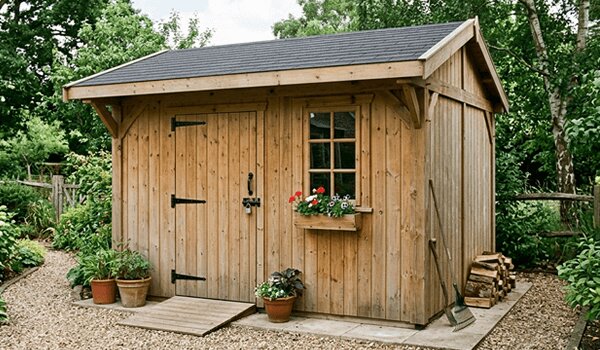
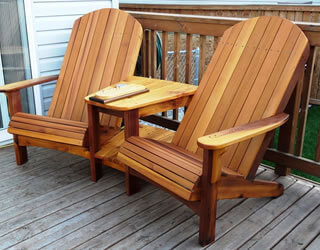
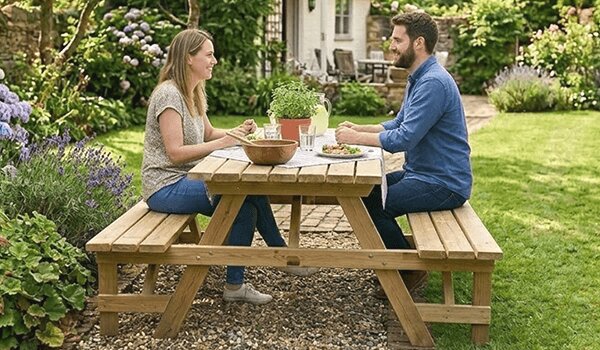
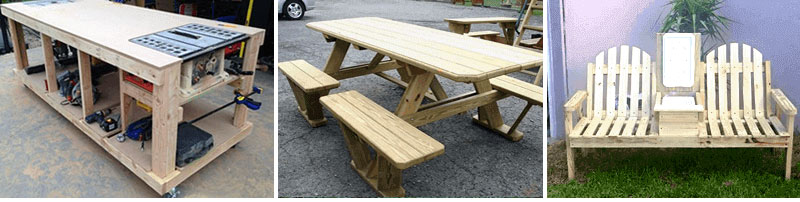
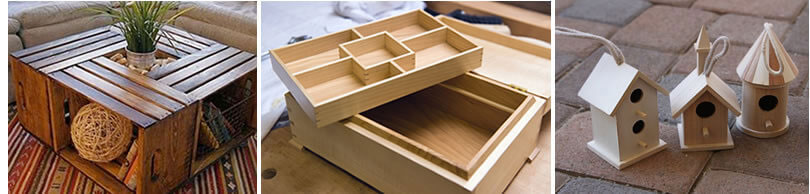
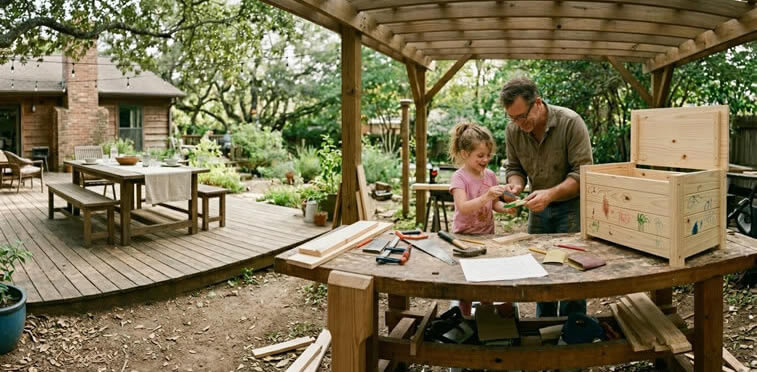
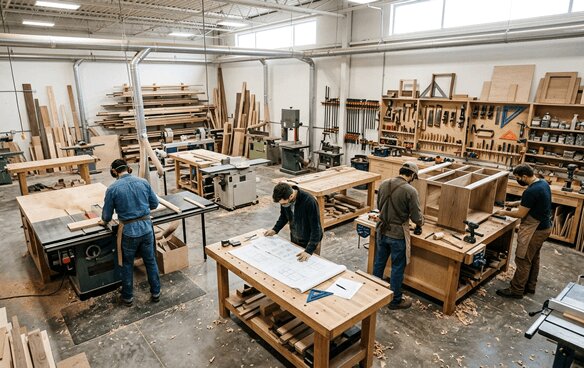
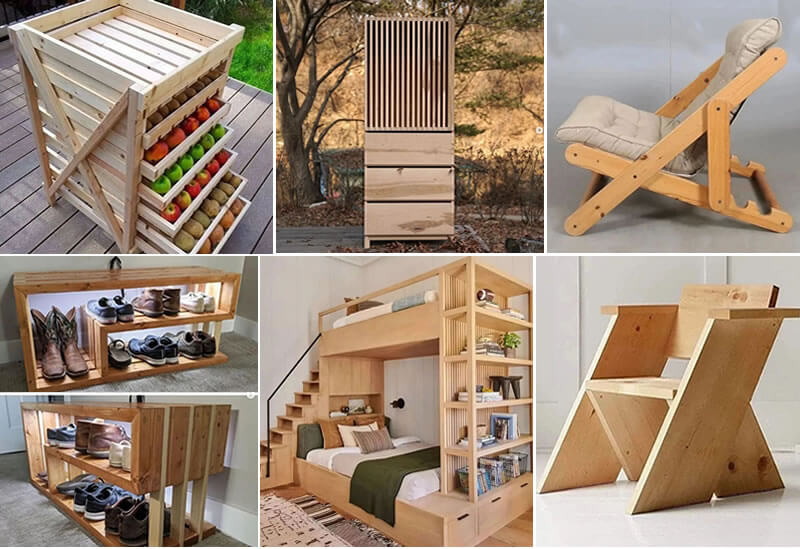
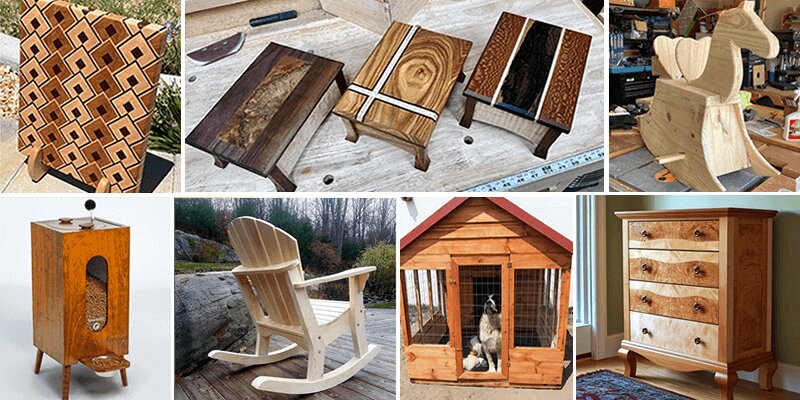
FAQ
What wood should a beginner buy?
Pine or poplar for indoor practice pieces: cheap, easy to cut and forgiving. Cedar or redwood for anything that lives outside. Save walnut and white oak for when your cuts are square.
Do I need a table saw to start?
No. A circular saw with a straightedge guide handles every project on this list; a track saw or table saw just makes it faster.
How do I keep the glue-up flat?
Clamp on a surface you know is flat, alternate clamps above and below the panel, and wipe squeeze-out with a damp cloth before it skins over.
What finish is safe for a cutting board?
Food-grade mineral oil, reapplied when the surface looks dry. Board butter, a mix of mineral oil and beeswax, lasts longer between applications.
Next step
Pick one project from the table, write its cut list tonight, and buy the lumber on the way home tomorrow. When you are ready for the next level — a dining table, a shed, a built-in — start from a plan that already includes the cut list and the assembly order, like the ones in the TedsWoodworking plan library.
Based on standard beginner woodworking practice for these projects. Product details for TedsWoodworking are from the vendor’s published offer page as of September 28, 2026.