
Disclosure: this article contains affiliate links. If you buy through them, we may earn a commission at no extra cost to you. How this works.
Short answer
Sharpening chisels and plane irons is four steps: flatten the back once, grind one bevel angle, work up through three grits until a burr forms and falls off, then strop.
The system you use matters far less than doing it often. A blade touched up for two minutes every half hour of work never gets dull enough to be a project.
Now put those sharp edges to work
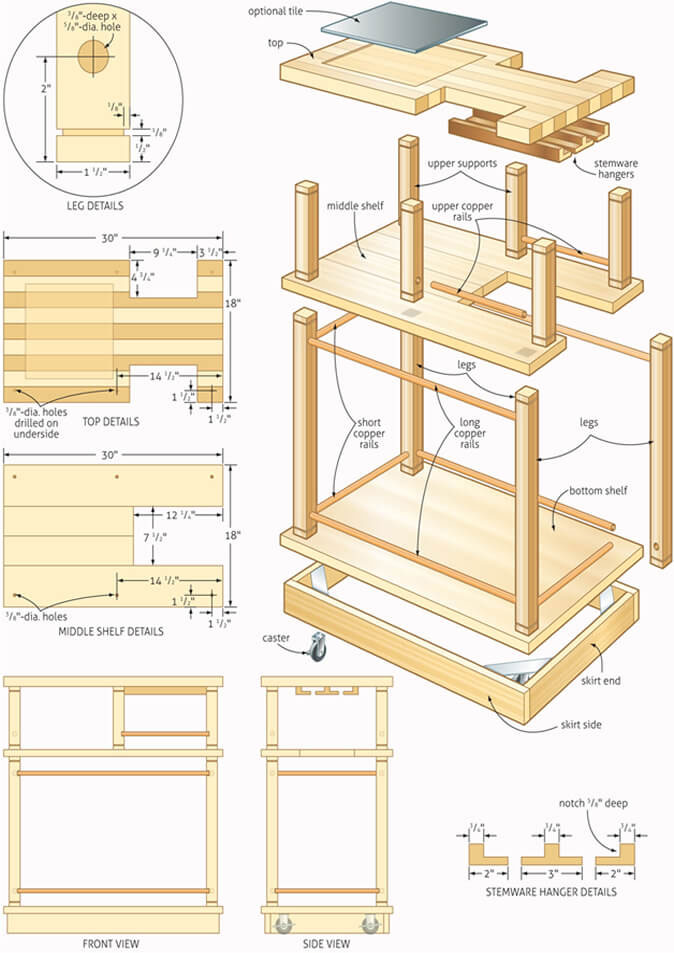
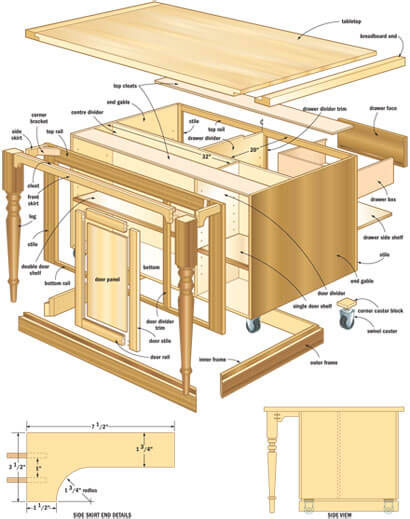
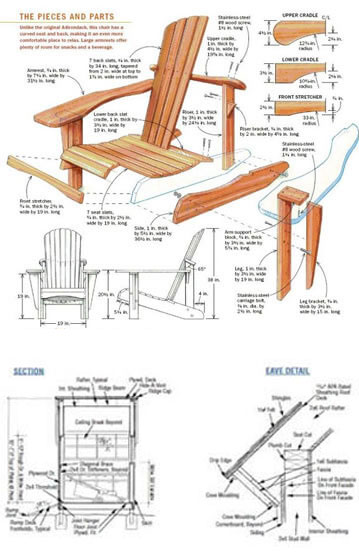
- 16,000 plans with step-by-step instructions, exact cut lists and materials lists
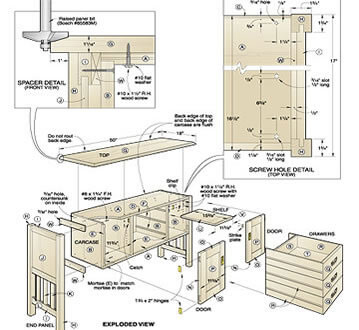
- Multi-angle drawings with exploded views of every joint
- Search by keyword or browse 100+ categories by difficulty
- New plans every month and a 60-day money-back guarantee
Flatten the back first, and only once
A chisel cuts where the back meets the bevel. If the back is not flat at that edge, no amount of work on the bevel produces a sharp tool — the two surfaces never meet in a clean line.
Work the back on your coarsest stone until the first inch behind the edge is uniformly scratched, then follow through the grits. You only need the first inch or so; nobody is flattening the whole length of a chisel.
This is a one-time job per tool. Do it the day the chisel arrives, and never think about it again.
One angle, honestly held
A honing guide is the cheapest way to get consistency, and there is nothing virtuous about freehand for a beginner. Set the projection with a stop block and the angle repeats itself every time.
| Tool | Primary bevel | Micro-bevel | Why |
|---|---|---|---|
| Bench chisel | 25° | 30° | General work, paring and light chopping |
| Mortise chisel | 30° | 35° | Takes levering and heavy blows |
| Plane iron, softwood | 25° | 30° | Slices cleanly |
| Plane iron, hardwood | 25° | 33–35° | Edge lasts longer in dense grain |
| Low-angle block plane | 25° | 30° | Bed angle is already low |
Three grits and a burr
The burr is the whole feedback system. Run a fingertip off the back of the edge — carefully, across it, not along it. If you feel a lip along the full width, that grit has done its job and you can move up.
- Coarse (around 300–1000). Only when the edge is chipped or the angle is being changed. Work until a burr forms along the whole edge.
- Medium (around 1000–4000). The workhorse. Raise a burr again, smaller this time.
- Fine (8000 and up). A few light strokes. The burr becomes a wire edge you can barely feel.
- Strop. Leather with compound, bevel then back, a few passes each. The wire edge comes away and the edge polishes.
Which sharpening system
Water stones cut fast and need flattening often. Diamond plates stay flat forever and are the easiest to live with. Oil stones are slow, cheap and nearly indestructible. Sandpaper on float glass costs almost nothing and works genuinely well.
All four produce the same edge. Choose on maintenance, not on the edge: if flattening a stone every few sessions will stop you sharpening, buy diamond plates.
One thing worth spending on is a reference flat surface — a piece of float glass or granite — because every abrasive system depends on something known to be flat.
Sharpen more often than feels necessary
The reason sharpening feels like a chore is that most people wait until the tool is genuinely blunt, which turns a two-minute touch-up into a twenty-minute rescue.
Keep the fine stone and the strop on the bench, not in a drawer. Ten strokes when the shaving starts to tear, and you never visit the coarse stone again.
The tell is the surface, not the tool: a plane that leaves a shiny surface is sharp; one that leaves a dull, torn surface is not, whatever it looks like.
Checking the edge
Two tests settle it. Rest the edge on a thumbnail at a low angle — sharp bites, dull skates. Or look straight down at the edge under a light: a dull edge reflects a thin white line, a sharp one reflects nothing.
Shaving arm hair proves the edge is sharp but says nothing about whether it is straight, and a chisel with a sharp but rounded edge will not register in a knife line.
That is the connection between sharpening and everything else: a knife line is only worth marking if the chisel can drop into it. The habits in accurate measuring and marking depend on an edge that lands where you put it.
Where this sits in the shop
Sharpening belongs at the bench, within reach, not on a shelf across the room. That is a layout decision as much as a technique one — our small workshop layout guide puts the bench under the best light for exactly this kind of work.
And if you are still buying tools, this is the argument for fewer, better chisels: four chisels you can sharpen beat a set of twelve you cannot. The beginner tool list has the four.
Learn it on the cheapest chisel you own. The skill transfers upward; the scratches do not.
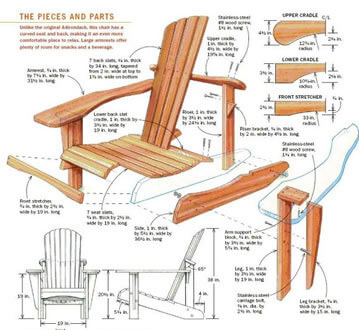
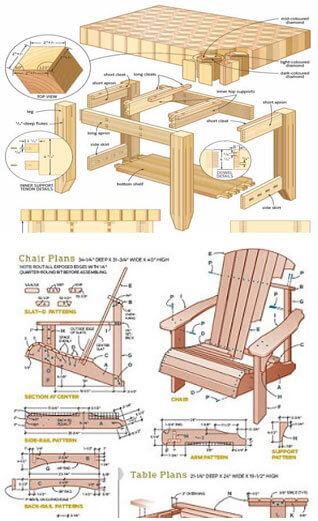
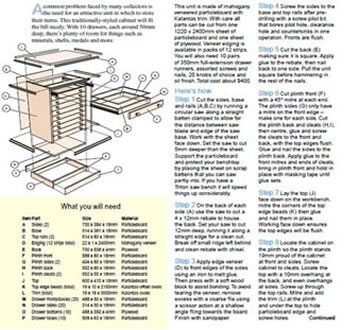
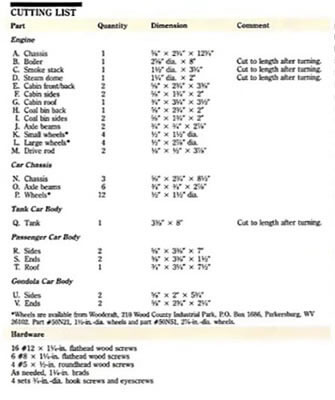
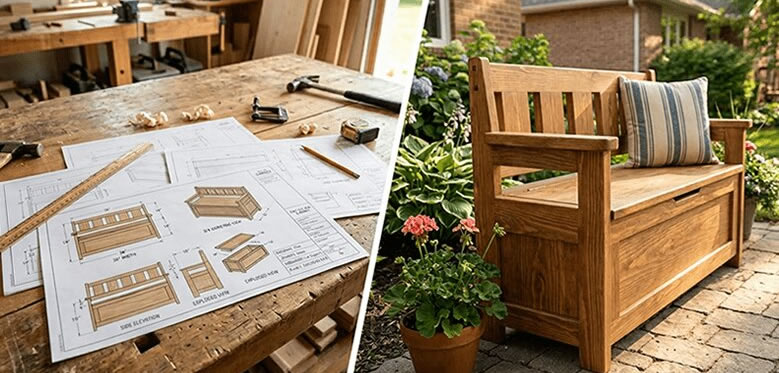
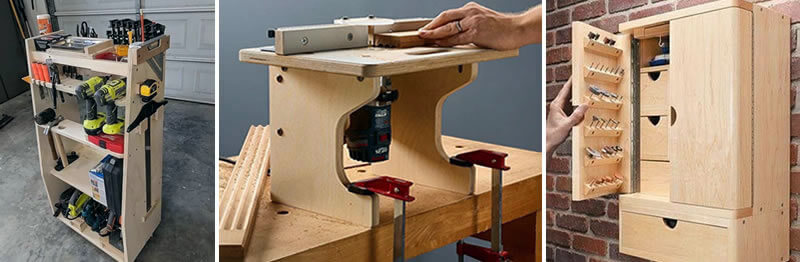
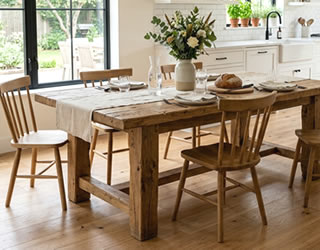
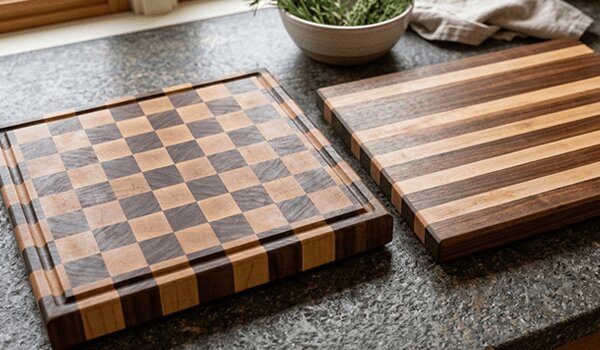
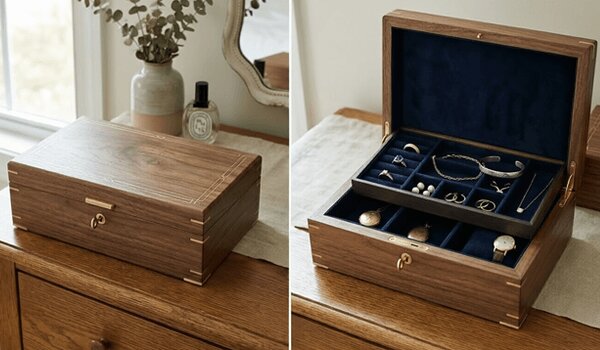
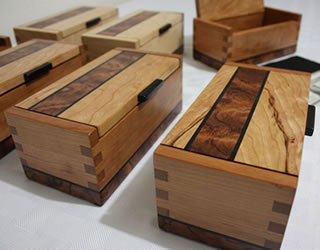
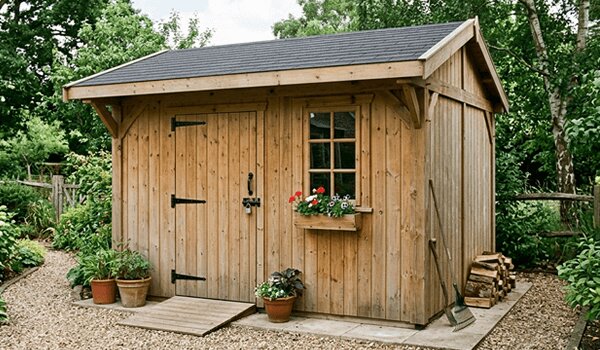
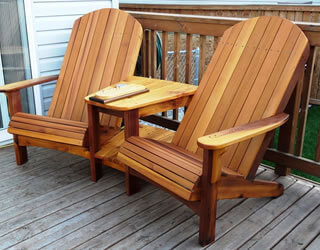
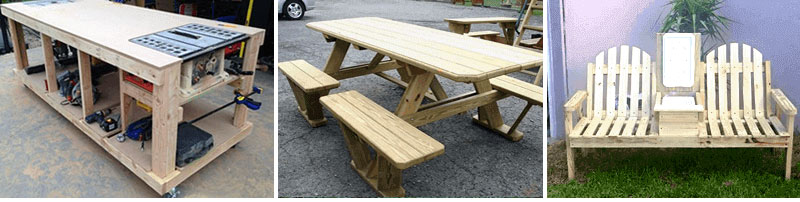
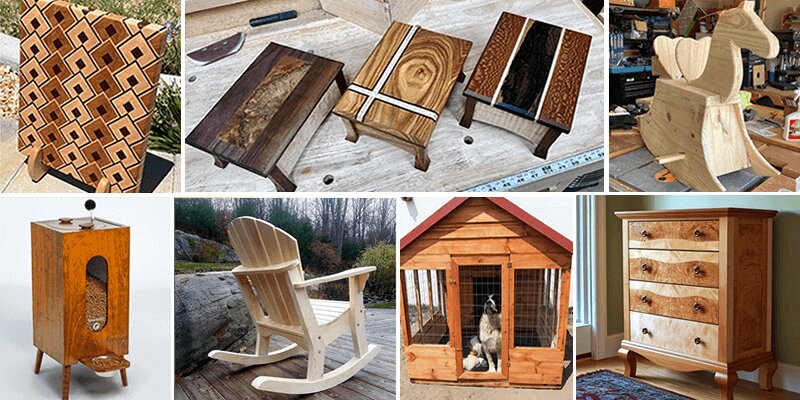
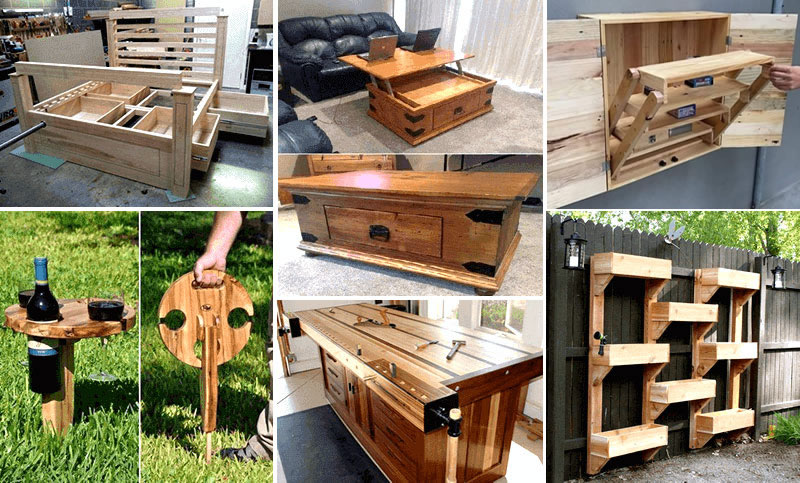
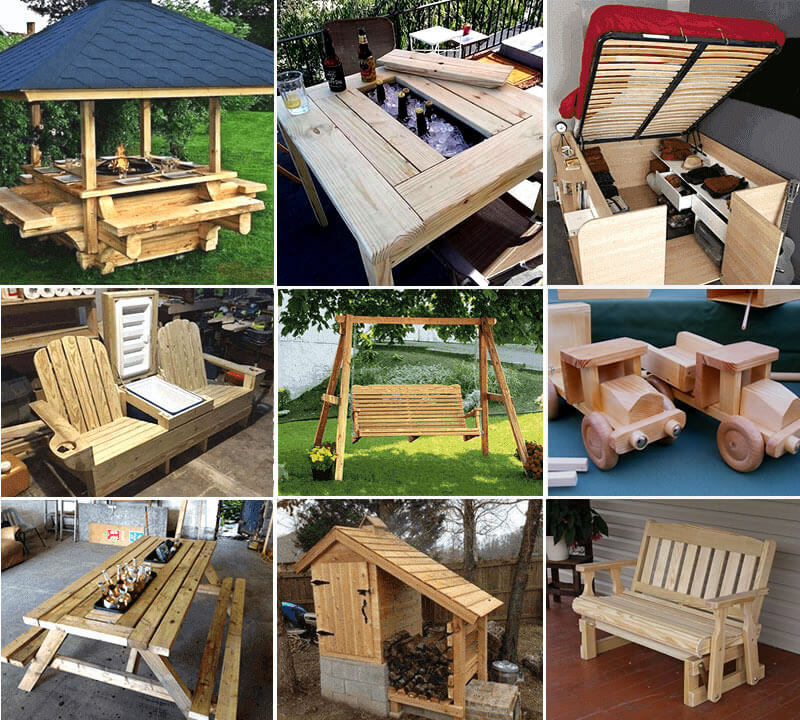
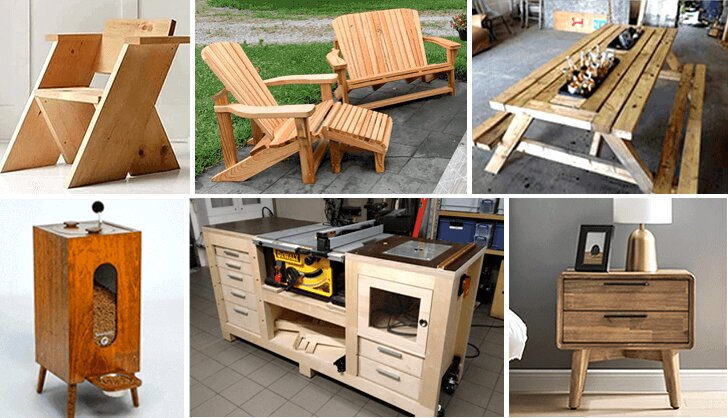
Then give the sharp edge something to do. TedsWoodworking has 16,000 plans, each with step-by-step instructions, an exact cut list and a complete materials list, so the next session can be a real project instead of practice on scrap.
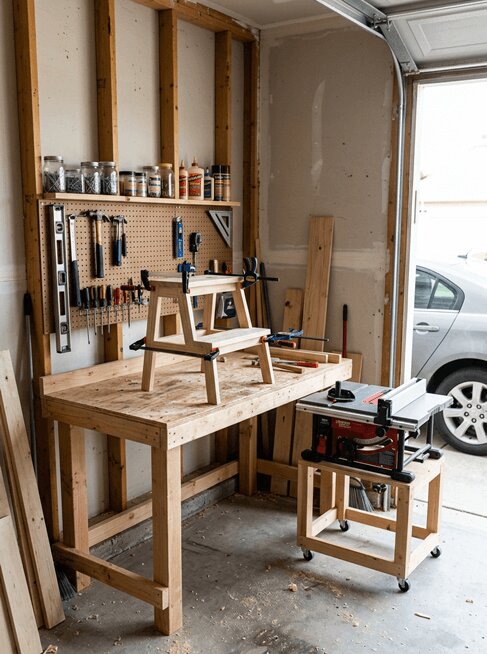
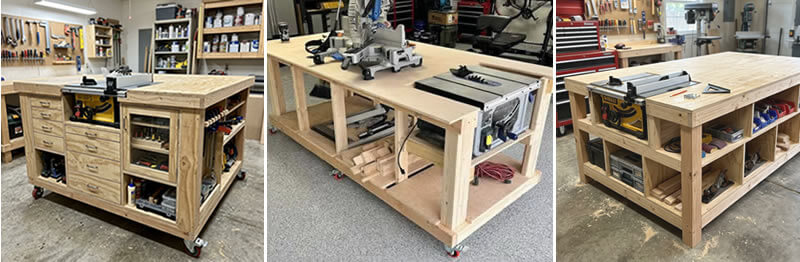
A look inside TedsWoodworking












FAQ
How often should I sharpen?
Whenever the surface starts to tear rather than shear. In practice that is every twenty to forty minutes of steady hand work.
Do I need a grinder?
Only for chipped edges or to change a bevel angle. Day to day, stones and a strop are enough.
Is freehand better than a honing guide?
Freehand is faster once learned. A guide is more accurate from the first day, which matters more while you are learning what sharp feels like.
Why does my chisel still not cut?
Nine times out of ten the back was never flattened at the edge. Check the first inch of the back before touching the bevel again.
Next step
Flatten the back of one chisel tonight, set a honing guide to 30 degrees, and keep the fine stone on the bench from now on. Then pick a first project that puts the edge to work.
Based on standard hand-tool sharpening practice and on the bevel angles commonly specified for bench chisels, mortise chisels and plane irons. Product details for TedsWoodworking are from the vendor’s published offer page as of September 28, 2026.