Disclosure: this article contains affiliate links. If you buy through them, we may earn a commission at no extra cost to you. How this works.
Short answer
Accurate measuring and marking is not about a more expensive ruler. It is about removing chances to be wrong: one tape, one reference face, one line width, and no arithmetic you can avoid.
Most joints that do not close were laid out correctly and marked badly. A pencil line is roughly half a millimetre wide, and half a millimetre is the whole tolerance of a good fit.
Plans with every measurement verified to 1/16 inch
- 16,000 plans with step-by-step instructions, exact cut lists and materials lists
- Multi-angle drawings with exploded views of every joint
- Search by keyword or browse 100+ categories by difficulty
- New plans every month and a 60-day money-back guarantee
Rule 1 — One tape for the whole project
Tape measures are not identical. The hook slides on purpose, by exactly the thickness of the hook, so it reads the same pushed against something as hooked over an edge. When that rivet loosens, the tape starts lying, and it lies differently from your other tape.
Over 8 feet, two tapes from different makers can disagree by a sixteenth of an inch. That error lands in one joint, which is always the visible one.
So: pick a tape, mark it, and use it for every measurement in the project. If two people are working, they use the same tape or they use a story stick.
Rule 2 — One reference face, marked
Choose the flattest face and the straightest edge of each board, mark them with a pencil squiggle, and take every measurement and every setup from those two surfaces. This is the oldest rule in the trade and the most frequently ignored.
The reason is simple: no board is perfectly parallel. If you measure thickness from one face and cut a groove from the other, the groove is off by whatever the board is out of parallel, and no amount of careful measuring recovers it.
Mark the faces before you cut anything. After the first cut, you cannot tell which was which.
Rule 3 — Stop measuring and start transferring
Every one of these removes a place where a number can be read wrong. A shelf that fits is worth more than a shelf that measures correctly.
- Story stick: a scrap the length of the piece, with every position marked on it once. Transfer from the stick to each part. No number is ever read twice.
- Direct marking: hold the actual part in place and mark where it lands, instead of measuring it and cutting to the number.
- Gang cutting: clamp identical parts together and cut them at once. They are then identical by construction, not by measurement.
- Stop block: set once on the miter saw, then every crosscut is the same length without a tape touching it.
Rule 4 — Mark with a knife where it matters
The habit worth building: pencil for where the part goes, knife for where the cut lands. Then cut to the waste side of the line, always, and decide which side is waste before you pick up the saw.
| Tool | Line width | Use it for |
|---|---|---|
| Carpenter’s pencil | ~1 mm | Rough cuts, framing, offcut marks |
| Sharp pencil (0.5 mm) | ~0.5 mm | General layout, cut lists |
| Marking knife | ~0.05 mm | Joinery shoulders, dovetails, hinge mortises |
Check the tools themselves
A square is only square until it is dropped. Test it against itself: press the head on a straight edge, draw a line, flip the square, draw again from the same point. Two lines that diverge mean the square is out — and the error you were blaming on your sawing was never yours.
A caliper settles thickness arguments that a tape cannot. Stock sold as 3/4 inch commonly measures 0.70 to 0.72, and a dado cut to the nominal figure leaves a joint that rattles. Measure the board, cut to the board.
Check the saw blade square to the table with a small machinist square rather than the printed scale, and check the fence parallel to the blade. These two setups cause more bad cuts than any operator error.
Where accuracy actually pays
Not everywhere. A shelf that is a sixteenth short is invisible; a drawer front that is a sixteenth off is the first thing anyone sees. Spend the effort on faces, fronts, reveals and anything that meets at a visible line.
That is also why cut lists are written with the visible parts first and the hidden parts cut to fit — an idea covered in reading a cut list without wasting lumber.
And remember that the wood will keep changing size after you are done: see wood movement for which dimension is worth chasing to the thousandth and which one is going to move anyway.
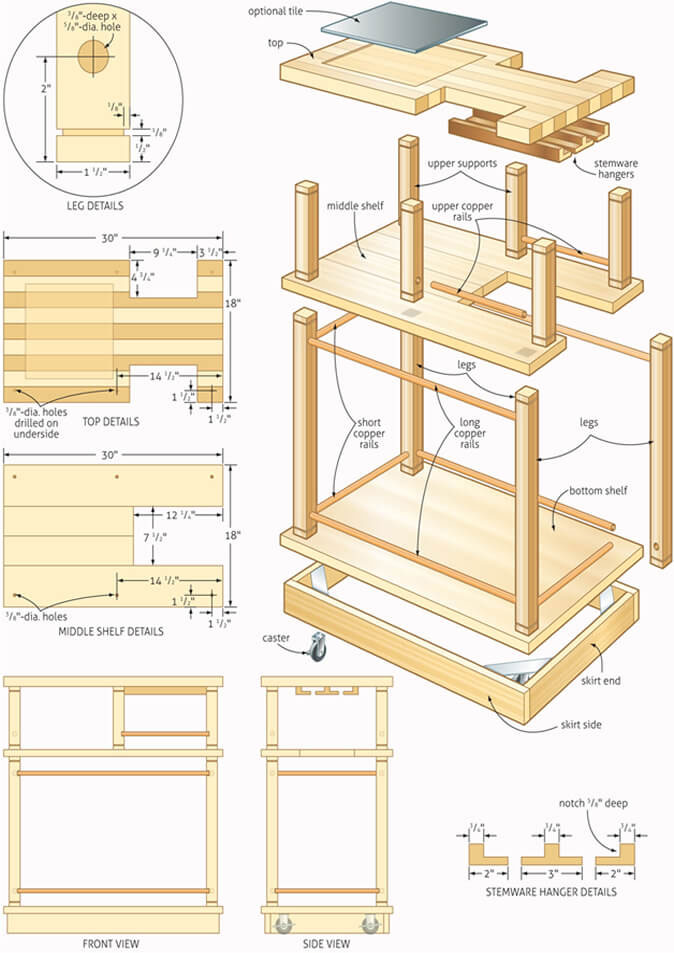
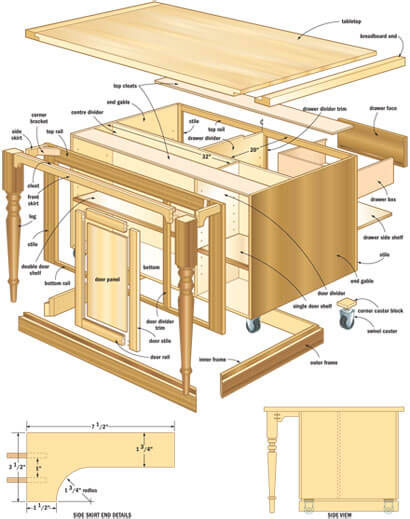
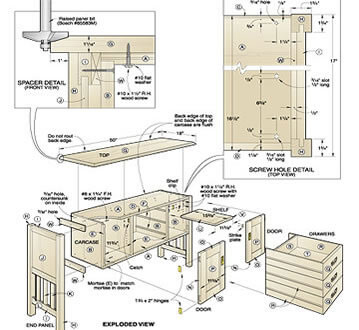
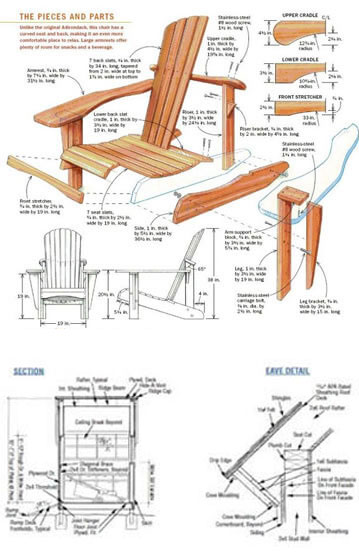
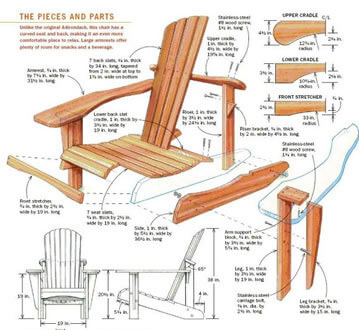
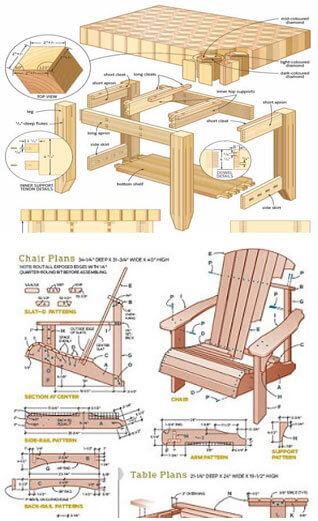
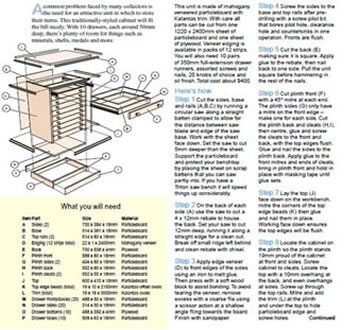
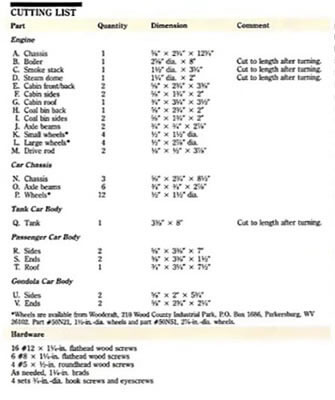
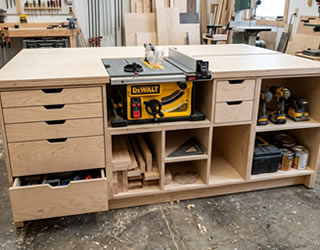
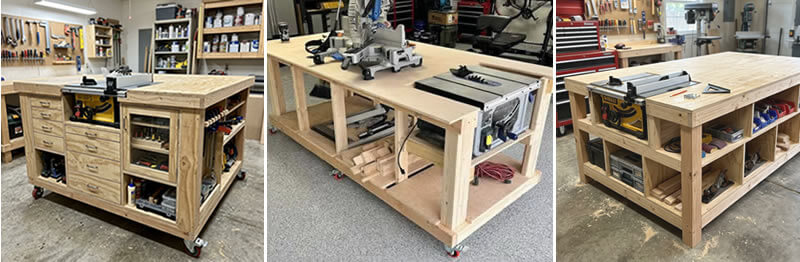
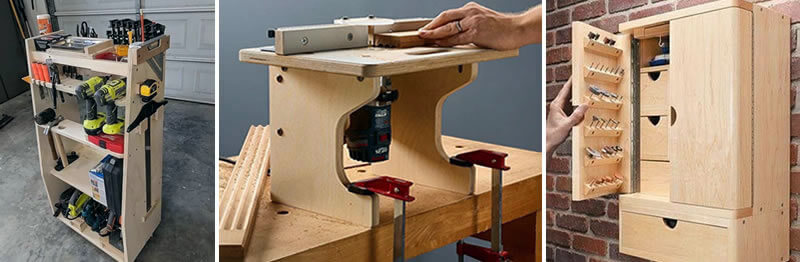
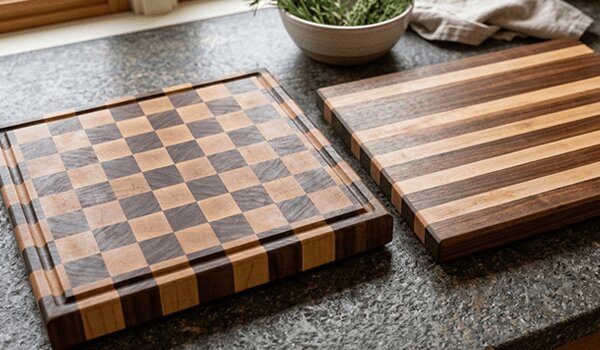
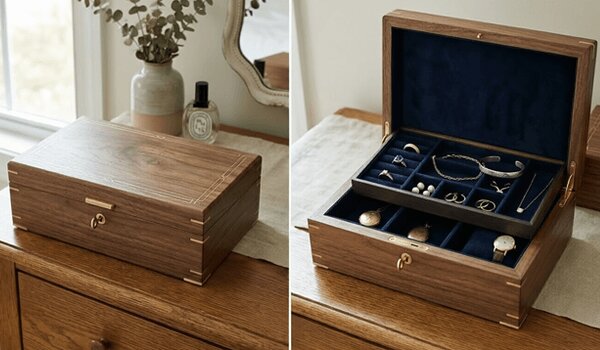
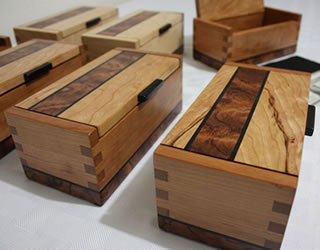
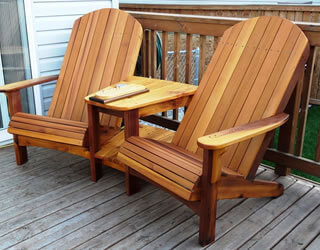
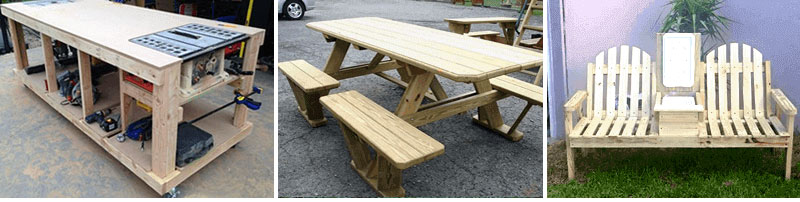
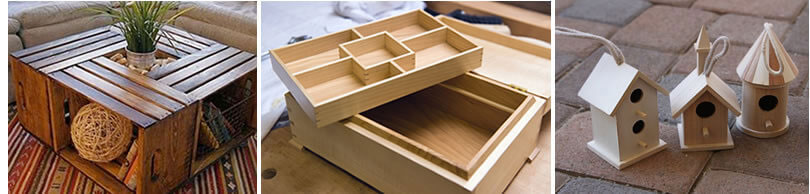
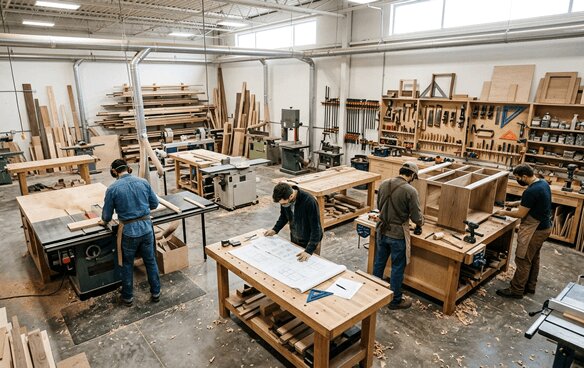
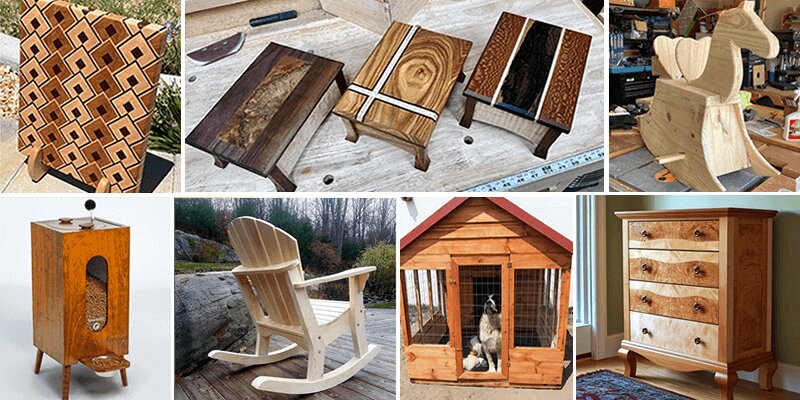
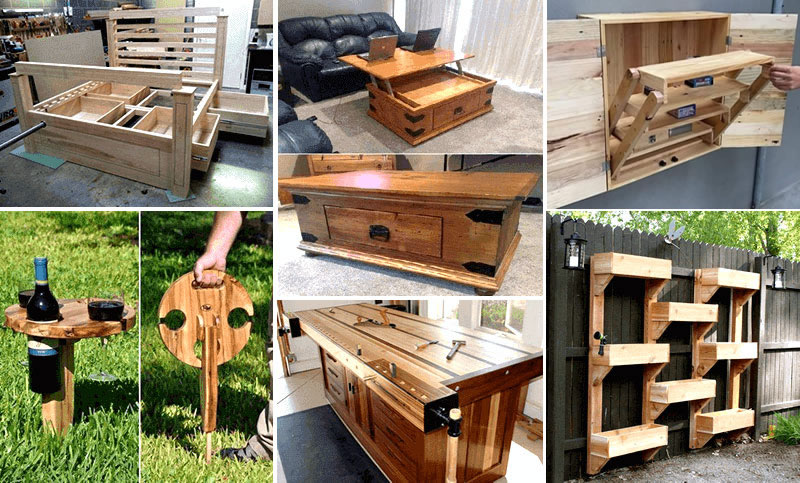
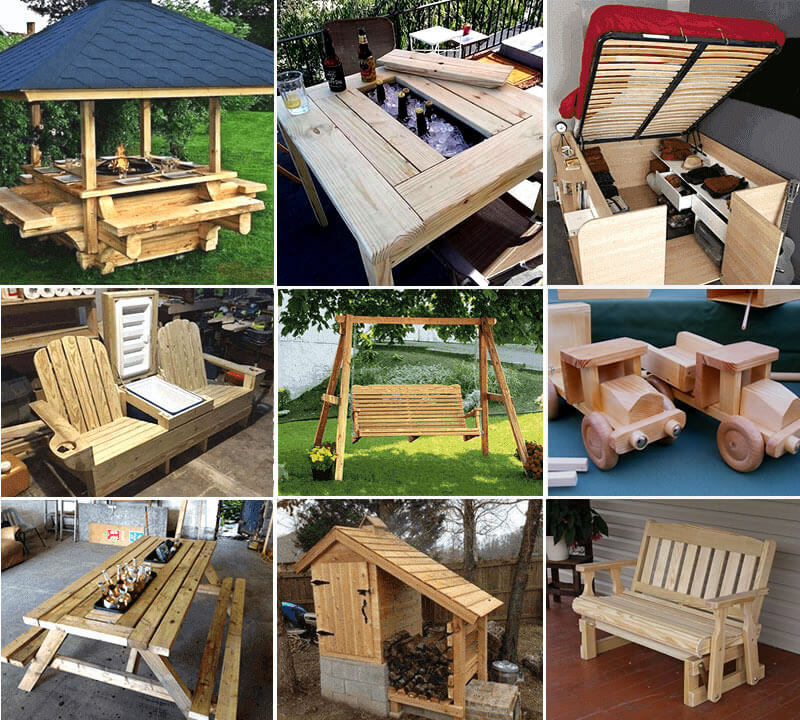
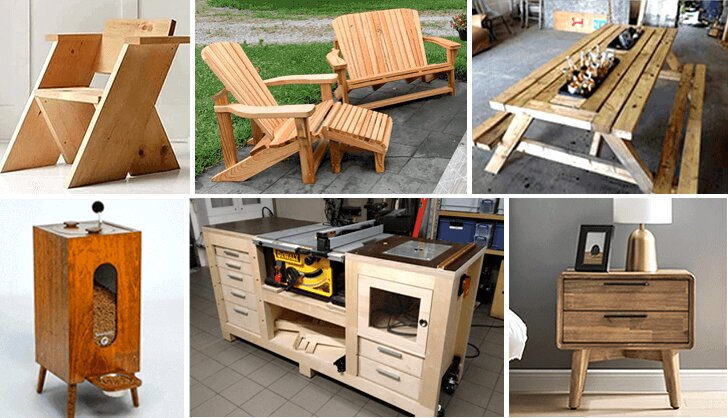
The fewer numbers you have to work out yourself, the fewer you can get wrong. TedsWoodworking has 16,000 plans, each with an exact cut list, a complete materials list and multi-angle schematics, so the layout starts from numbers already worked out.
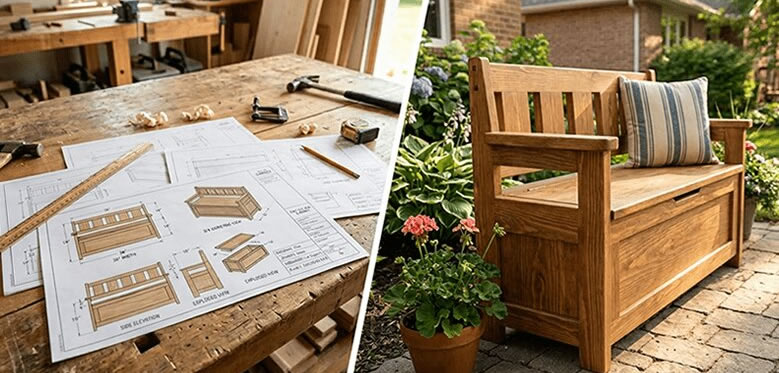
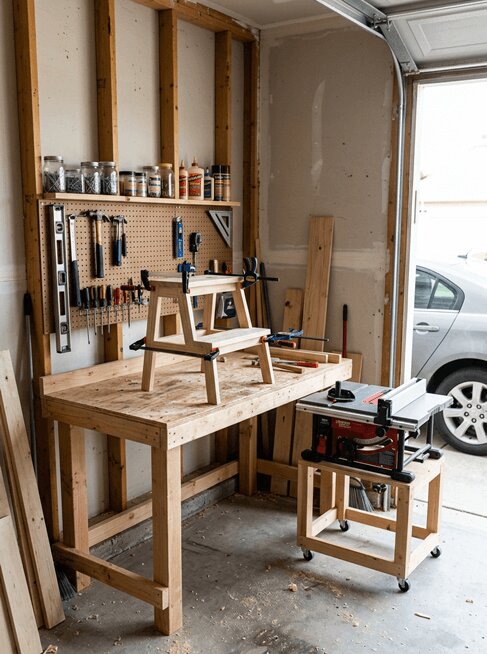
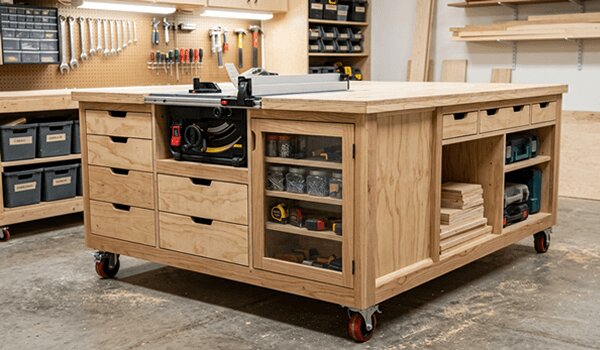
A look inside TedsWoodworking











FAQ
Metric or imperial in the shop?
Whichever you think in — but only one. Millimetres avoid fraction arithmetic and are easier to halve, which is why many woodworkers switch for joinery even in the US.
Is a digital caliper worth it for woodworking?
Yes, mainly for stock thickness and for matching groove widths to actual material. It removes the guessing that nominal dimensions cause.
How do I mark a line I can actually see in dark wood?
A white pencil or a knife line rubbed with chalk. On walnut, a knife line catches the light better than any pencil.
Why do my cuts drift even with a good line?
Usually the blade starts on the line instead of beside it. Decide the waste side, then cut so the blade just kisses the line and leaves it standing.
Next step
On your next build, pick one tape, mark the reference face and edge on every board, and cut the parts that show first. Check your square against itself before any of it.
Based on standard woodworking layout practice and on how tape hooks, marking knives and combination squares are specified to be used. Product details for TedsWoodworking are from the vendor’s published offer page as of September 28, 2026.