Disclosure: this article contains affiliate links. If you buy through them, we may earn a commission at no extra cost to you. How this works.
Short answer
To frame shed walls, lay out the top and bottom plates together, mark studs every 16 inches, frame the door and window openings with headers, and nail each wall together flat on the shed floor. Then tip the walls up, plumb them, brace them and tie the corners together.
Building walls flat and square on a level floor is what makes the rest of the shed — siding, roof, doors — go together easily.
Shed plans with every part drawn from every angle
- 12,000 shed plans in all sizes and styles
- Drawings from every angle, step-by-step instructions, materials and cutting lists
- A free custom plan if the shed you want is not in the collection
- Instant access and a 60-day money-back guarantee
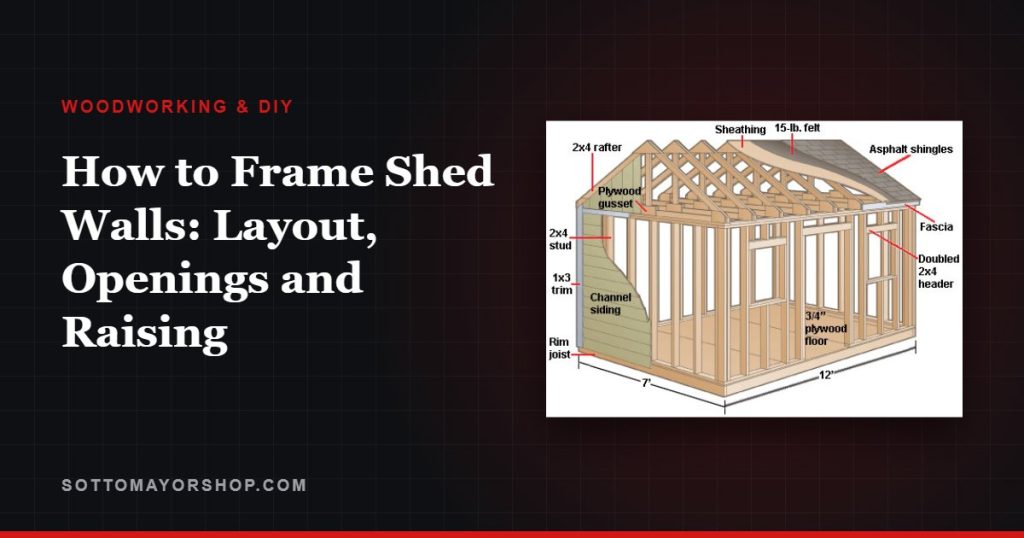
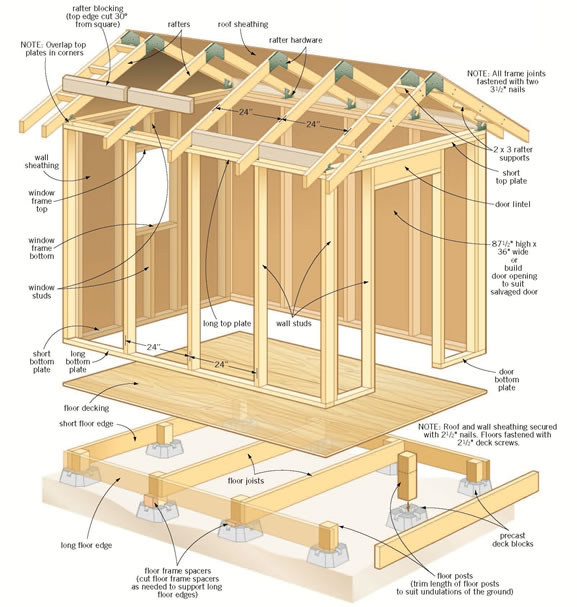
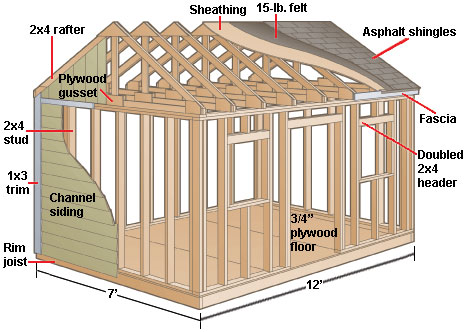
The parts of a wall
| Part | Job |
|---|---|
| Bottom plate | Nailed to the floor frame; holds the bottom of every stud |
| Top plate | Ties the studs together at the top; often doubled to lap the corners |
| Studs | Vertical members, usually 16 or 24 inches on center |
| King and jack studs | The pair on each side of an opening; the jack holds up the header |
| Header | The beam over a door or window that carries the load around the opening |
| Cripples and sill | Short studs above headers and below windows, and the flat piece under a window |
Lay out the plates together
Clamp the top and bottom plates side by side and mark both at once, so every stud lands in the same place top and bottom. Mark stud centers every 16 inches from the end of the wall, so the edges of 4-foot siding or sheathing panels fall on a stud.
Mark the openings next: the king studs, jack studs and the rough opening width your door or window calls for. Always check the rough opening size in the instructions for the actual door or window you will install.
Frame the openings
- Cut headers to span the rough opening plus the two jack studs they sit on.
- Make a header from two 2x boards with a strip of plywood between them, so it matches the wall thickness — or follow the header size your plan gives for that span.
- Nail the king studs to the plates, the jack studs to the kings, and set the header on the jacks.
- Fill above the header and below the window sill with cripple studs on the 16-inch layout.
Build each wall flat
Lay the plates on the shed floor, place the studs between them, and nail through the plates into each stud end with two 3 1/2-inch framing nails. Check the wall for square by measuring its diagonals; they should match.
Some builders nail the siding or sheathing on while the wall is still flat and square, which locks it in shape before raising. The siding choices are compared in shed siding options.
Raise, plumb and brace
- Tip each wall up with a helper and nail the bottom plate into the floor frame.
- Plumb the wall with a long level at both ends, then hold it with a temporary diagonal brace.
- Raise the next wall, nail the corners together and check plumb again.
- Add a second top plate that overlaps the corners, tying the walls into one box.
- Leave the braces in place until the roof framing and sheathing are on.
Wall height and studs
Precut studs of 92 5/8 inches are made for an 8-foot wall with a single bottom plate and a double top plate. Many sheds use shorter walls, especially under a gambrel or saltbox roof; your plan’s cut list gives the exact stud length.
Everything starts with a level floor frame. If the floor is out, the walls will be too — see how to build a shed floor.
Doors come next
With the walls up and braced, the door opening is ready for its frame and door. The build is covered in how to build a shed door.
Build from exact cutting lists
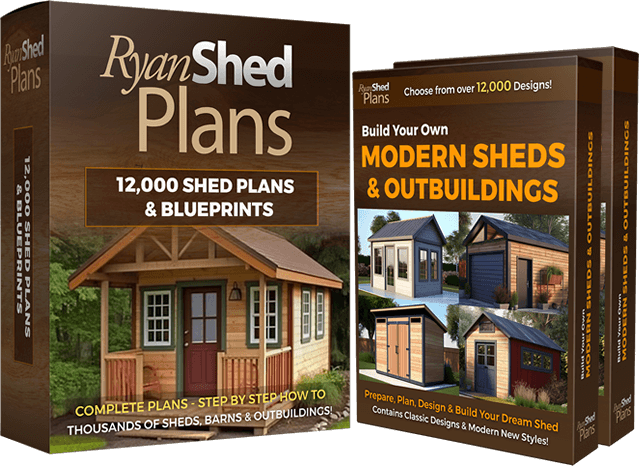
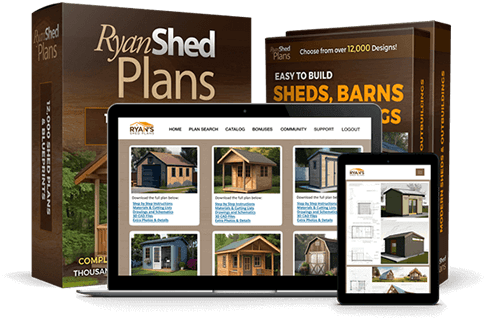
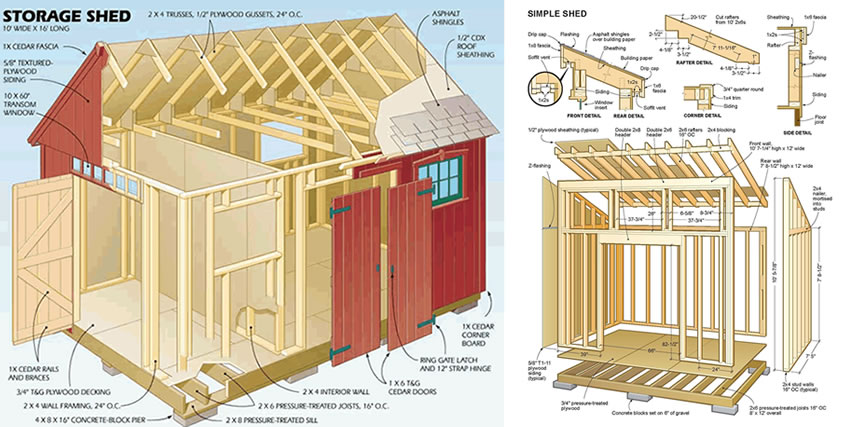
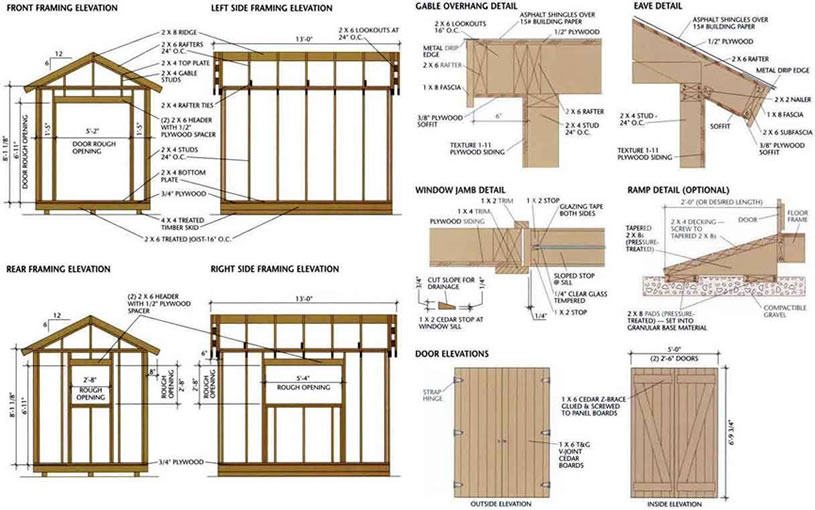
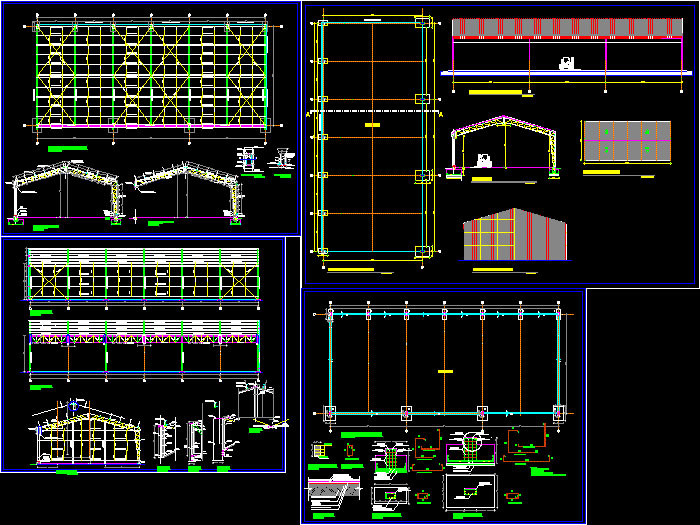
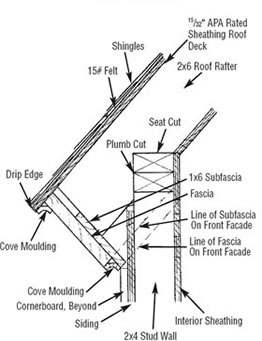
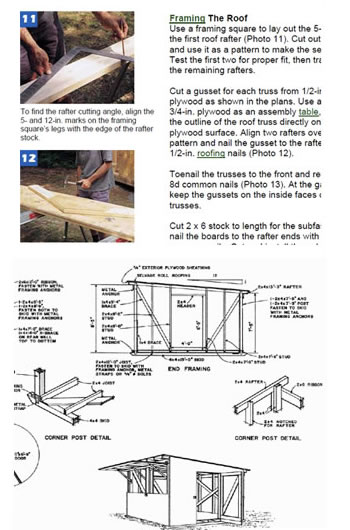
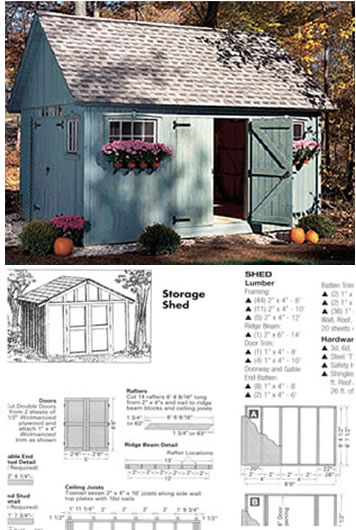
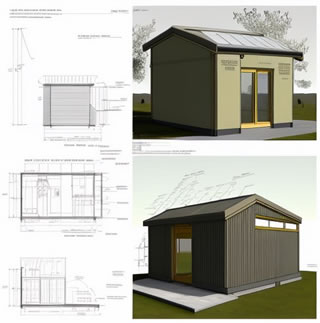
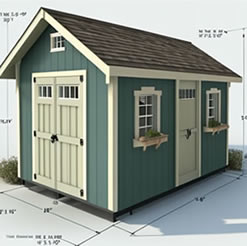
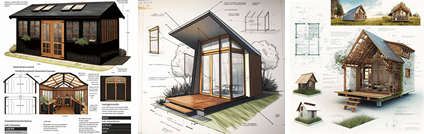
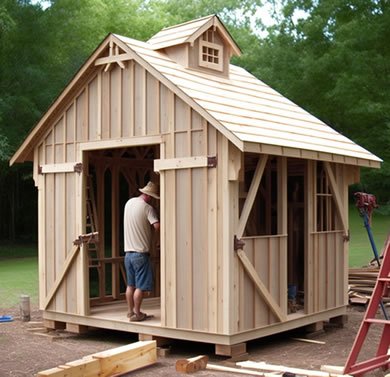
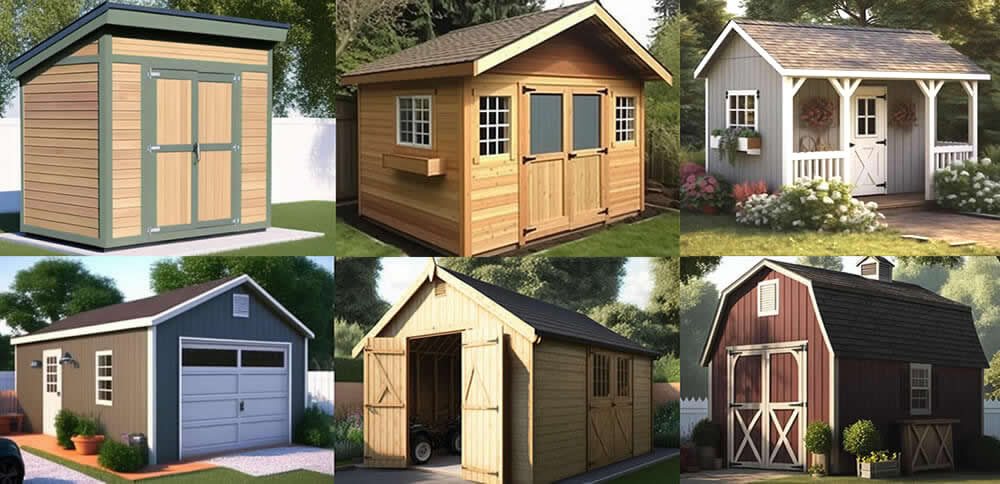
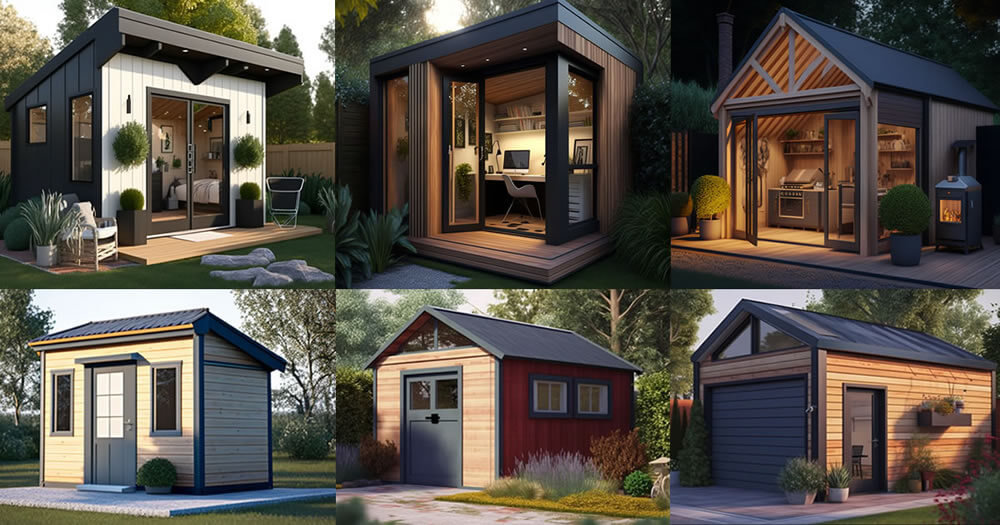
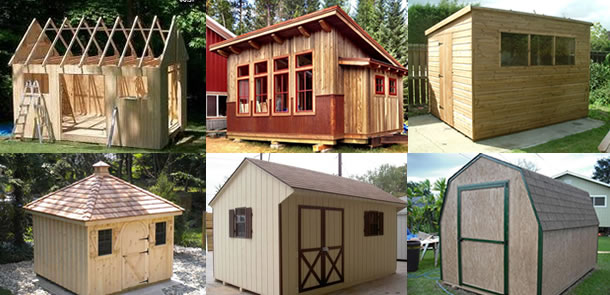
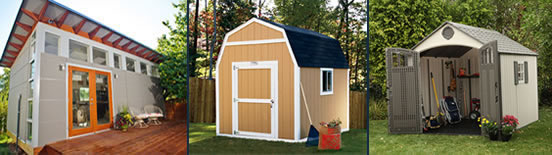
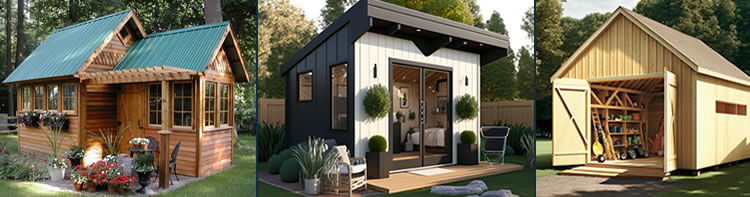
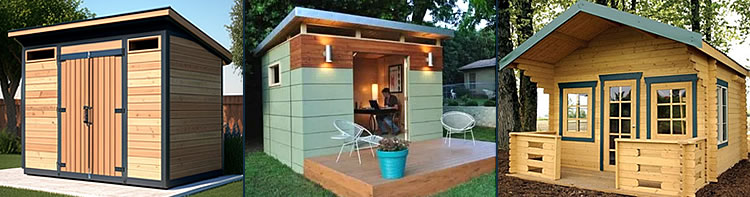
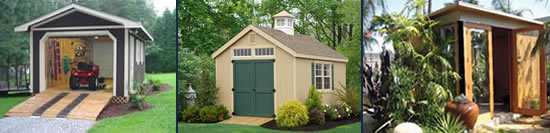
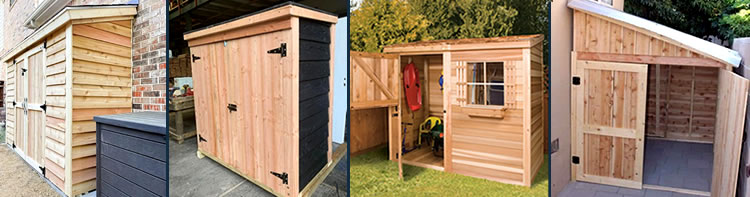
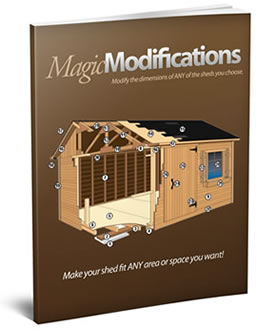
RyanShedPlans offers 12,000 shed plans with step-by-step instructions and complete materials and cutting lists, with clear labels showing what each item is used for, plus 3D CAD images that show every part from all angles before you start.
A look inside RyanShedPlans


FAQ
How far apart should shed wall studs be?
Usually 16 inches on center. Some small sheds use 24 inches; follow your plan and your siding’s requirements.
Do shed walls need a double top plate?
A double top plate that overlaps the corners ties the walls together and is common practice. Some small sheds use a single plate; follow your plan.
What size header does a shed door need?
It depends on the span and the load. Many shed plans use a built-up header of two 2x boards; your plan gives the size for each opening.
Should I sheathe shed walls before raising them?
It is a common shortcut: sheathing a wall while it lies flat and square locks it in shape. Heavier walls need more hands to raise.
Next step
Before you cut a stud, snap chalk lines on the floor frame where each wall will sit, and check that the diagonals match.
Based on standard light-frame wall construction as used in sheds and houses: plate layout, openings, headers and raising. Product details for RyanShedPlans are from the vendor’s published page as of September 29, 2026.