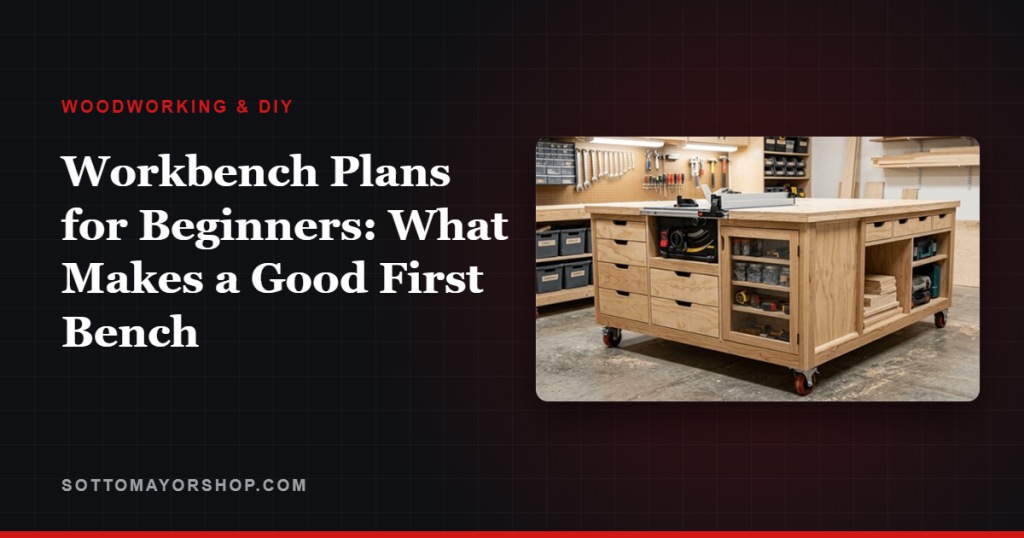
Disclosure: this article contains affiliate links. If you buy through them, we may earn a commission at no extra cost to you. How this works.
Short answer
Good workbench plans for beginners share four things: a top that is flat and heavy, a height that fits your body, a base that does not rack, and one reliable way to hold work still. Everything else can come later.
Build it from construction lumber and plywood, keep it simple, and let the first bench teach you what the next one needs.
Workbench plans with exact cut lists
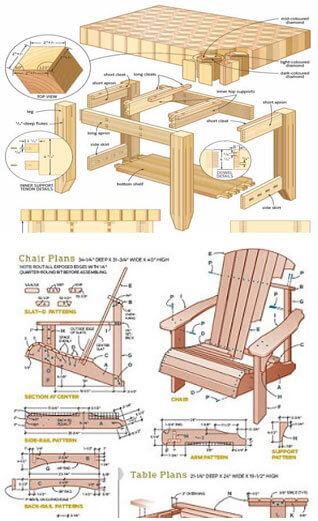
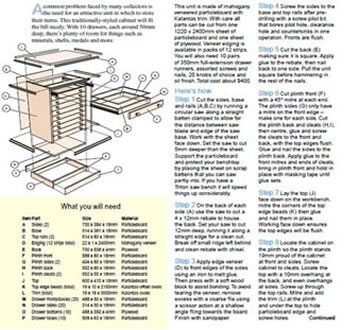
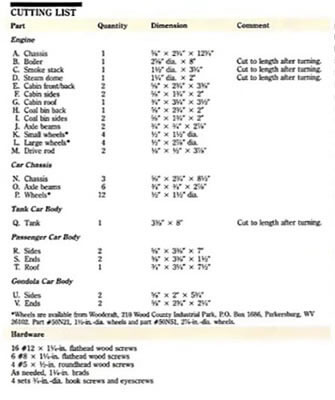
- 16,000 plans with step-by-step instructions, exact cut lists and materials lists
- Multi-angle drawings with exploded views of every joint
- Search by keyword or browse 100+ categories by difficulty
- New plans every month and a 60-day money-back guarantee
The four things that matter
Fancy joinery and exotic hardwood are optional. These four are not.
| Feature | Why it matters | A good beginner answer |
|---|---|---|
| Height | Too low hurts your back; too high robs you of leverage | Palm height with your arms at your sides, often 34 to 38 in |
| Top | A flat, heavy top keeps work still and is your reference surface | Two layers of 3/4 in plywood or MDF, glued and screwed |
| Base | A base that racks turns sawing and planing into a fight | 4×4 legs, or doubled 2x4s, with stretchers low and high |
| Work holding | You need to hold a board without holding it | Clamps plus a planing stop now, a face vise later |
Height: fit the bench to you
Stand straight with your arms hanging loose and measure from the floor to your palms. That is the classic starting point for a general-purpose bench, and for most adults it lands somewhere between 34 and 38 inches.
Go a little lower if you plan to do a lot of hand planing, where you push down and forward with your body weight. Go higher for detail work, carving and assembly, where you want the work closer to your eyes.
When in doubt, build it slightly tall. Taking an inch off four legs is easy; putting it back is not.
The top: flat, heavy and replaceable
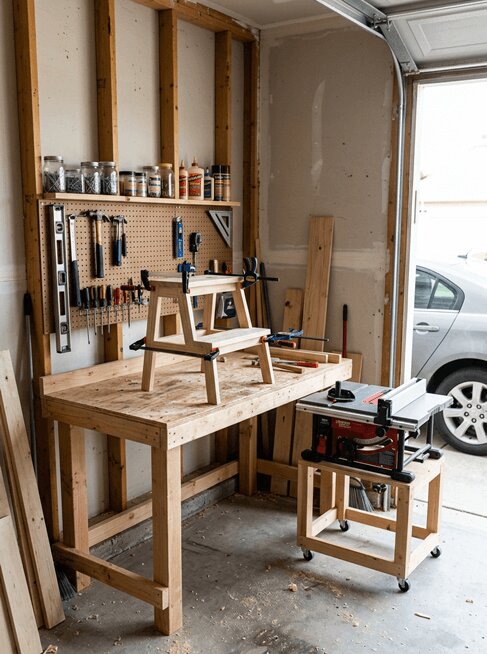
Two layers of 3/4-inch plywood or MDF, glued and screwed from below, make a 1-1/2-inch top that is flat, heavy and inexpensive. A sheet of hardboard tacked on top takes the glue, paint and saw nicks, and gets replaced when it looks tired.
About 24 inches deep and 5 to 6 feet long suits most garages. Deeper than about 30 inches and you cannot reach across it; shorter than 4 feet and long boards hang off both ends.
Leave a few inches of overhang on the front and one end. That lip is where clamps grab, and a bench you cannot clamp to is only a table.
A base that does not rack
Racking is the side-to-side sway you feel when you saw or plane on a flimsy bench. Every stroke moves the bench instead of the tool.
Long stretchers near the floor and under the top, glued and bolted into thick legs, stop most of it. A plywood shelf screwed to the lower stretchers stops the rest: it braces the base like a shear panel, adds weight low down, and gives you storage.
Weight is a feature, not a flaw. A heavy bench stays put when you lean on it.
Holding the work
- Clamps along the overhang hold most work on day one.
- A planing stop — a strip of hardwood that stands just proud of the top at one end — lets you plane boards without clamping them.
- Bench dog holes in 3/4-inch diameter, the standard size for most bench accessories, turn the whole top into a clamping system.
- A face vise bolted under the front edge is the first real upgrade. Mount it at the left end if you are right-handed.
Fixed or on wheels?
A bench that moves while you plane is not a bench. In a small shop, the main bench is the one thing that should stay heavy and against a wall, while the assembly table and machine stands roll — the approach in small workshop layout.
If you need to move it occasionally, add a pair of retractable casters that lift the bench only when you step on them, rather than putting it on wheels full time.
Start from a plan
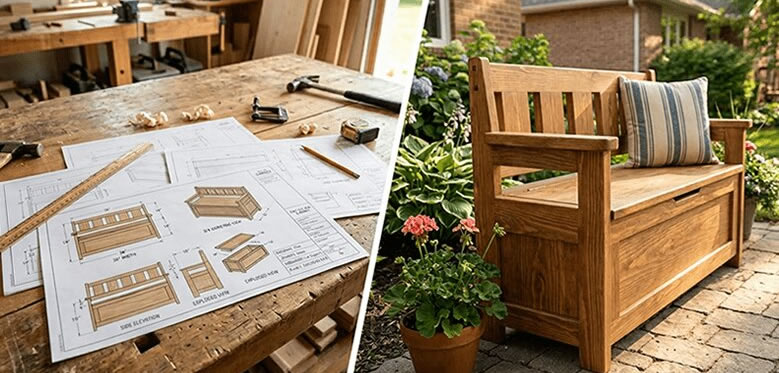
A first bench needs only the basic kit: a circular saw, a drill, clamps and a square — the stage-one list in a beginner woodworking tool list. What makes the difference is a plan with every part sized before you buy lumber.
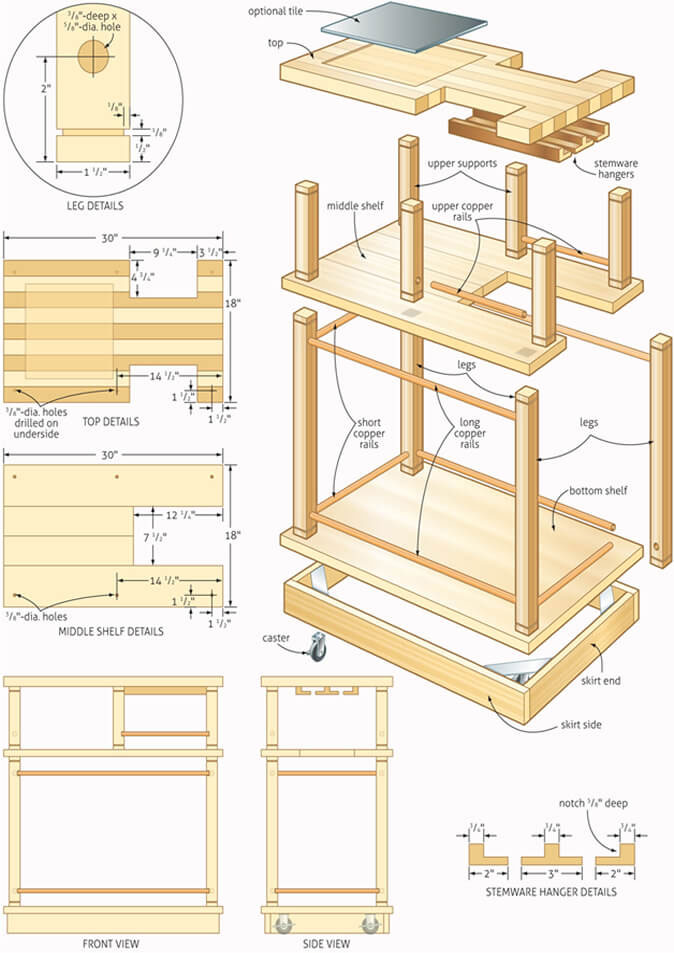
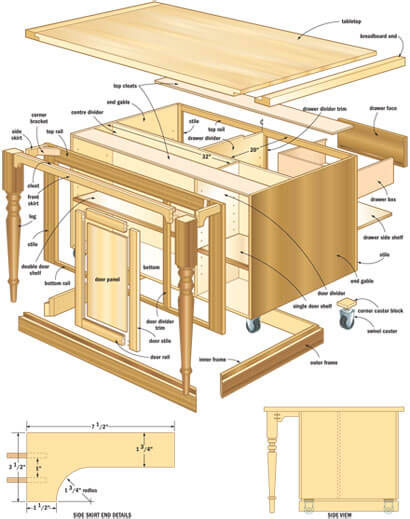
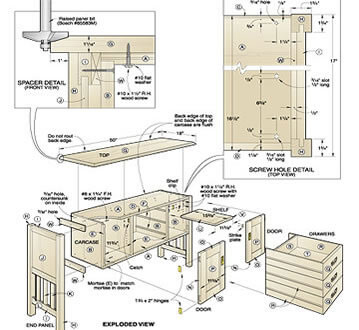
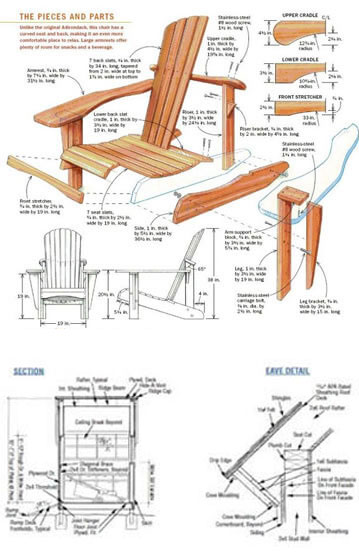
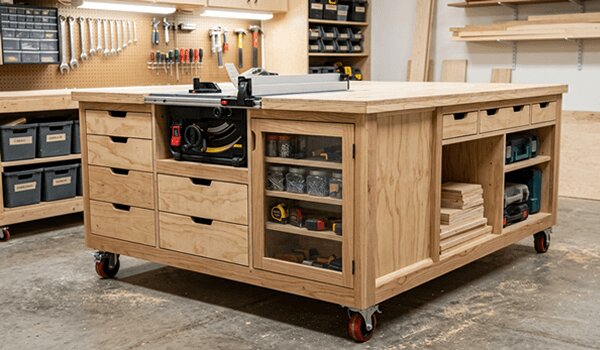
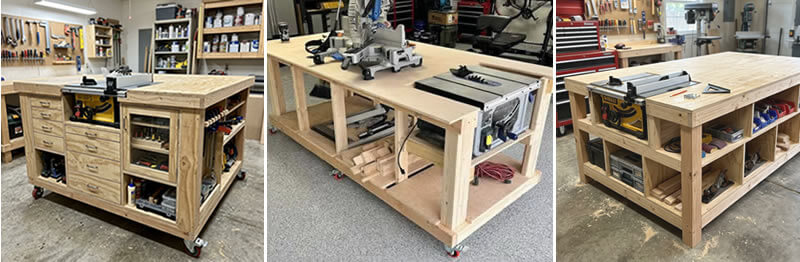
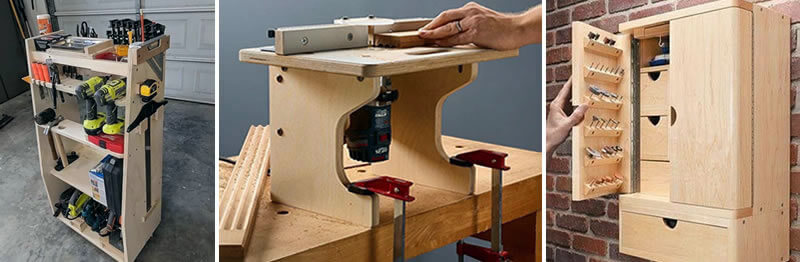
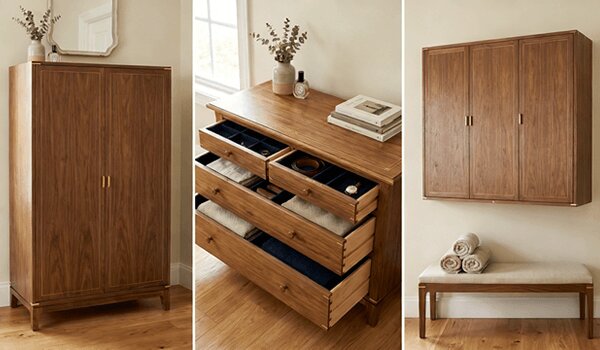
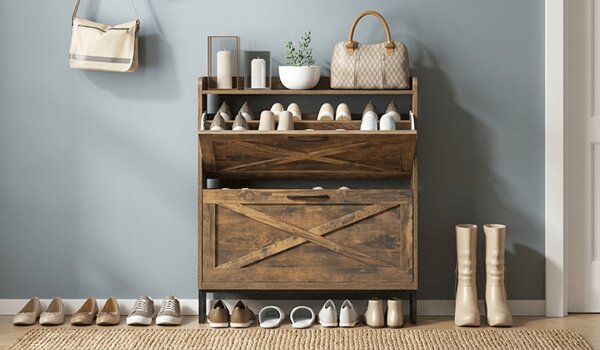
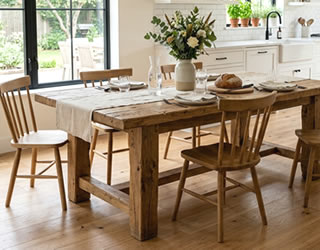
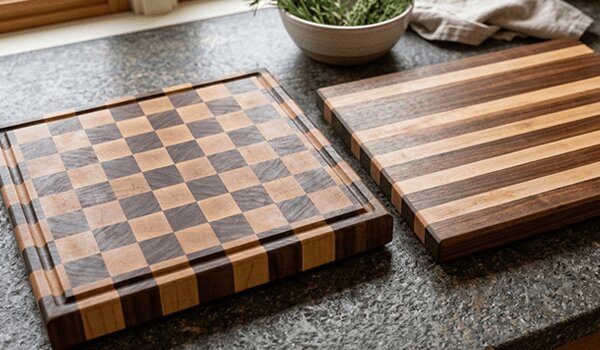
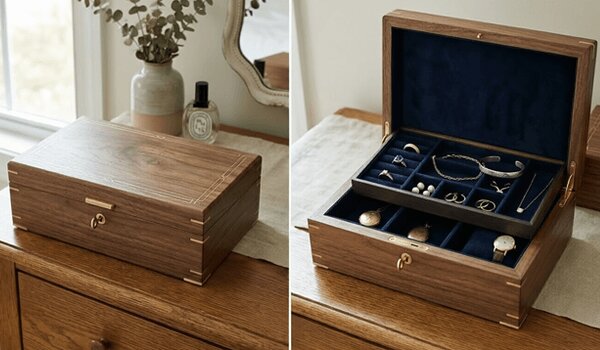
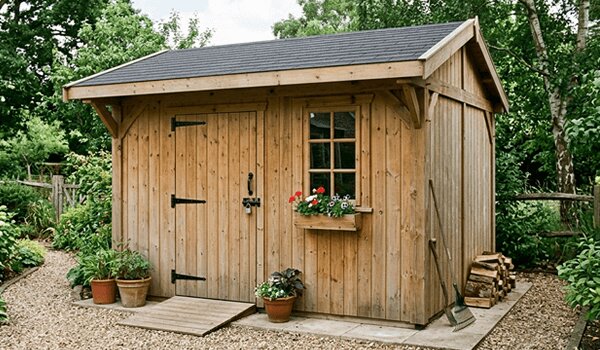
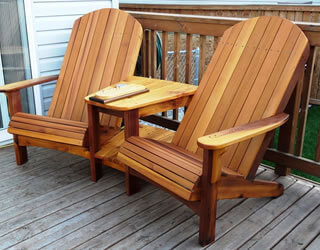
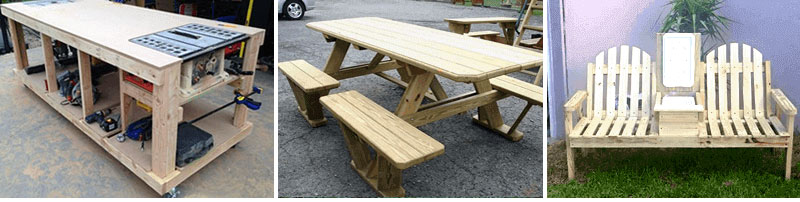
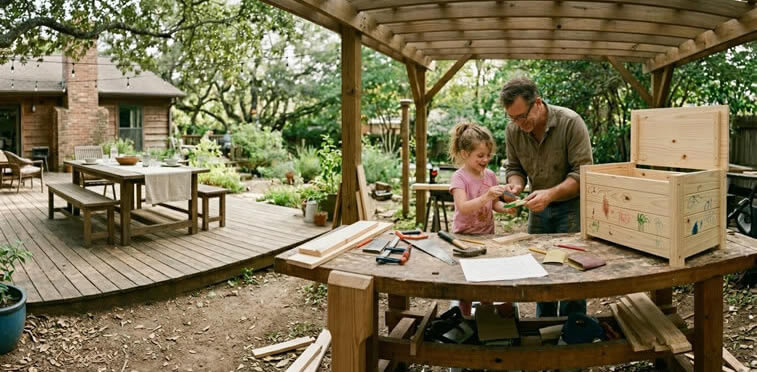
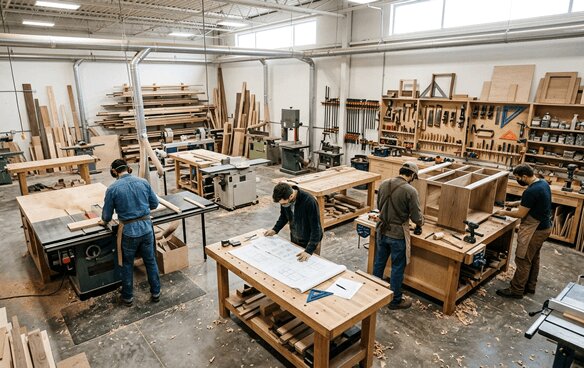
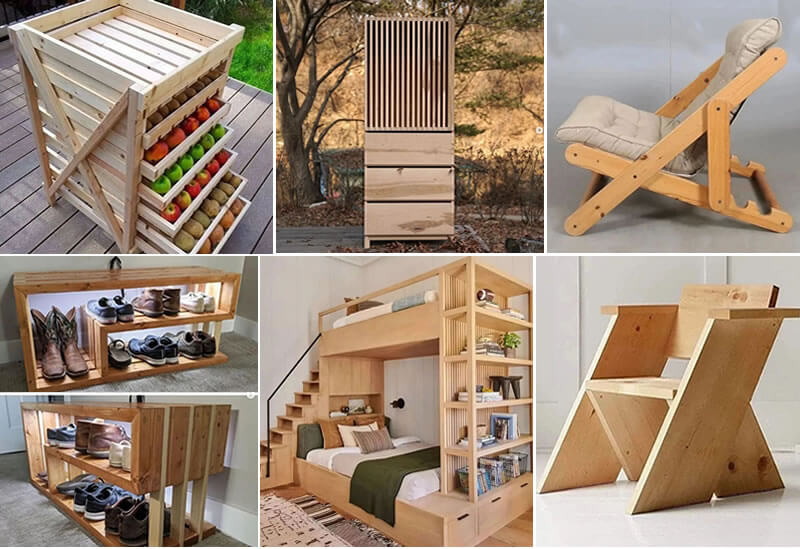
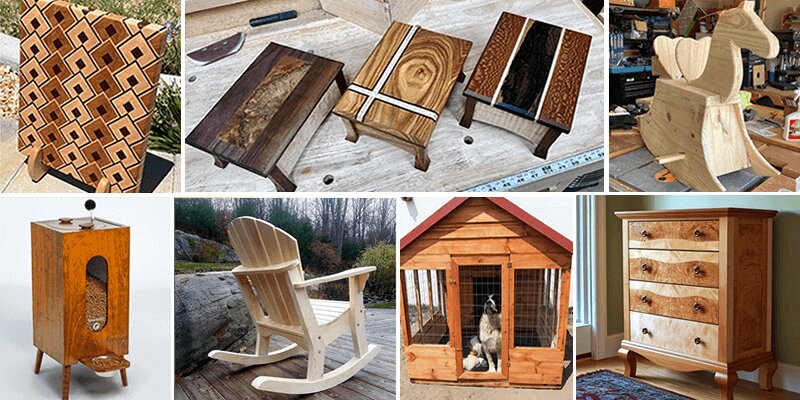
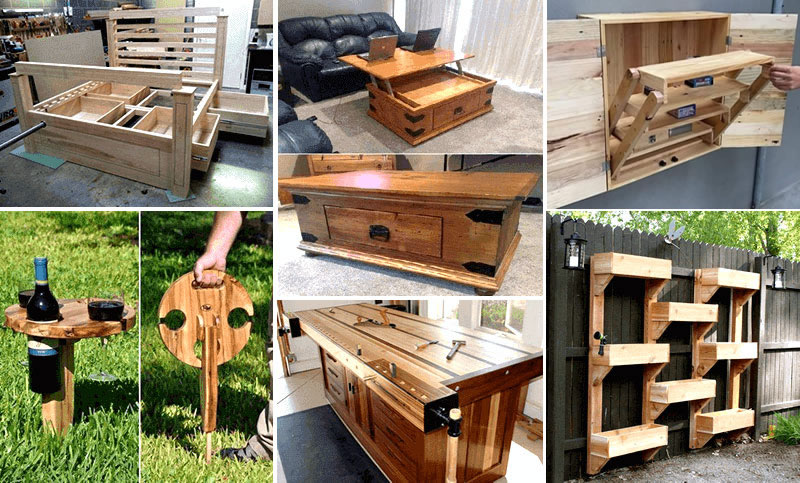
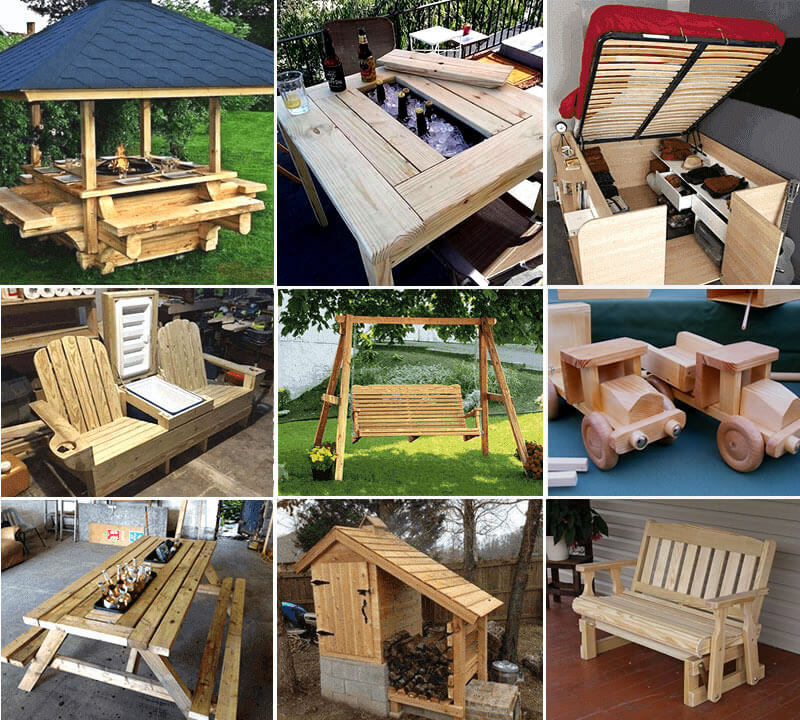
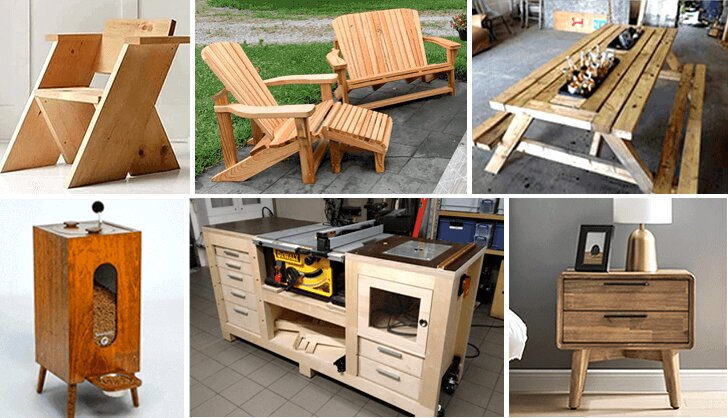
TedsWoodworking lists more than 1,850 plans in its Workshop & Tools category, workbenches among them, and every plan in the 16,000-plan library comes with step-by-step instructions, an exact cut list and a complete materials list.
A look inside TedsWoodworking






FAQ
What height should a workbench be?
Start at the height of your palms with your arms at your sides, usually 34 to 38 inches. Lower suits hand planing; higher suits detail work and assembly.
What is the best wood for a first workbench?
Construction-grade 2x4s or 4x4s for the base and two layers of 3/4-inch plywood or MDF for the top. It is affordable, flat enough, and easy to replace later.
How big should a workbench be?
About 24 inches deep and 5 to 6 feet long suits most garages. Deeper than about 30 inches is hard to reach across.
Do I need a vise on my first workbench?
Not on day one. Clamps and a planing stop hold most work. Add a face vise once you know which end of the bench you work from.
Next step
Measure your palm height tonight and write it on the wall. That number plus a 24 x 60 inch top is the start of your bench.
Based on standard workbench design practice for hand-tool and power-tool work in a home shop. Product details for TedsWoodworking are from the vendor’s published offer page as of September 29, 2026.