Disclosure: this article contains affiliate links. If you buy through them, we may earn a commission at no extra cost to you. How this works.
Short answer
To install shed windows, frame a square rough opening to the size the window maker specifies, flash the opening from the bottom up so water always runs outward, set the window level and plumb, fasten it, and cover the edges with trim and a drip cap.
Most shed leaks come from windows flashed in the wrong order, so the sequence matters more than the tools.
Shed plans with drawings from every angle
- 12,000 shed plans in all sizes and styles
- Drawings from every angle, step-by-step instructions, materials and cutting lists
- A free custom plan if the shed you want is not in the collection
- Instant access and a 60-day money-back guarantee
Choose the window
| Type | Good for | Notes |
|---|---|---|
| Barn sash | Classic shed look, simple fixed light | Often single-pane; easy to fit |
| Vinyl with nailing fin | Sheds that need to open and seal well | Installs like a house window |
| Transom or strip windows | Light high on the wall, privacy and security | Leaves wall space below for shelves |
| Polycarbonate panels | Workshops and sheds near play areas | Shatter-resistant, lighter than glass |
Frame the rough opening
Manufacturers usually call for a rough opening a little larger than the window — often about 1/2 inch in width and height — to leave room for shims. Always use the number in the instructions for your window.
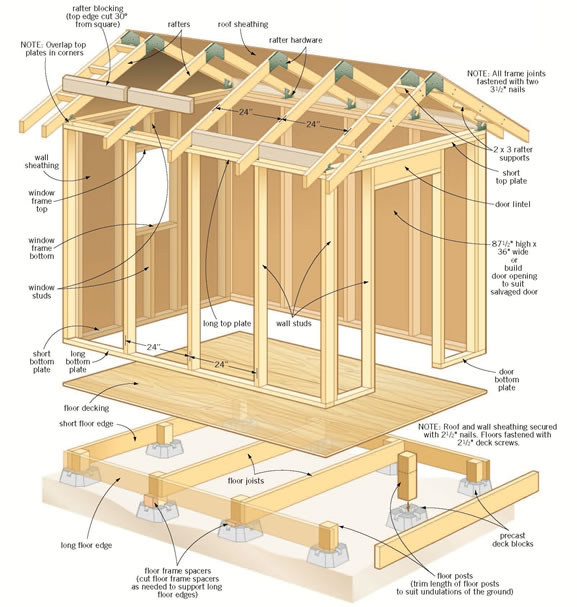
Frame the opening with king and jack studs, a header above and a sill below with cripple studs under it, and check that the diagonals match. The wall framing itself is covered in how to frame shed walls.
Flash from the bottom up
- Cut the house wrap or building paper at the opening and fold it into the sides.
- Apply flashing tape across the sill first, running it up the sides a few inches.
- Run a bead of sealant along the top and sides of the opening, where the nailing fin will sit; many makers say to leave the bottom unsealed so water can drain.
- Set the window, then tape over the side fins, overlapping the sill tape.
- Tape the top fin last, overlapping the side tapes, and fold the house wrap down over it.
- Think like a shingle: every layer laps over the one below it.
Set, shim and fasten
Center the window in the opening, shim it level at the sill and plumb at the sides, and check that it opens and closes smoothly before fastening. Nail or screw through the fin as the instructions show, without overdriving.
Check operation again after fastening. A window forced out of square by a fastener will stick for as long as it is installed.
Trim and drip cap
Add exterior trim around the window, and a drip cap or Z-flashing over the head trim so water running down the wall is thrown clear. Seal the joint between trim and siding with exterior caulk.
How the trim meets the siding depends on the siding type; the options are compared in shed siding options.
Where to put the windows
- Face the main window toward the work area or the door you use most.
- Keep windows high if you want wall space below for shelves and tools.
- Avoid placing a window where a mower or wheelbarrow could hit it.
- In hot climates, favor light from the north side to reduce heat.
Plans that place the windows for you
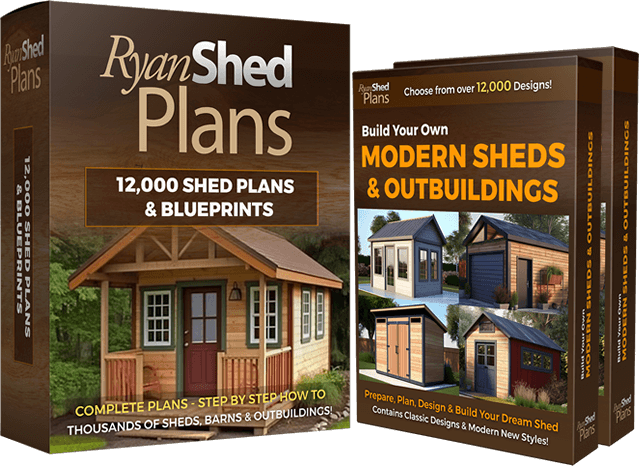
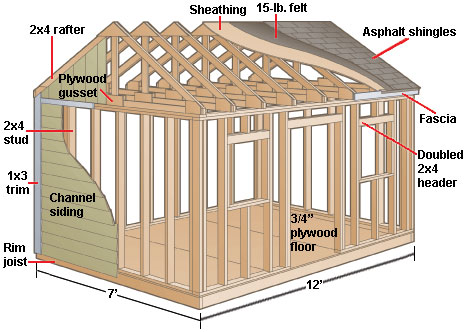
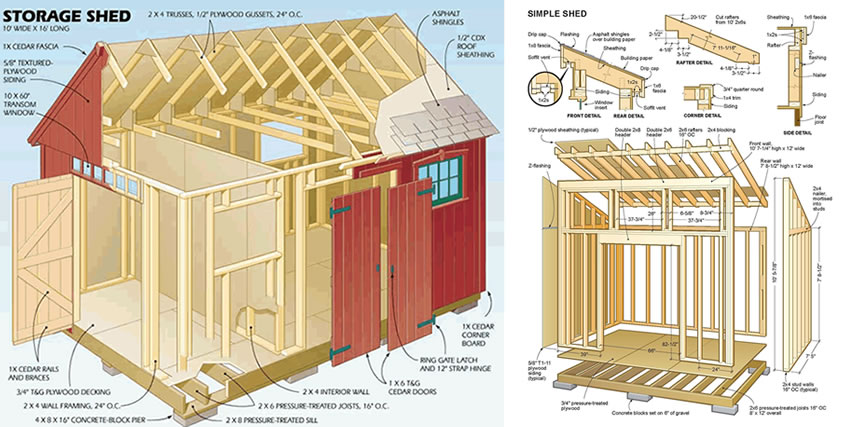
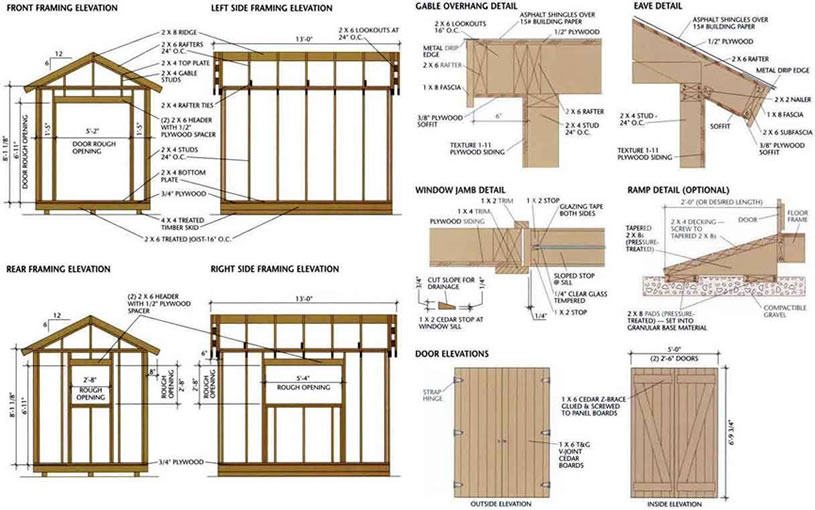
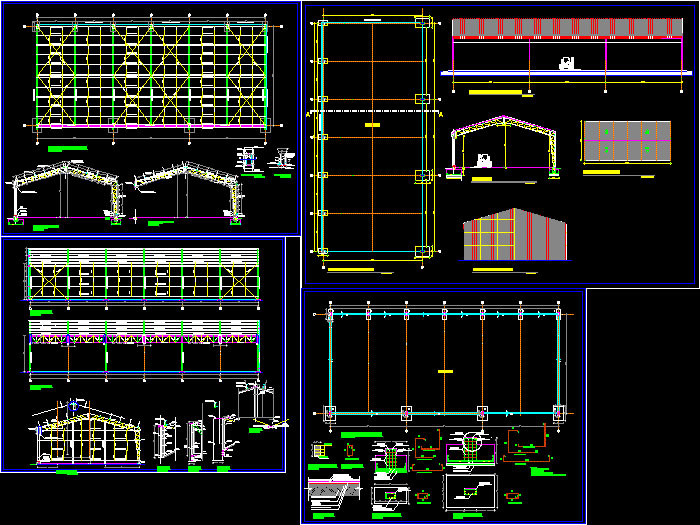
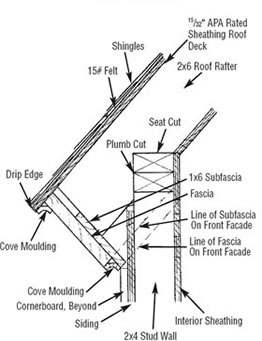
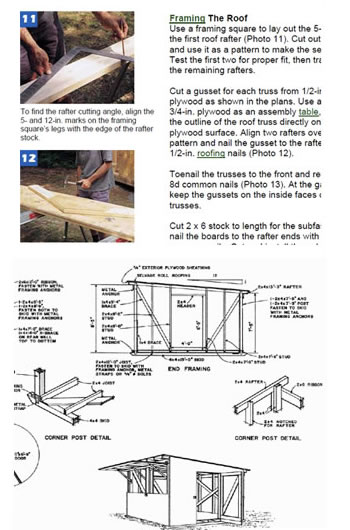
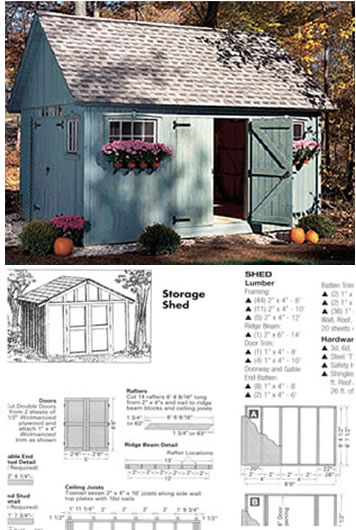
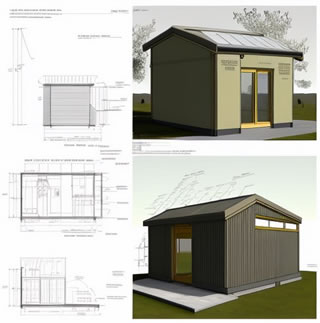
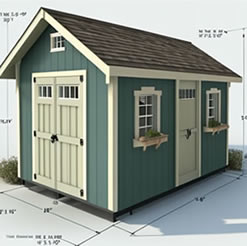
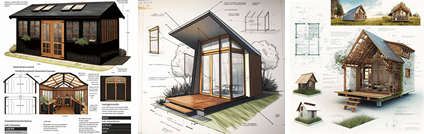
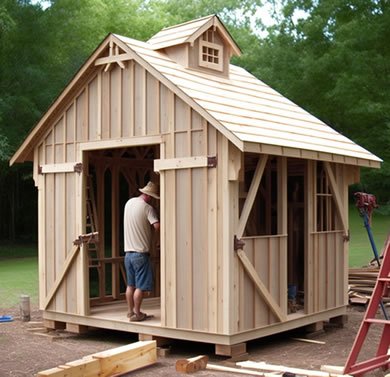
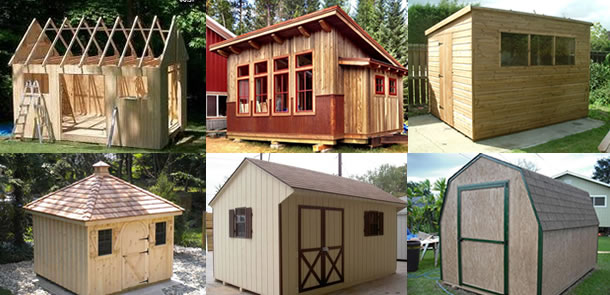
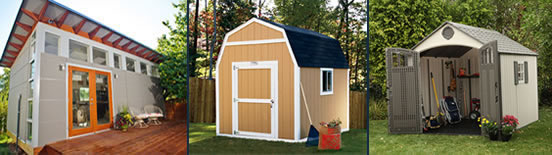
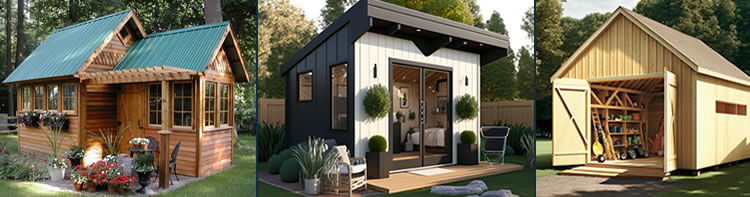
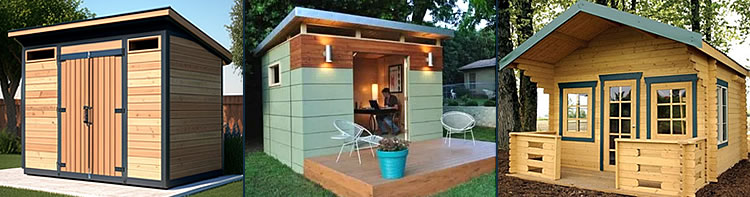
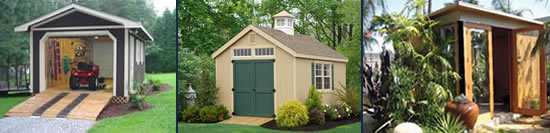
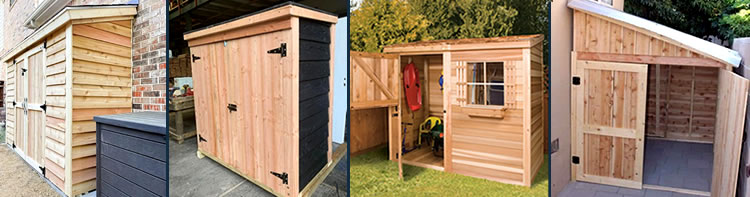
RyanShedPlans offers 12,000 shed plans in classic and modern styles, each with step-by-step instructions, complete materials and cutting lists, and 3D CAD images that show every part — openings included — from all angles.
A look inside RyanShedPlans









FAQ
How big should a rough opening be for a shed window?
Usually about 1/2 inch larger than the window in width and height, but always follow the window maker’s number.
In what order do you flash a window?
From the bottom up: sill first, then the sides over it, then the head over the sides, so every layer sheds water outward.
Can I use polycarbonate instead of glass in a shed?
Yes. It is lighter and shatter-resistant, which suits workshops and sheds near play areas.
Do shed windows need a header?
Yes. A header carries the load above the opening; your plan gives the size for each span.
Next step
Buy the windows before you frame the walls, and build each rough opening to the maker’s size.
Based on standard window installation and flashing practice for light-frame walls, as used for sheds and houses, and typical manufacturer guidance on rough openings. Product details for RyanShedPlans are from the vendor’s published page as of September 29, 2026.