Disclosure: this article contains affiliate links. If you buy through them, we may earn a commission at no extra cost to you. How this works.
Short answer
To build drawers that slide smoothly, size the drawer box to the slides, not to the opening by eye. Most side-mount ball-bearing slides need about 1/2 inch of clearance on each side, so the box is 1 inch narrower than the opening.
Build square boxes with a bottom in a groove, install the slides level and parallel, and add the drawer fronts last so you can line them up perfectly.
Furniture plans with every cut listed
- 16,000 plans with step-by-step instructions, exact cut lists and materials lists
- Multi-angle drawings with exploded views of every joint
- Search by keyword or browse 100+ categories by difficulty
- New plans every month and a 60-day money-back guarantee
Measure for the slides first
| Measurement | Rule of thumb |
|---|---|
| Box width | Opening width minus the slide clearance (often 1 in total for side-mount slides) |
| Box depth | The slide length, which should be a little less than the cabinet depth |
| Box height | Opening height minus about 1/2 to 1 in for clearance |
| Undermount slides | Follow the maker’s chart exactly; they need specific notches and clearances |
Materials
Half-inch Baltic birch plywood or solid wood around 1/2 inch thick makes strong, light drawer sides. Use 1/4-inch plywood for the bottoms. Thicker is not better here: heavy drawer boxes work the slides harder.
Joinery that holds
- Rabbet joints glued and pinned are quick and plenty strong for most drawers.
- Dado-and-rabbet or locking rabbet joints resist the pull of opening a heavy drawer.
- Dovetails are the traditional joint for the front corners, where the pull is strongest.
- Whatever the joint, glue it well and clamp it square — the routine is in wood glue and clamping.
The bottom sits in a groove
Cut a groove about 1/4 inch deep and 1/2 inch up from the bottom edge on the inside of all four sides, and slide the bottom in before the last corner goes together. A bottom in a groove stiffens the box and keeps it square.
Check the box by measuring its diagonals before the glue sets. A drawer box that is out of square binds on its slides no matter how carefully they are installed.
Install the slides level and parallel
Mark a level line inside the cabinet for each slide, or use a spacer block so every slide on one side sits at exactly the same height as its partner on the other. Screw through the slotted holes first, test the drawer, adjust, then add the fixed screws.
If the drawer rubs, the slides are not parallel or the cabinet sides bow in. Shim the slides out or add a spacer strip where the cabinet side is recessed.
Pulls, stops and finishing touches
- Mark pull positions with a drilling jig so every drawer in a cabinet matches.
- Finish the drawer boxes lightly — a coat of shellac or wax — so they do not smell when opened.
- Wax the bottom edges of wood-on-wood drawers; ball-bearing slides need nothing.
- Add soft-close slides or bumpers if the drawers will be used by children or slammed often.
Fronts last
Build the drawer box, install it, then attach a separate front. Hold it in place with double-sided tape and spacers for even gaps, drill through from inside, and screw it on. The fronts line up perfectly because they are fitted to the finished cabinet.
The same careful approach to shelves and cases runs through how to build a bookshelf that won’t sag.
Start from a plan
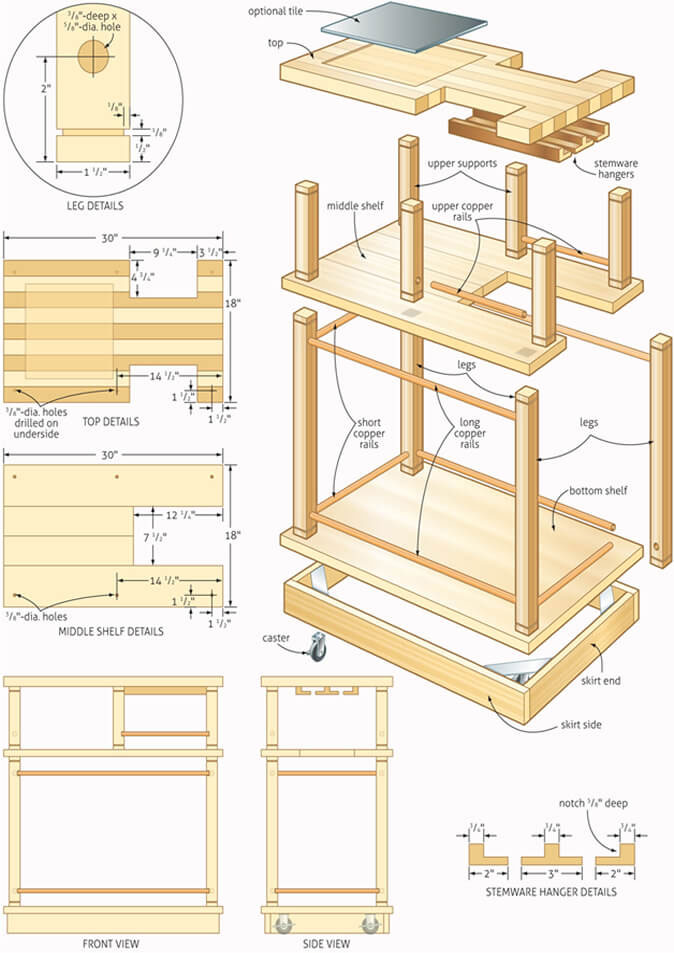
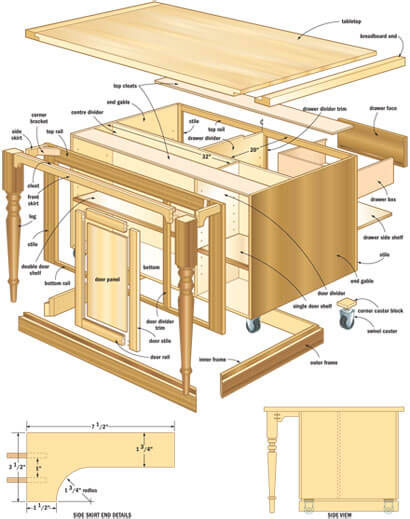
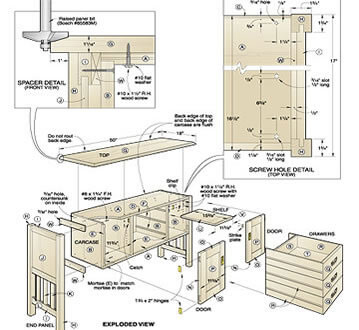
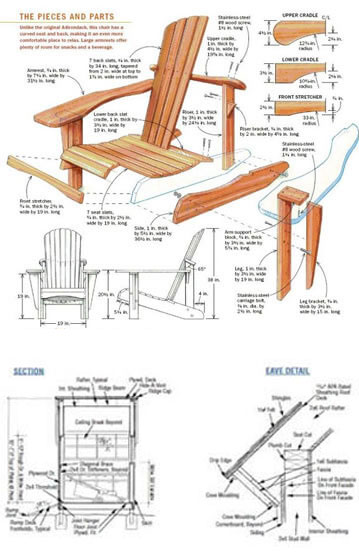
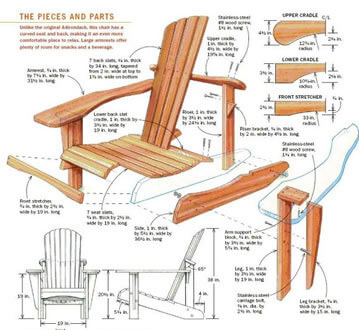
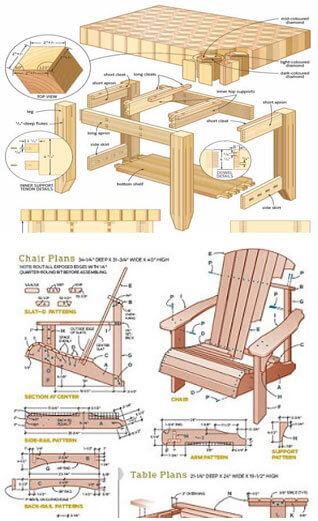
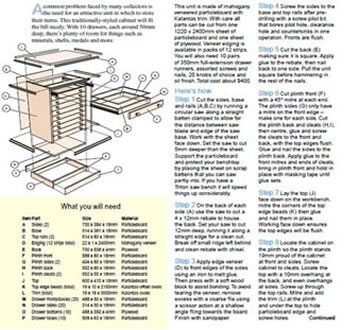
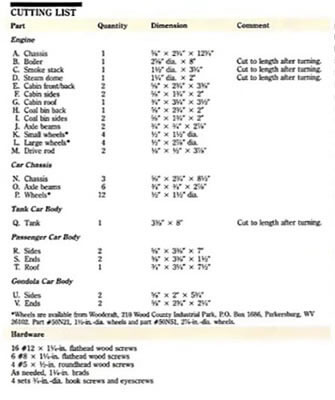
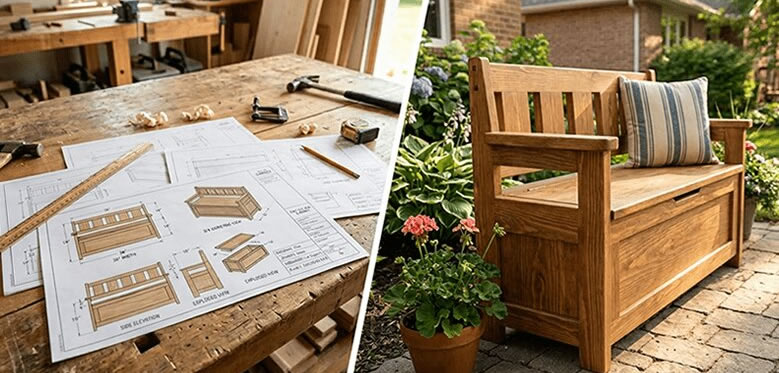
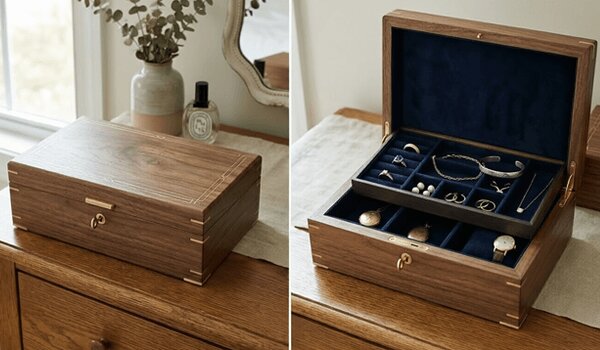
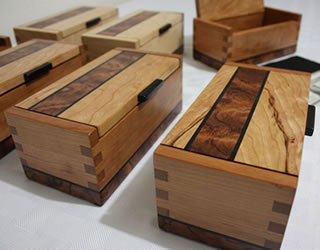
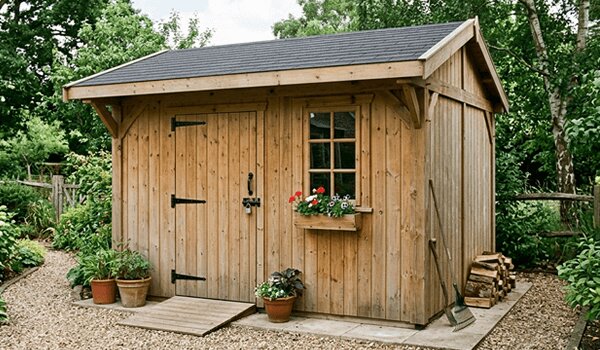
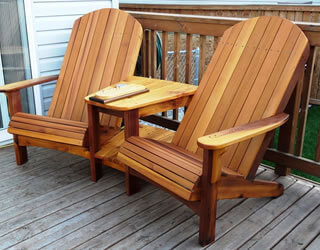
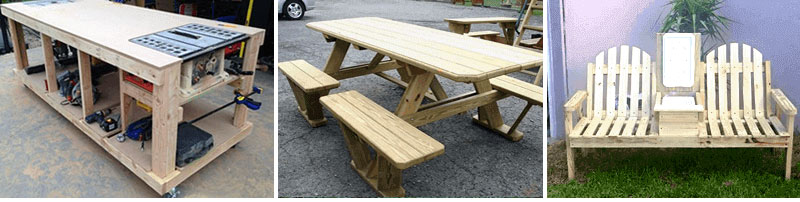
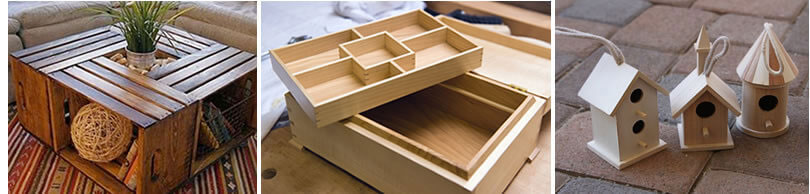
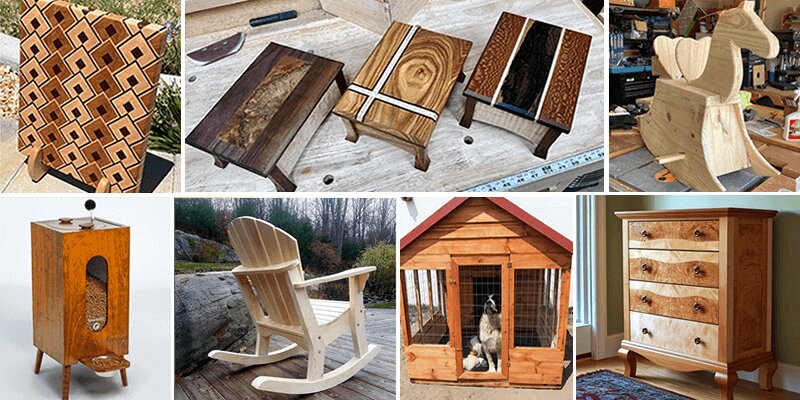
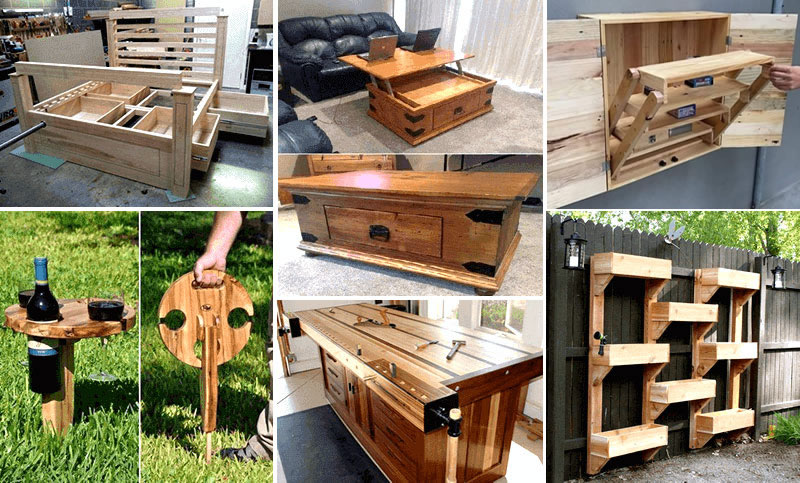
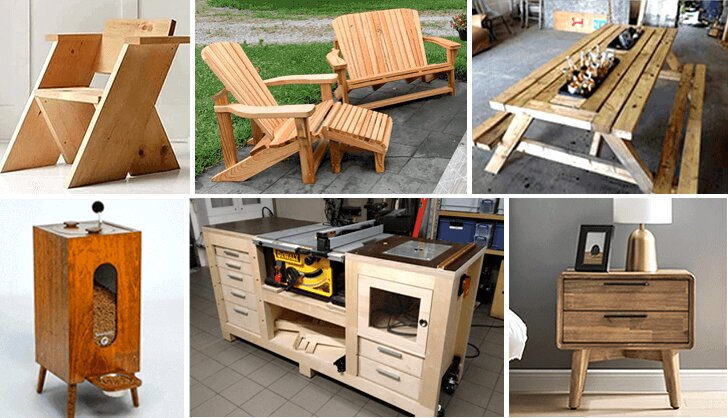
TedsWoodworking lists more than 1,400 plans in its Storage & Organization category and more than 2,650 in Furniture, and every plan in the 16,000-plan library comes with step-by-step instructions, an exact cut list and a complete materials list, so drawer parts are sized before you cut.
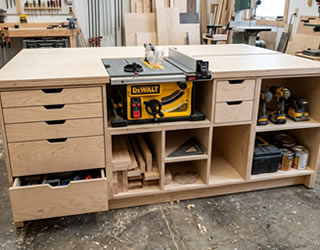
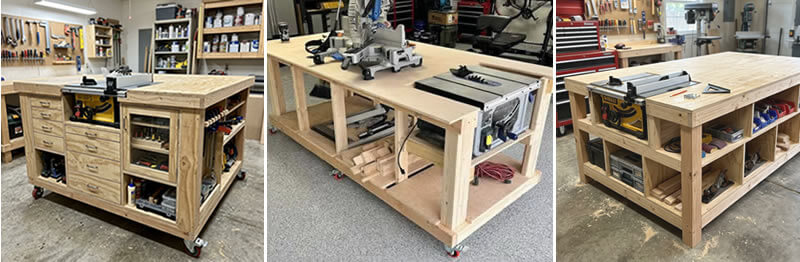
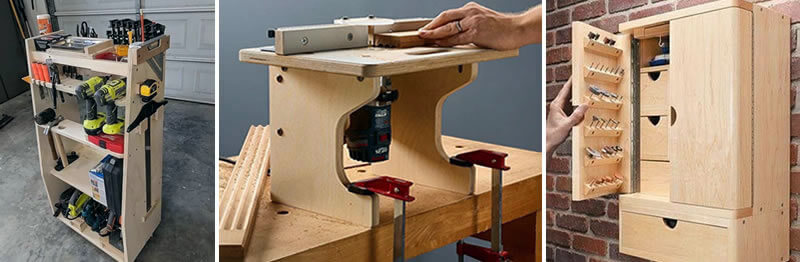
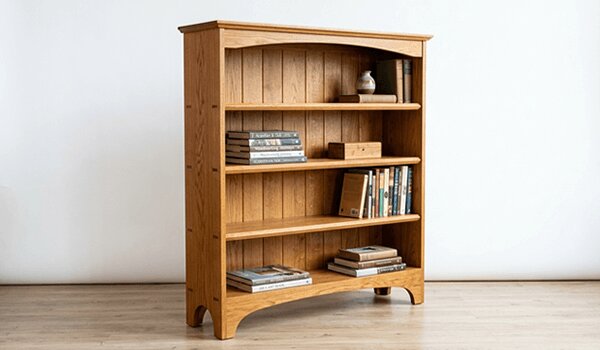
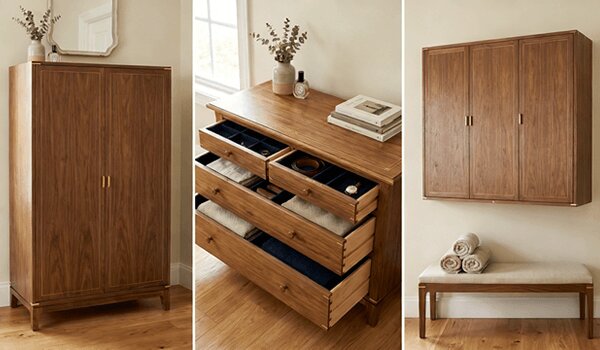
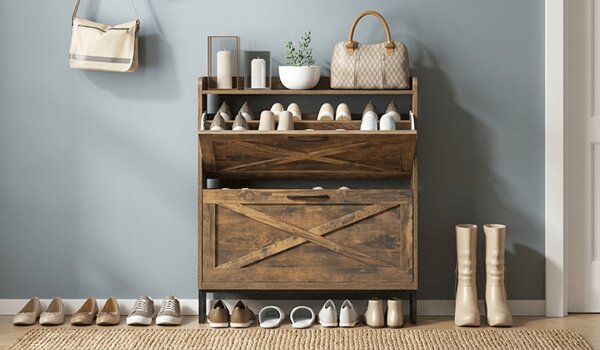
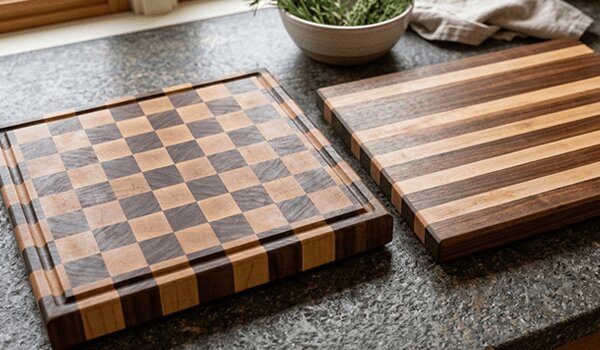
A look inside TedsWoodworking







FAQ
How much smaller should a drawer be than the opening?
For most side-mount ball-bearing slides, 1 inch narrower in total — about 1/2 inch per side. Always check the slide instructions.
What thickness plywood is best for drawers?
About 1/2 inch for the sides, front and back, and 1/4 inch for the bottom.
Why do my drawers stick?
Usually the box is out of square or the slides are not level and parallel. Check the diagonals and the slide heights.
Should drawer fronts be attached before or after installing?
After. Fitting fronts to the installed drawer boxes gives even gaps and perfect alignment.
Next step
Buy the slides before you cut anything, read their clearance chart, and size the first drawer box from it.
Based on standard cabinetmaking practice for drawer construction and common manufacturer guidance for side-mount drawer slides. Product details for TedsWoodworking are from the vendor’s published offer page as of September 29, 2026.