Disclosure: this article contains affiliate links. If you buy through them, we may earn a commission at no extra cost to you. How this works.
Short answer
To build a planter box that lasts, use rot-resistant wood such as cedar, screw the side boards to corner posts, give the bottom plenty of drainage, line the inside walls, and raise the box on feet so air can flow underneath.
Size it to the plants: herbs and flowers are happy in 8 to 12 inches of soil, while tomatoes and other deep-rooted plants want 18 inches or more.
Planter plans with complete materials lists
- 16,000 plans with step-by-step instructions, exact cut lists and materials lists
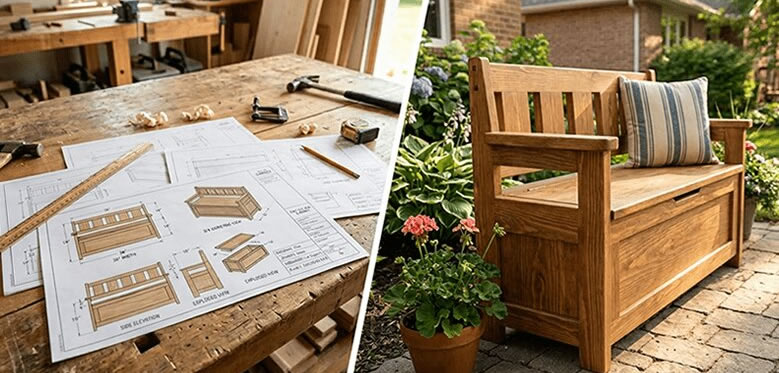
- Multi-angle drawings with exploded views of every joint
- Search by keyword or browse 100+ categories by difficulty
- New plans every month and a 60-day money-back guarantee
Choose wood that handles wet soil
| Wood | How it holds up | Notes |
|---|---|---|
| Cedar | Naturally rot-resistant | Light and easy to work; cedar fence pickets are a popular budget choice |
| Redwood or cypress | Naturally rot-resistant | Availability varies by region |
| Ground-contact treated lumber | Long-lasting | Good for the bottom and feet; many builders line the inside |
| Untreated pine | Short life in wet soil | Fine for a temporary or painted indoor planter |
Drainage is everything
- Leave 1/4-inch gaps between the bottom boards, or drill 1/2-inch holes every 6 inches or so.
- Line the inside walls with landscape fabric or plastic sheeting to keep wet soil off the wood, leaving the bottom open to drain.
- Raise the planter on feet or blocks so water can escape and air can dry the bottom.
- Skip the gravel layer in the bottom; good potting mix and open drainage work better.
A simple post-and-board build
- Cut four corner posts from 2×2 or 4×4 lumber to the planter’s height.
- Cut the side boards to length and screw them to the posts with exterior screws, pre-drilling near the ends.
- Screw cleats along the inside of the long sides to carry the bottom boards.
- Lay the bottom boards on the cleats with drainage gaps between them.
- Add a mitered cap rail around the top: it hides the end grain and gives the box a finished look.
Size it for the plants and the place
A window-box planter might be 6 to 8 inches wide; a patio planter for tomatoes needs a good 18 inches of depth. Measure the spot first, and remember that wet soil is heavy — a large planter can weigh hundreds of pounds when full — so build it where it will stay, or fit casters rated for the load.
For bigger growing areas, a raised bed is the next step up; the sizing and soil math are in raised garden bed plans.
Finish the outside only
Leave the inside unfinished behind the liner, and treat the outside with a penetrating exterior oil or an exterior stain. Cedar can also weather to silver on its own. Seal the end grain of the posts and feet, where water soaks in fastest.
Planters pair naturally with other outdoor builds, like the storage bench in garden bench plans.
Planter ideas to build next
- A tall planter with a hidden shelf inside, so a short pot sits at the top.
- A planter bench: two planters joined by a seat board.
- A trellis planter for climbing beans or flowers against a wall.
- A tiered herb planter with three steps.
Plans for the whole garden
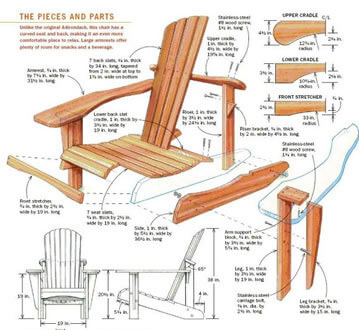
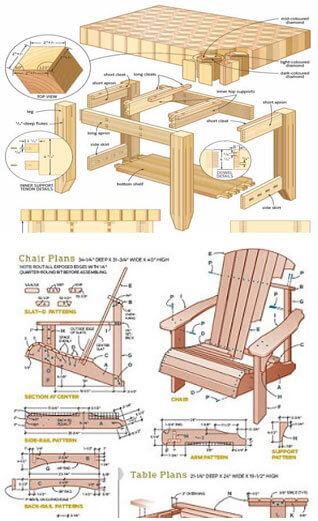
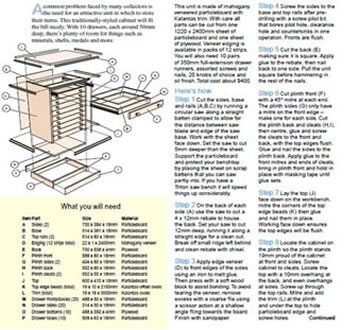
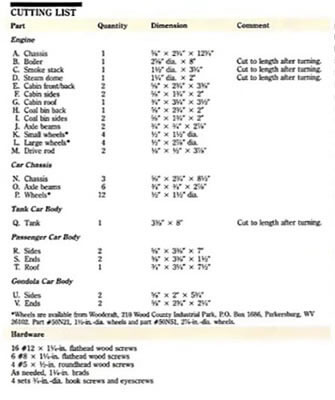
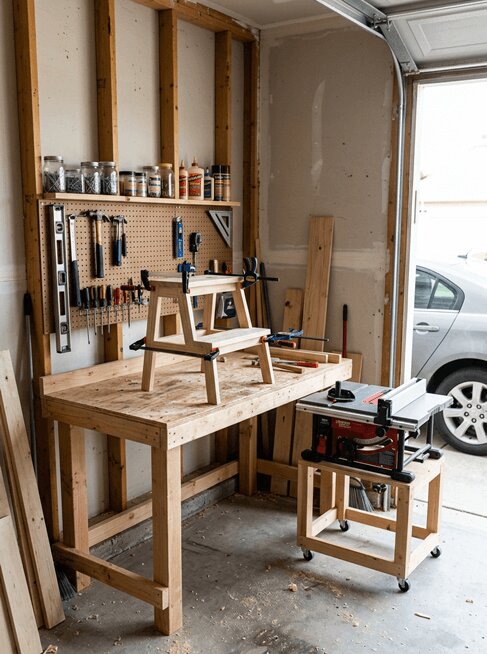
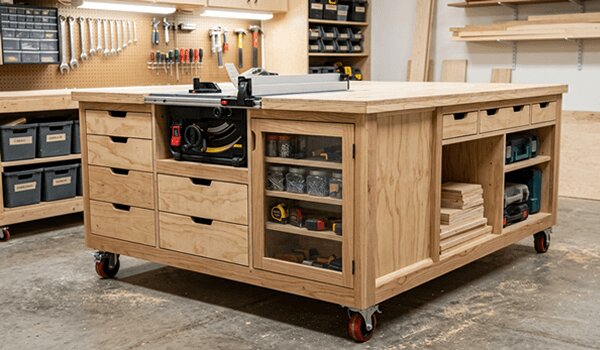
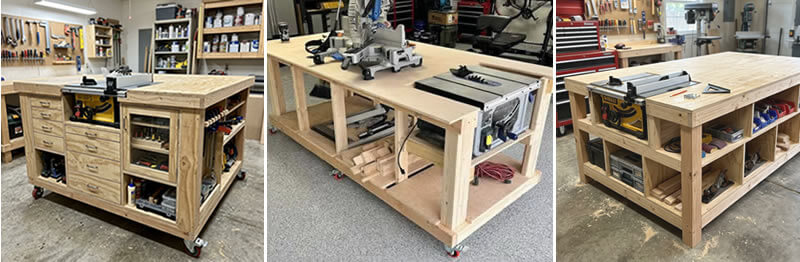
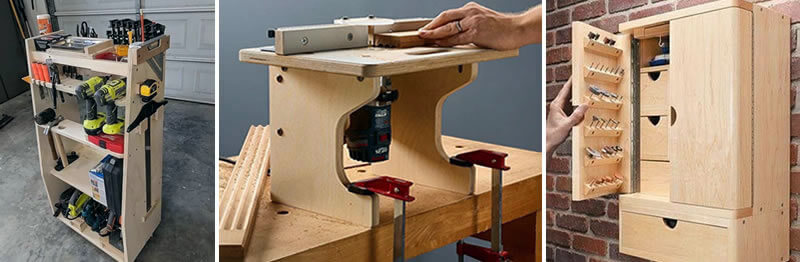
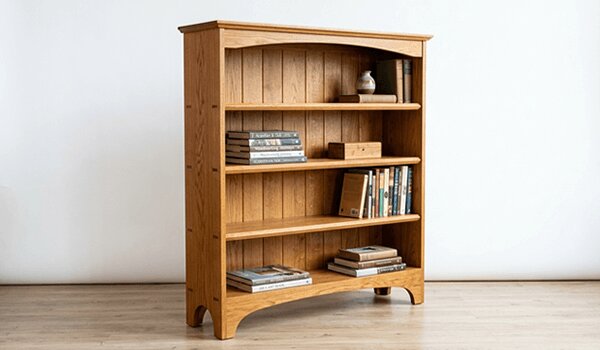
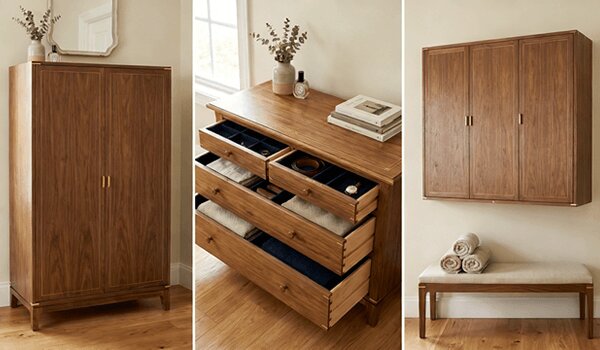
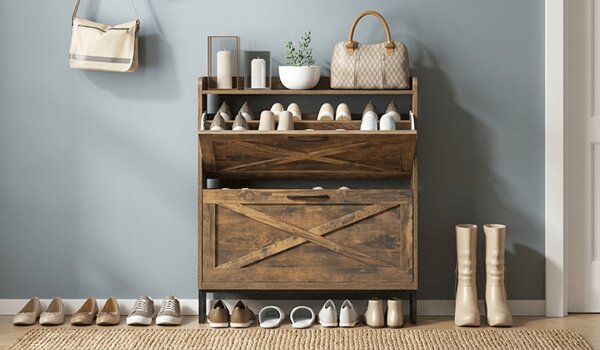
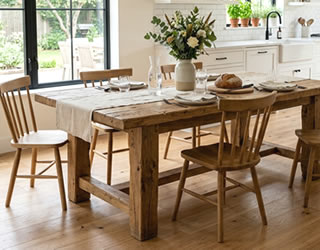
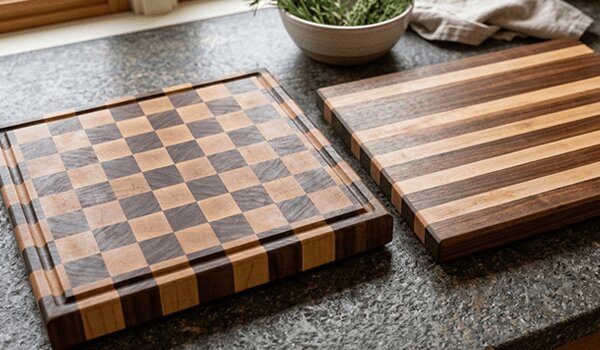
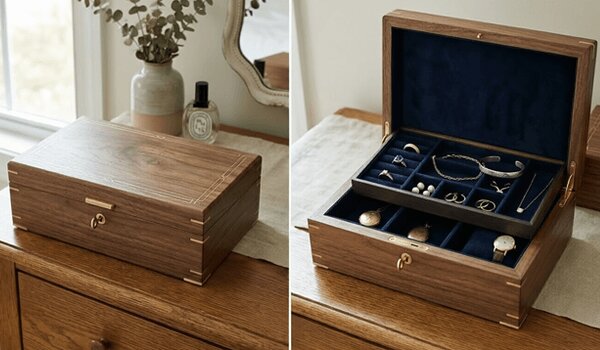
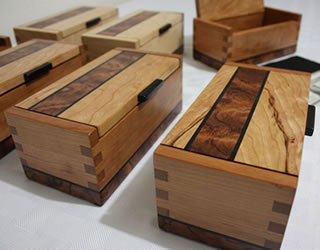
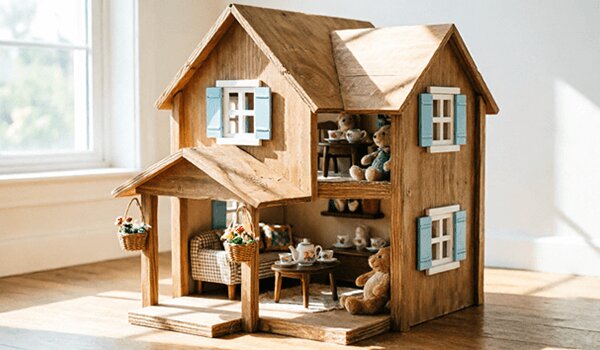
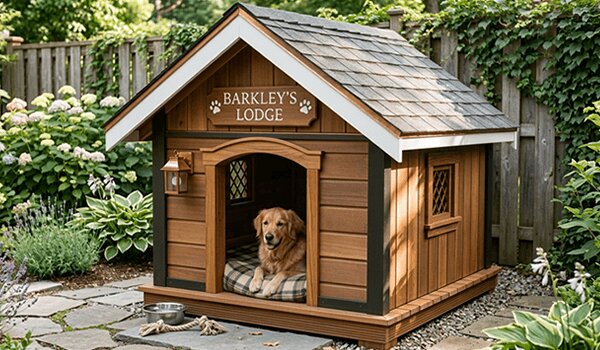
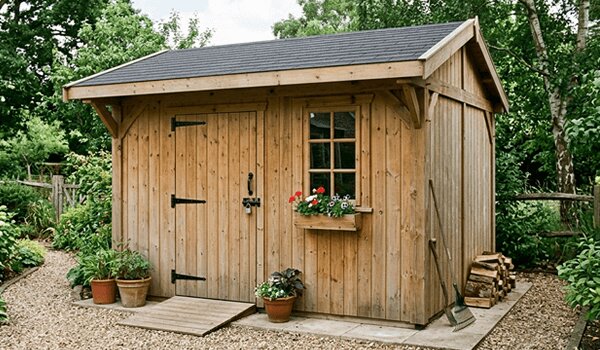
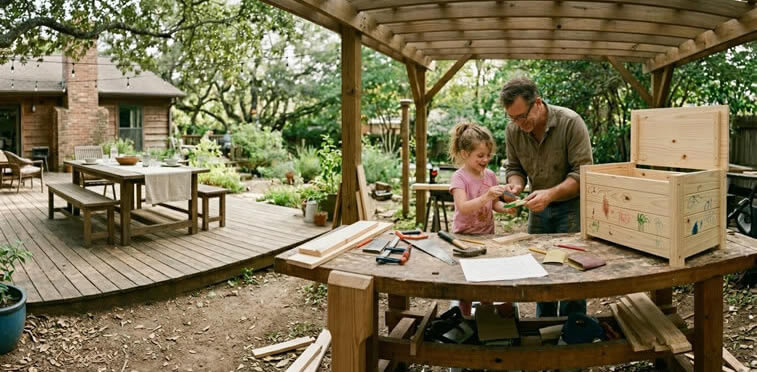
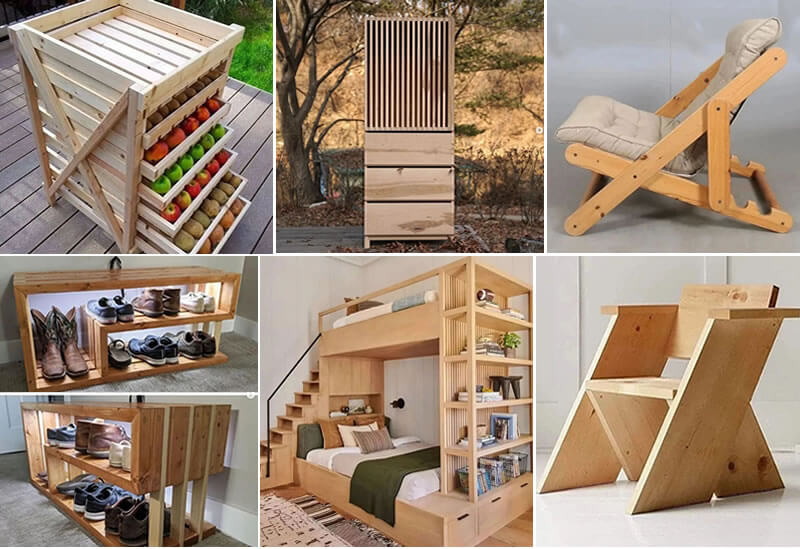
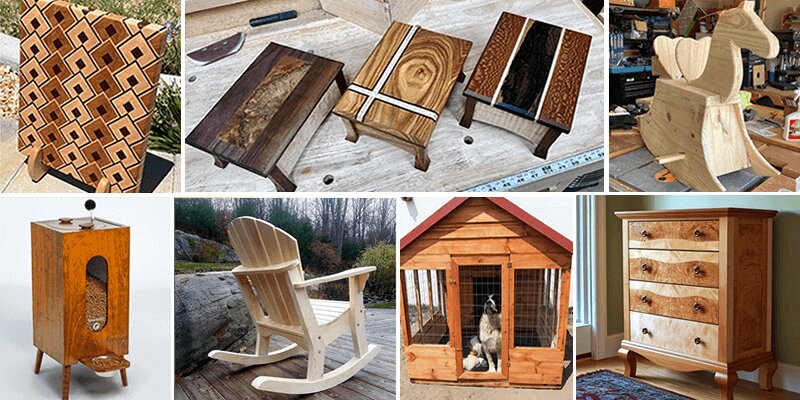
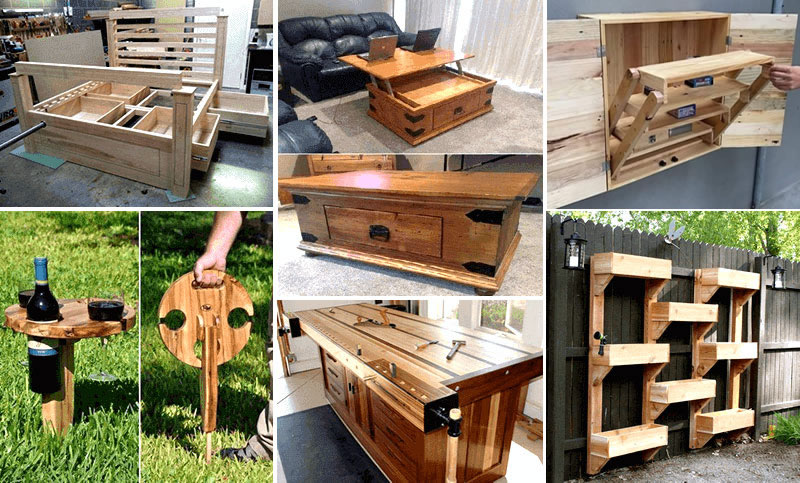
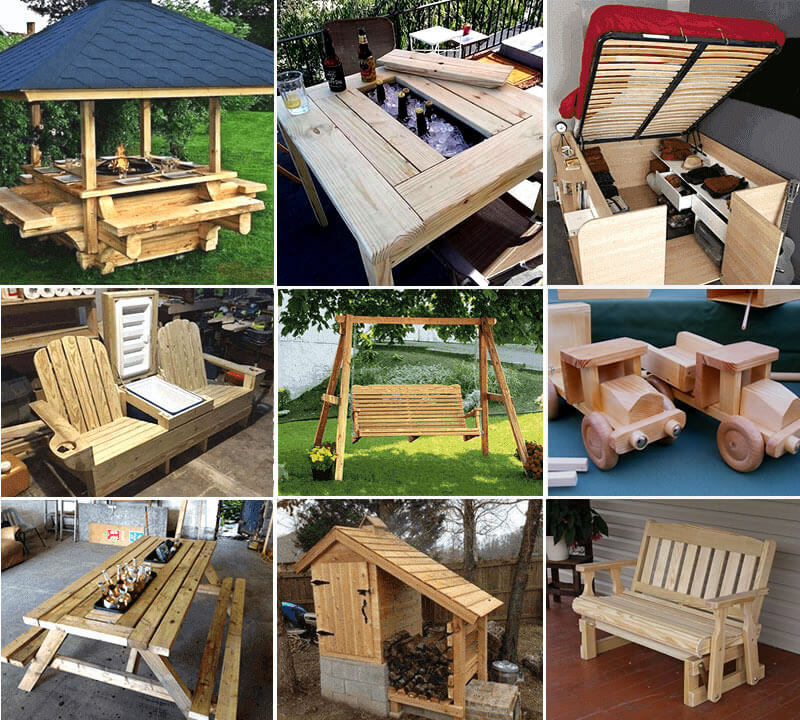
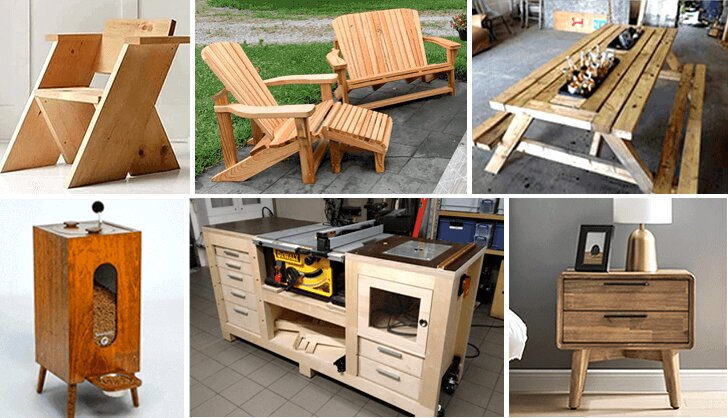
TedsWoodworking lists planters among the plan types in its Outdoor & Garden category, which holds more than 2,150 plans. Every plan in the 16,000-plan library includes step-by-step instructions, exact cut lists, complete materials lists and multi-angle schematics with exploded views of every joint.
A look inside TedsWoodworking

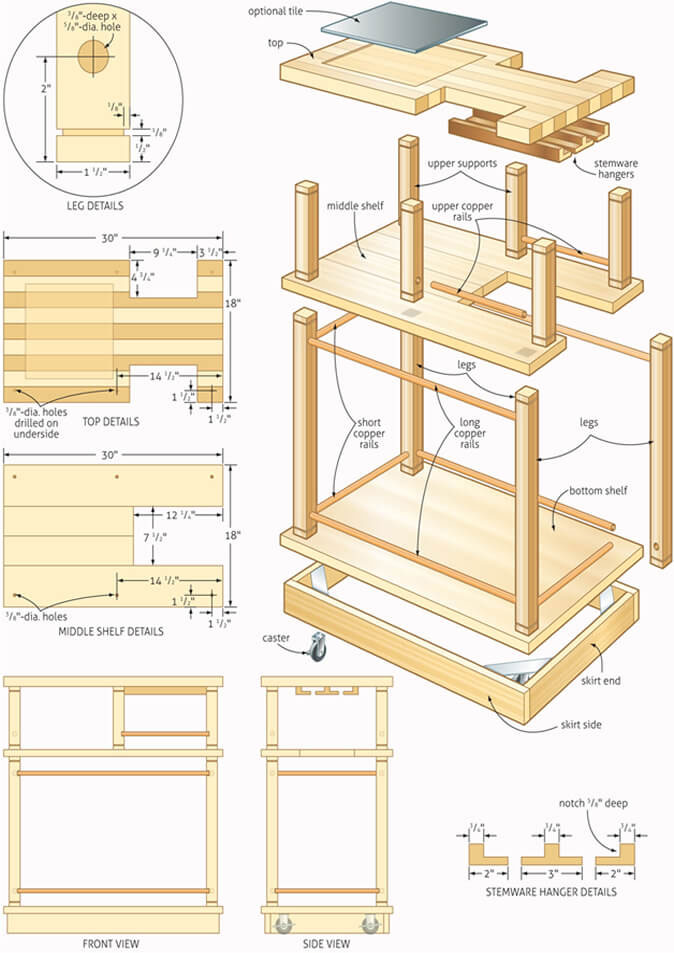
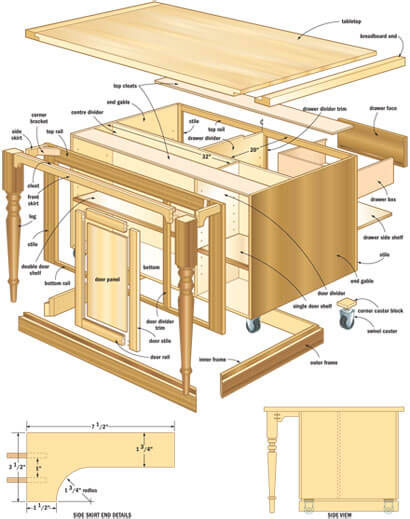
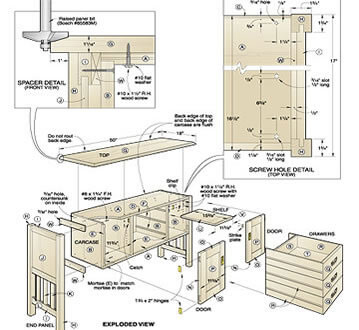
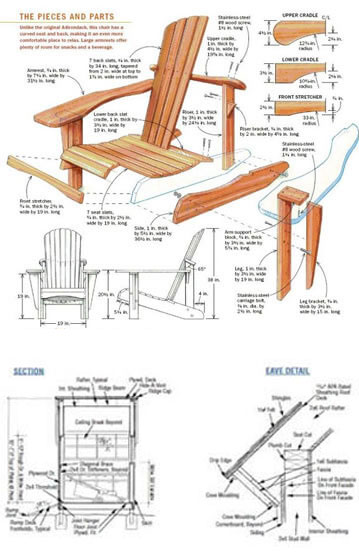
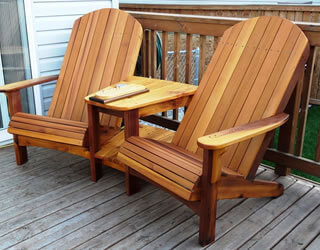
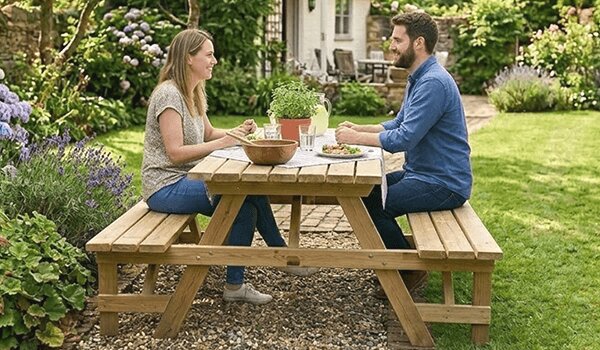
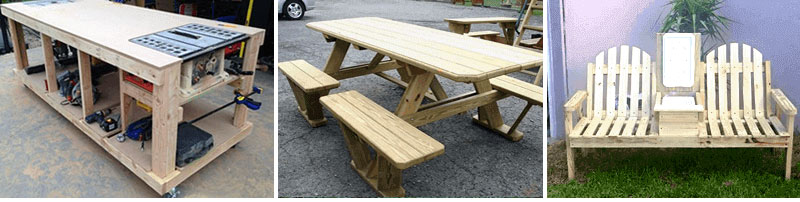
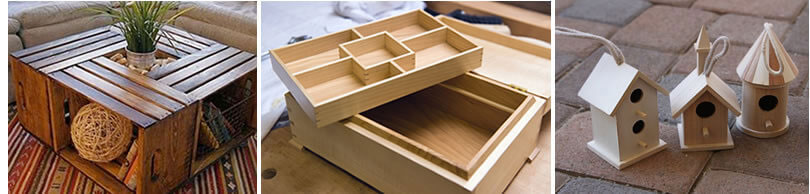
FAQ
What is the best wood for a planter box?
Cedar, redwood and cypress resist rot naturally. Ground-contact treated lumber lasts well for bottoms and feet.
Should I line a wooden planter box?
Lining the inside walls with landscape fabric or plastic keeps wet soil off the wood. Leave the bottom open to drain.
How deep should a planter box be?
8 to 12 inches for herbs and flowers, and 18 inches or more for tomatoes and other deep-rooted plants.
Do planter boxes need drainage holes?
Yes. Gaps or holes in the bottom, plus feet to lift the box, keep roots and wood from sitting in water.
Next step
Measure the spot and decide what you will grow — the plants set the depth, and the depth sets the whole design.
Based on standard outdoor woodworking practice for planters: wood selection, drainage, liners and exterior finishes. Product details for TedsWoodworking are from the vendor’s published offer page as of September 29, 2026.