Disclosure: this article contains affiliate links. If you buy through them, we may earn a commission at no extra cost to you. How this works.
Short answer
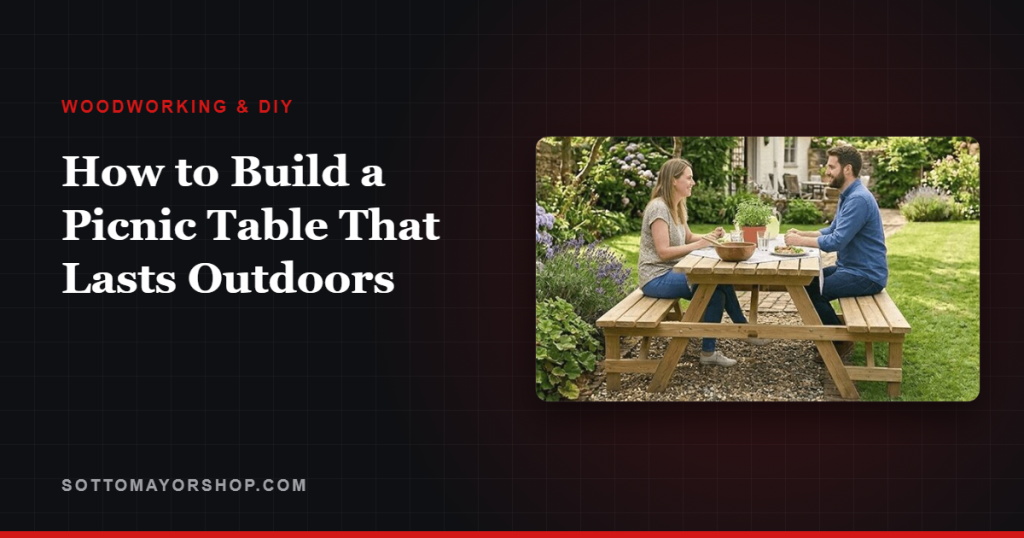
To build a picnic table that lasts, get three things right: comfortable dimensions, lumber and hardware rated for outdoors, and a top with gaps so rain drains instead of pooling.
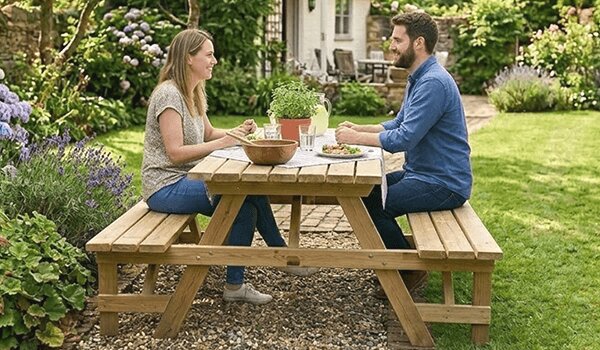
A classic 6-foot A-frame table takes a weekend with a circular saw, a drill and a handful of carriage bolts. The plan and the cut list decide how smoothly that weekend goes.
Picnic table plans with exact cut lists
- 16,000 plans with step-by-step instructions, exact cut lists and materials lists
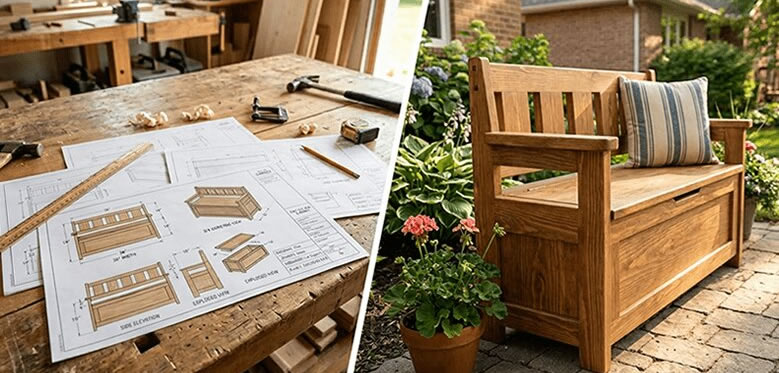
- Multi-angle drawings with exploded views of every joint
- Search by keyword or browse 100+ categories by difficulty
- New plans every month and a 60-day money-back guarantee
Dimensions that make it comfortable
Picnic tables fail more often on comfort than on strength. A table that is too tall, or a bench too far from the top, gets used once and then ignored.
| Part | Typical size | Why |
|---|---|---|
| Table height | 29 to 30 in | The same height as an indoor dining table |
| Bench height | 17 to 18 in | A normal chair seat height |
| Top width | 28 to 30 in | Room for plates on both sides |
| Length | 6 or 8 ft | Six seats or eight |
| Bench to top overlap | About 9 to 12 in horizontally | Knees fit under without climbing |
Choose lumber for outdoors
- Pressure-treated pine is the usual choice: strong, easy to find and made to resist rot. Legs that sit on grass or soil should be rated for ground contact.
- Cedar and redwood resist decay naturally, weigh less and look better unfinished, at a higher price per board.
- Buy dry, straight boards and let treated lumber that is still wet from the yard dry out before finishing; it shrinks as it dries.
- Hardware: hot-dip galvanized or stainless steel carriage bolts, washers and screws. Treated lumber corrodes plain steel.
The top: gaps are the point
Leave a gap of about 1/4 inch between the top boards and the seat boards. Water drains through, leaves fall through, and the boards have room to swell after rain without pushing each other up.
Round the edges and ends of every board you will sit on or lean against. A small round-over saves a lot of splinters and makes the finish last longer, because sharp edges are where finish wears first.
Why boards move with the weather — and why a solid, gap-free top eventually cracks — is covered in wood movement.
Legs and bracing
The A-frame leg is a classic for a reason: the angled legs spread the load and the seat support ties both benches to the frame. Cut the leg angle on one pair, check it against the drawing, and use it as the pattern for the rest.
Bolt, do not just screw, the joints that carry people. Carriage bolts through the legs and seat supports keep the table tight for years, and diagonal braces from the center of the top down to the seat support stop it racking when someone sits down at one end.
Plan the cut list first
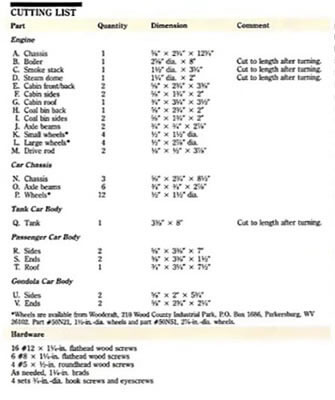
A 6-foot table uses a surprisingly short shopping list — a stack of 2x6s for the top and seats plus a few 2x4s for the frame — but only if the parts are laid out on the boards before you buy. The method is in reading a cut list without wasting lumber.
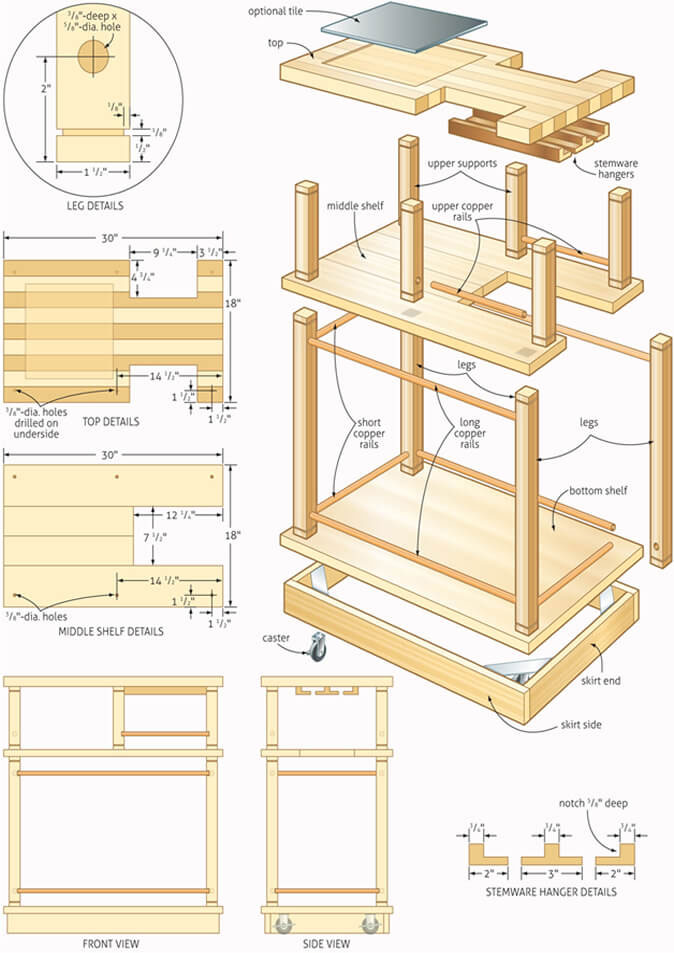
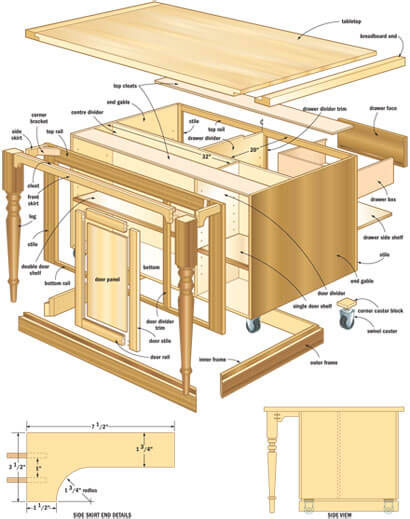
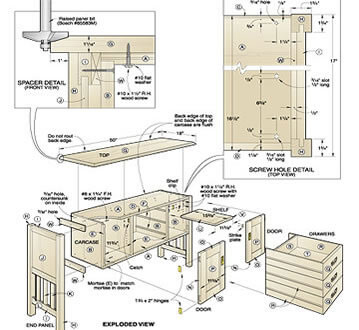
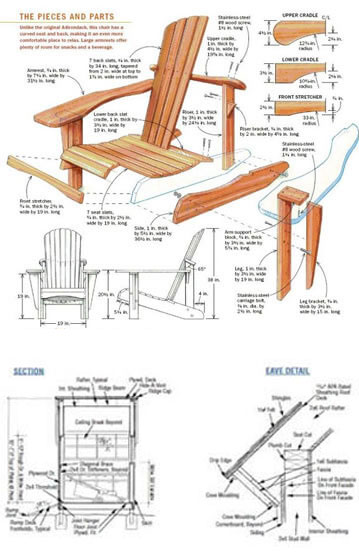
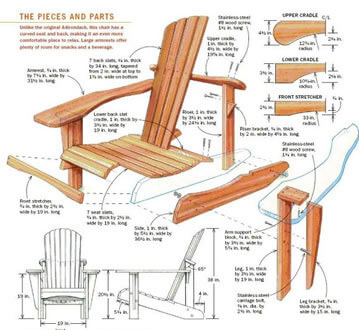
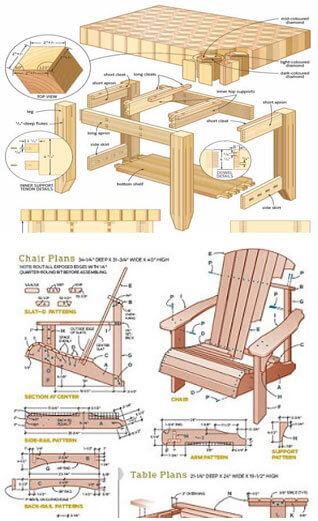
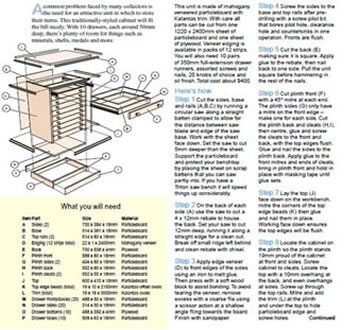
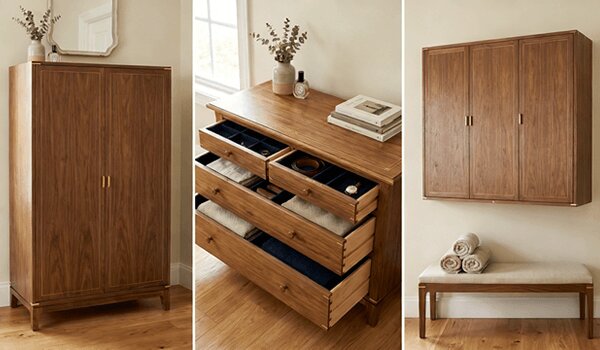
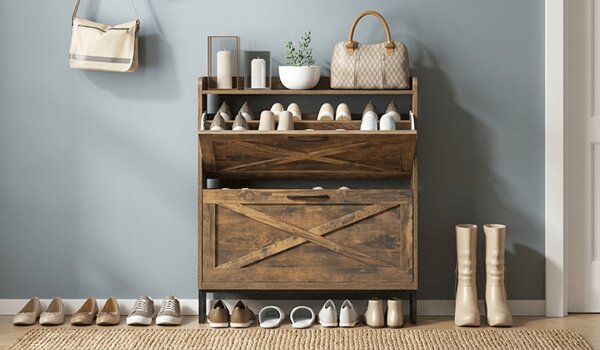
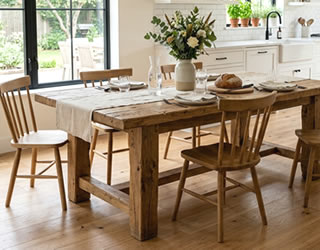
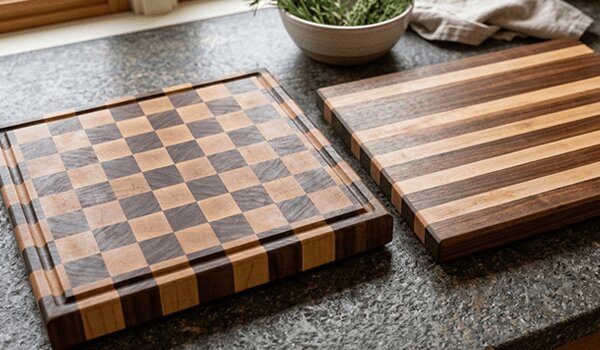
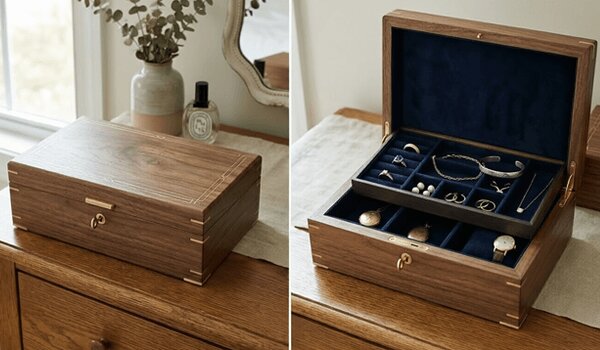
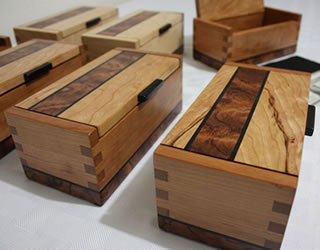
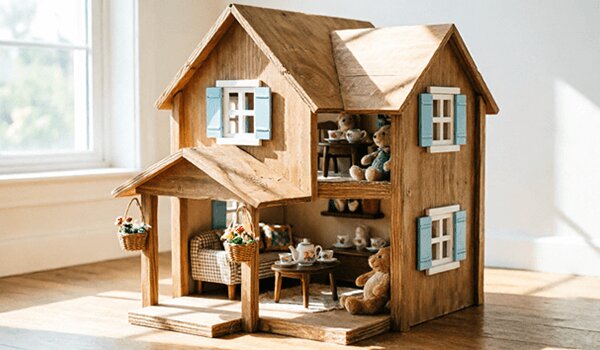
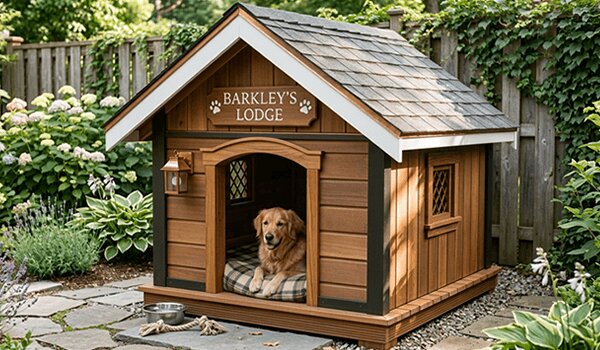
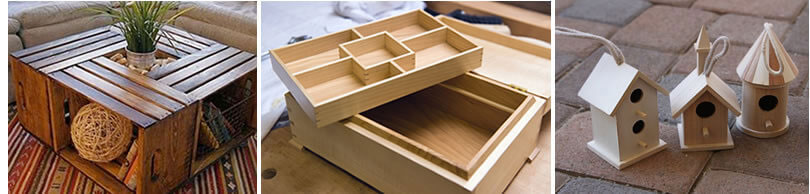
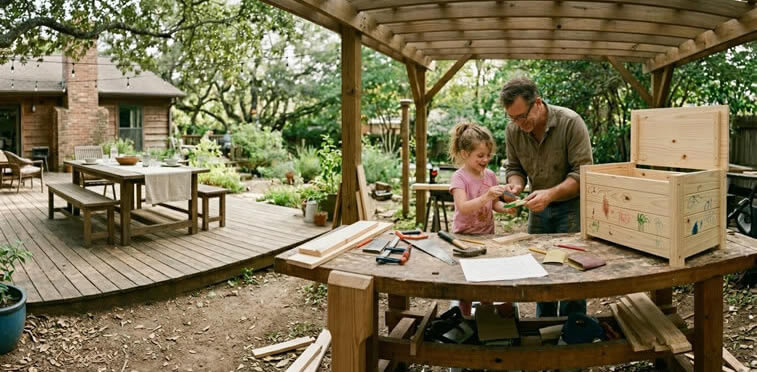
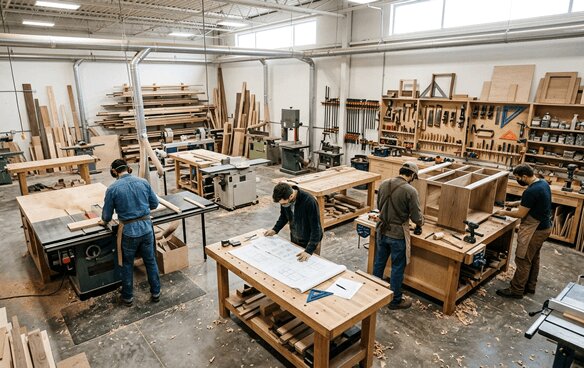
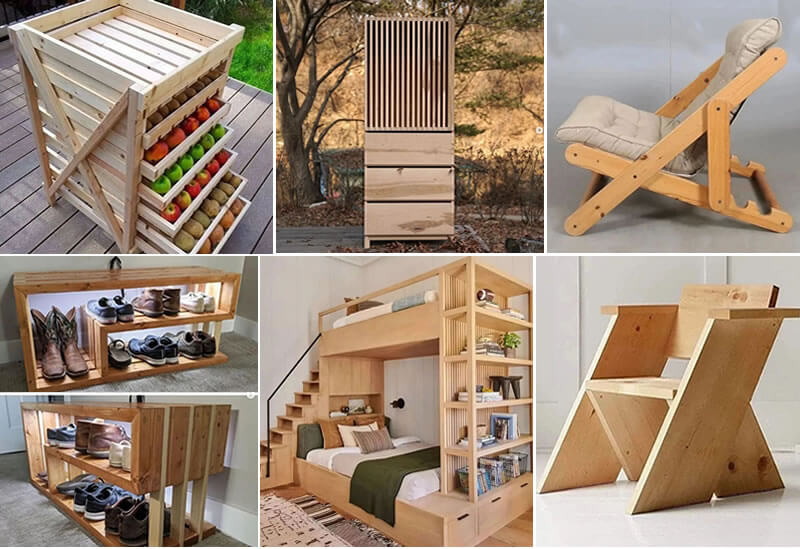
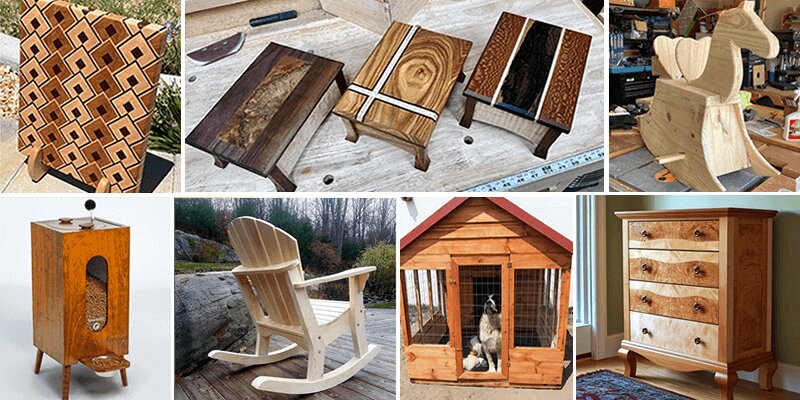
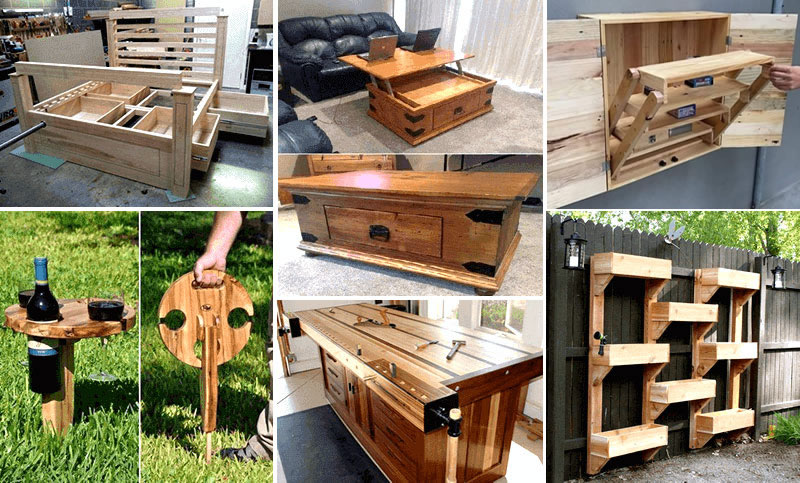
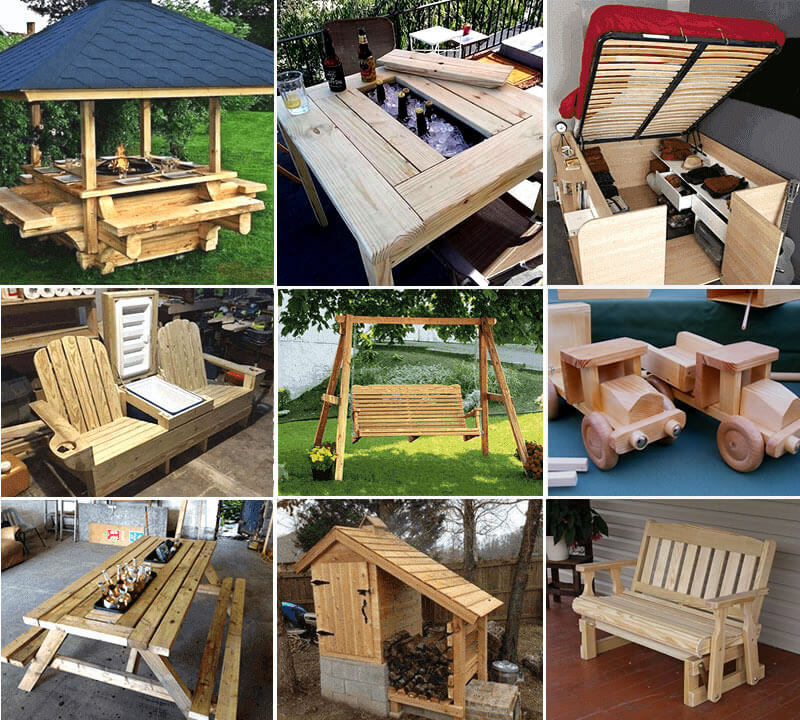
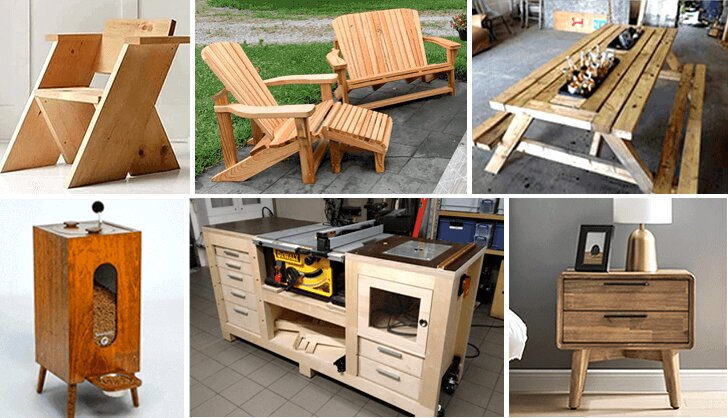
TedsWoodworking lists more than 2,150 plans in its Outdoor & Garden category, searchable by keyword, and every plan in its 16,000-plan library comes with step-by-step instructions, an exact cut list and a complete materials list.
Finish and upkeep
An exterior penetrating stain or sealer is the easiest finish to keep up: it soaks in, it does not peel, and you renew it with a quick coat every year or two. Film finishes look glossy at first and then peel in the sun.
Store the table out of standing water, tighten the bolts at the start of each season, and it will be the most used piece of furniture you build.
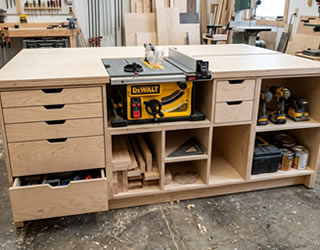
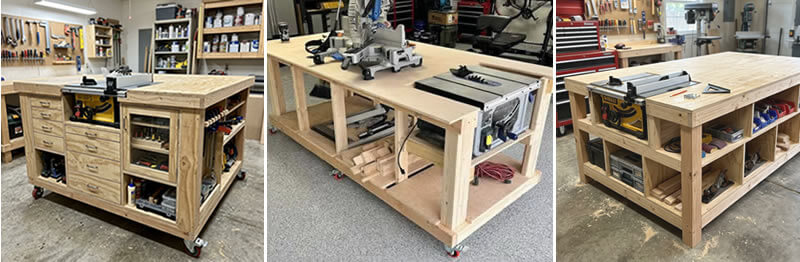
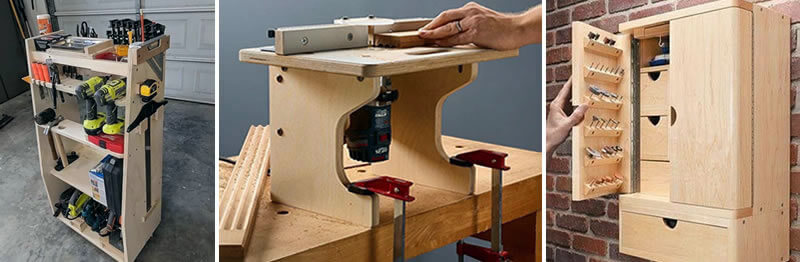
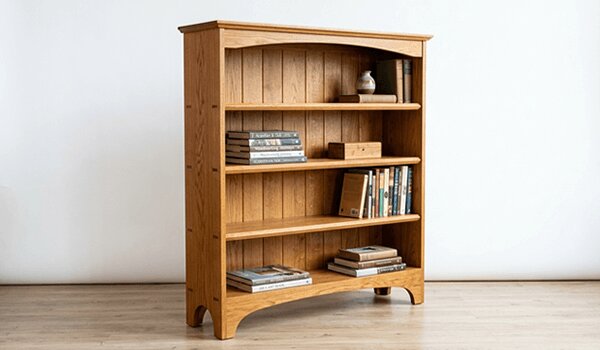
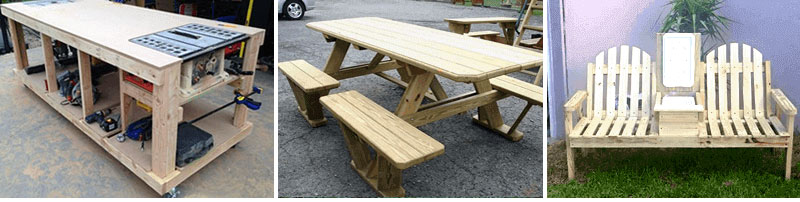
A look inside TedsWoodworking

FAQ
What is the standard height of a picnic table?
About 29 to 30 inches for the table and 17 to 18 inches for the benches — the same as a dining table and chair.
What wood is best for a picnic table?
Pressure-treated pine for value and durability, or cedar and redwood for a lighter table with natural rot resistance.
How long does it take to build a picnic table?
A weekend for most first builds: one day to cut and assemble, another to sand and finish.
Should picnic table boards have gaps?
Yes. About 1/4 inch between boards lets rain drain and gives the wood room to swell without buckling.
Next step
Decide on 6 or 8 feet, measure where the table will stand, and write the cut list before you go to the lumber yard.
Based on standard outdoor furniture construction practice: common picnic table dimensions, outdoor lumber and fastener choices, and exterior finishing. Product details for TedsWoodworking are from the vendor’s published offer page as of September 29, 2026.