Disclosure: this article contains affiliate links. If you buy through them, we may earn a commission at no extra cost to you. How this works.
Short answer
DIY floating shelves hide their support inside the shelf: either a wooden cleat screwed to the wall studs with a hollow shelf slid over it, or steel rods that go into holes drilled in the back edge of a solid board. Anchor the support into studs, not just drywall, and the shelf will carry books as well as decor.
The build is simple; the strength comes entirely from how well the hidden support is fixed to the wall.
Shelf plans with every cut worked out
- 16,000 plans with step-by-step instructions, exact cut lists and materials lists
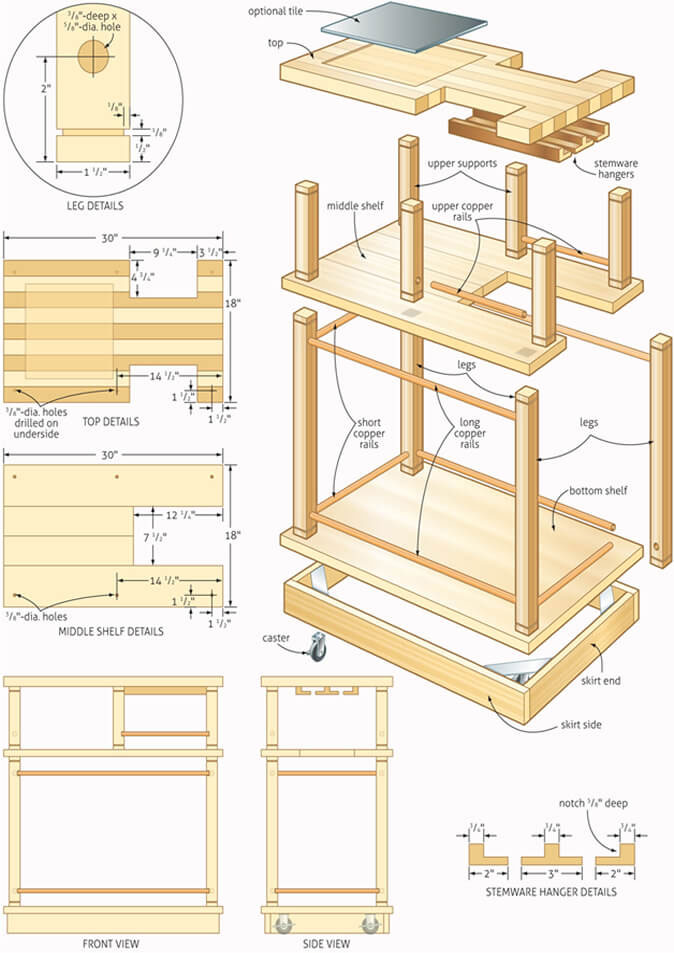
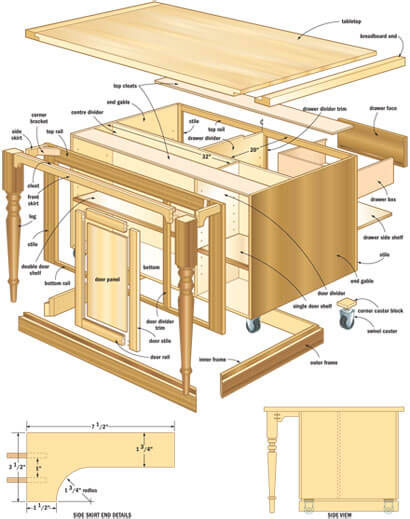
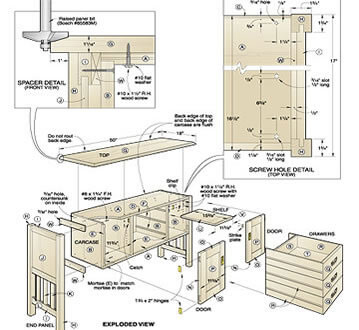
- Multi-angle drawings with exploded views of every joint
- Search by keyword or browse 100+ categories by difficulty
- New plans every month and a 60-day money-back guarantee
Two ways to make a shelf float
| Method | How it works | Best for |
|---|---|---|
| Hollow shelf over a cleat | A ladder-shaped frame of 2×2 or 2×3 is screwed to the studs; a hollow box shelf slides over it | Thick, chunky shelves; easy with basic tools |
| Solid shelf on steel rods | A hidden bracket with steel rods is screwed to the studs; the rods slide into holes drilled in the shelf | Solid wood shelves, a slim clean look |
Find the studs first
Everything depends on the wall. Use a stud finder and confirm with a small nail in a spot the shelf will hide. Standard framing puts studs 16 inches apart, so a shelf 32 inches or longer can reach at least two or three.
Drywall anchors are fine for a light decorative shelf, but for books and dishes the support must be screwed into studs. Measure and mark carefully — the habits in accurate measuring and marking pay off here.
Build a hollow shelf over a cleat
- Build a ladder frame: a back rail screwed to the studs, with short arms sticking out every 8 to 12 inches.
- Make a box shelf from a top, a bottom and a front, sized so it slides snugly over the frame.
- Screw the frame to the studs with long structural screws, checking it is level along its length.
- Slide the shelf on and fix it from the top or underneath with a few screws or glue.
- Add end caps to close the sides.
Mount a solid shelf on rods
Screw the bracket to the studs, level, then mark the rod positions on the back edge of the shelf. Drill the holes straight and a little deeper than the rods, using a drill guide or a drill press — this is the step that decides whether the shelf sits flat.
Push the shelf onto the rods. If it tips slightly forward, shim the bracket or set it a hair above level; many shelves settle a little once loaded.
Size and style
- Depth: about 8 to 10 inches suits books and dishes; deeper shelves put more leverage on the support.
- Thickness: 1 1/2 to 2 inches looks substantial and hides the support easily.
- Wood: oak, walnut and maple look great; a hollow shelf can be built from plywood and edged with hardwood.
- Finish: seal all faces, including the back, so the shelf does not warp.
Know the limits
A floating shelf is a lever: the deeper it is and the heavier the load at its front edge, the harder it pulls on the screws. Check the weight rating of any hardware you buy, keep heavy items near the wall, and choose shallower shelves for heavy loads.
For finish options that stand up to everyday use, see wood finishes: oil, varnish and film.
Plans for every wall
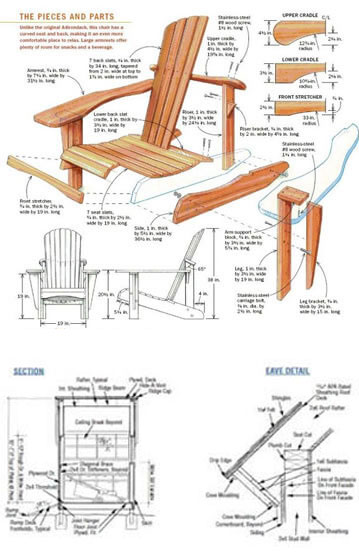
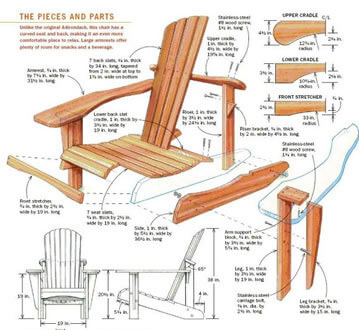
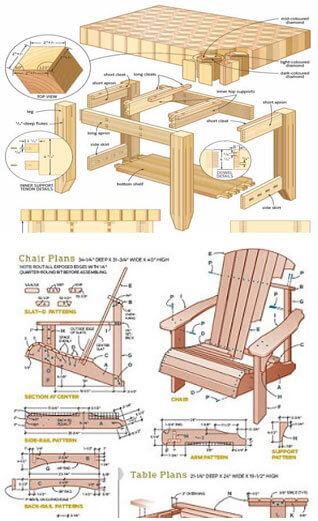
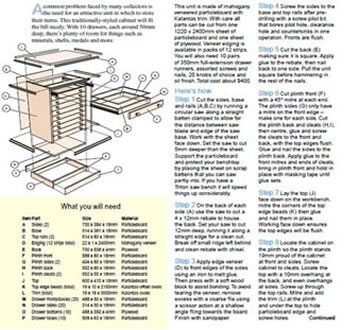
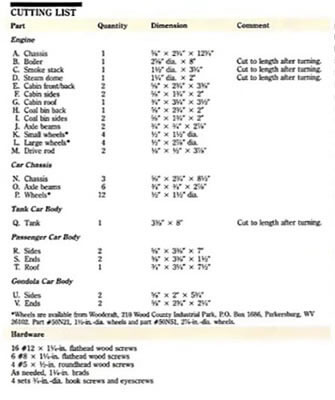
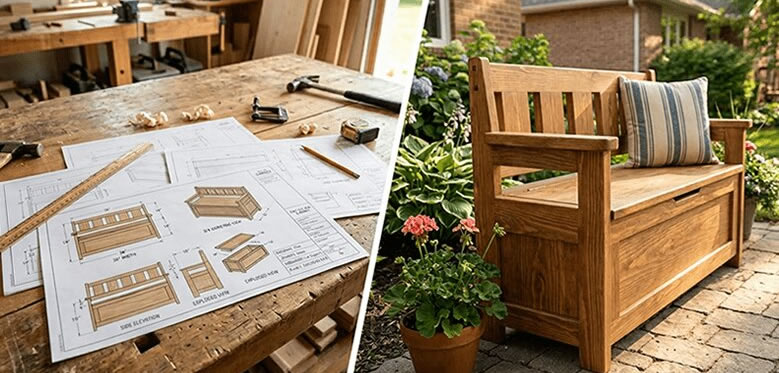
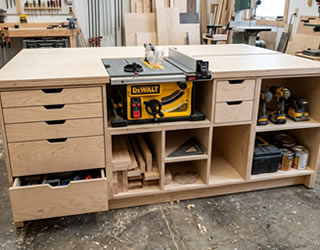
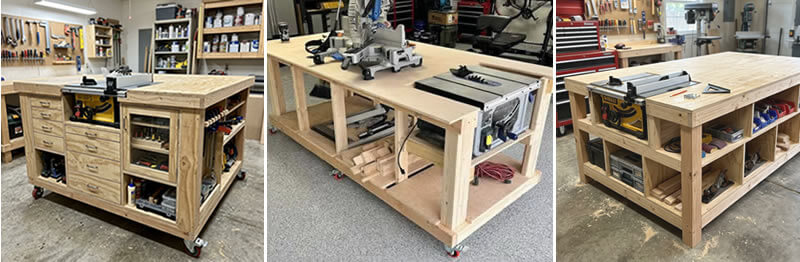
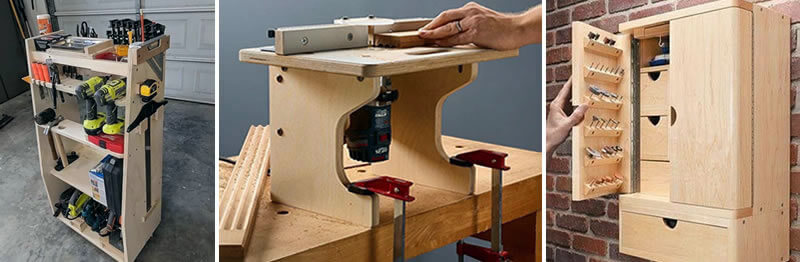
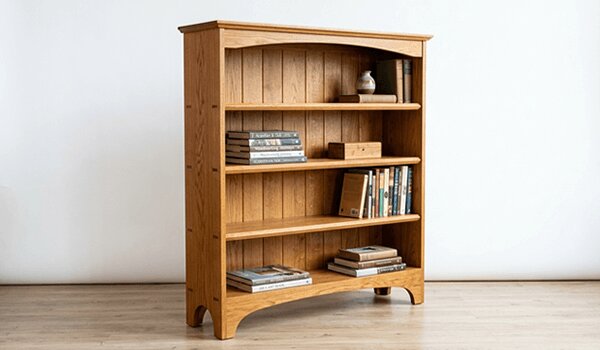
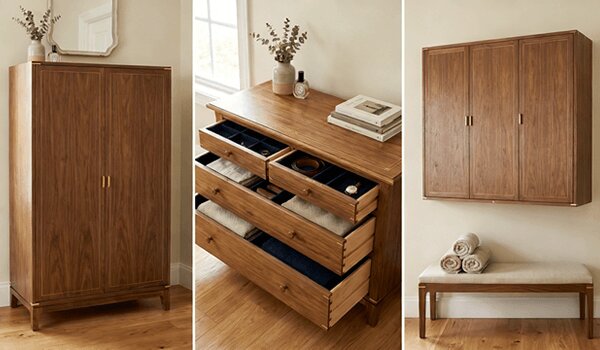
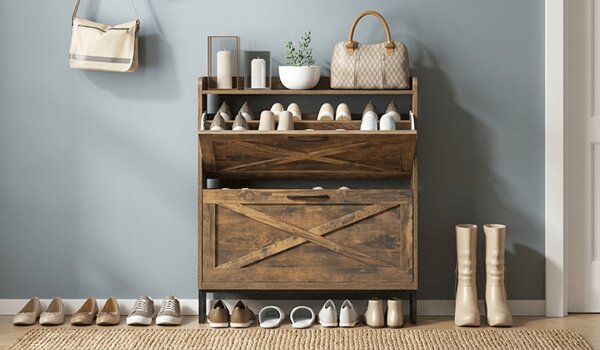
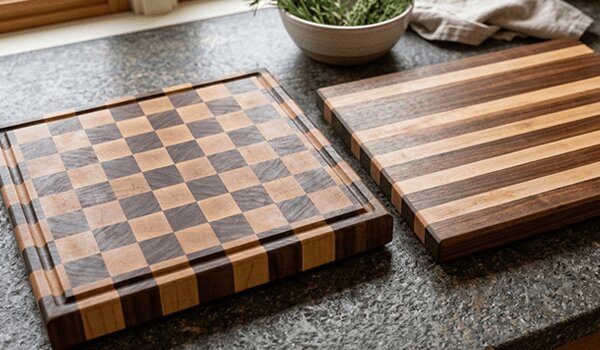
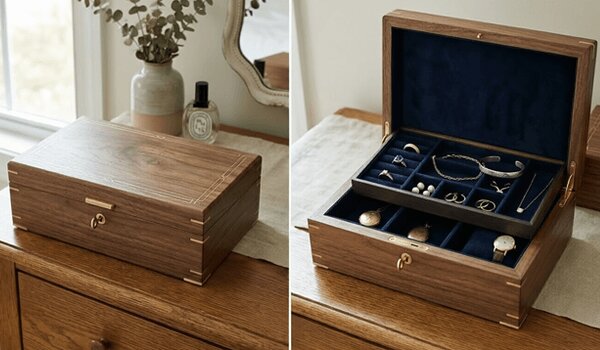
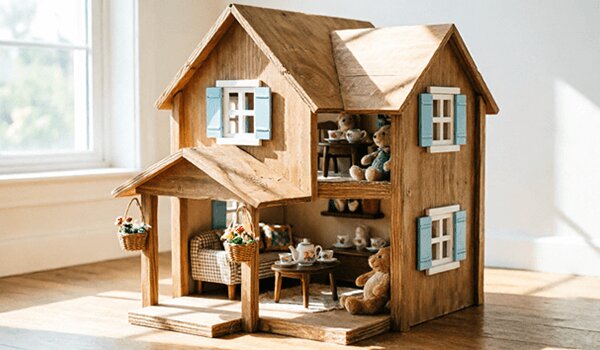
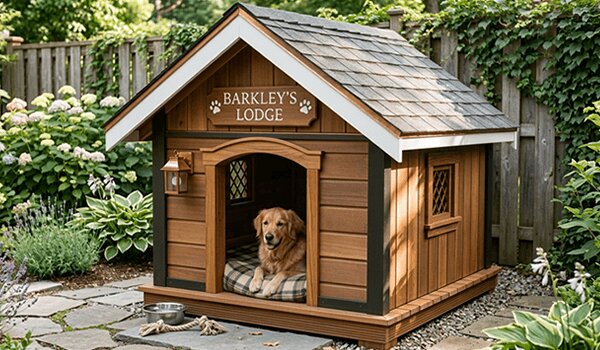
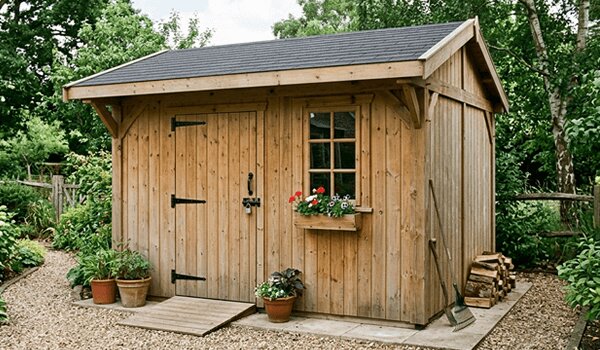
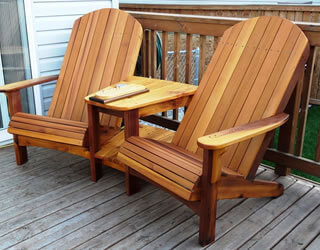
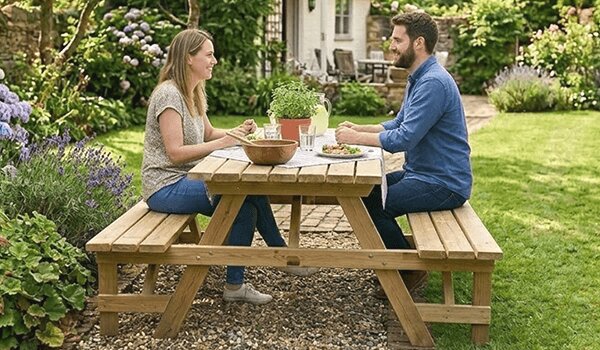
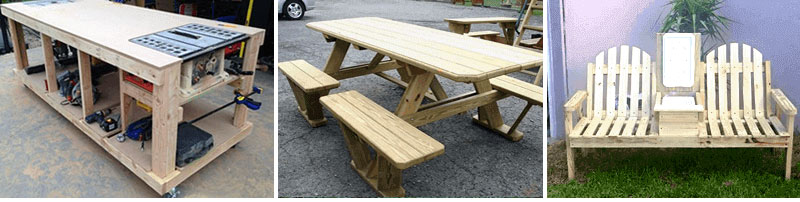
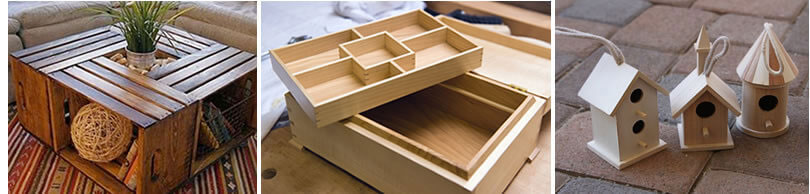
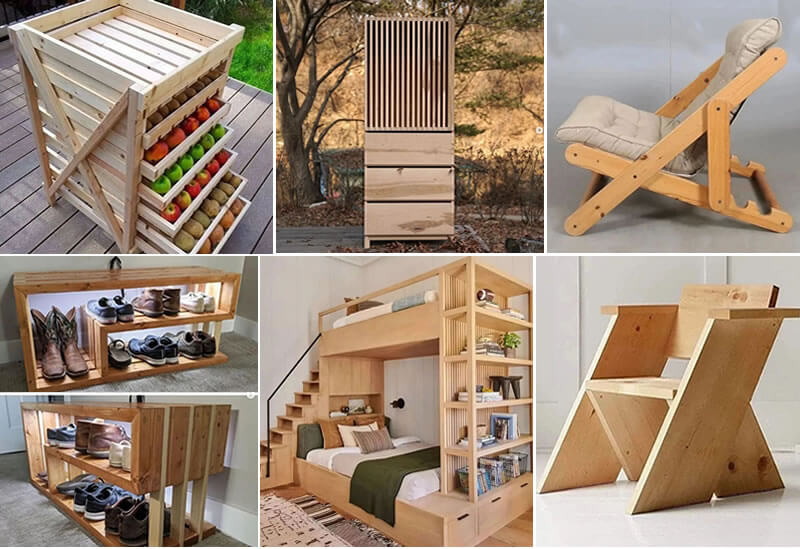
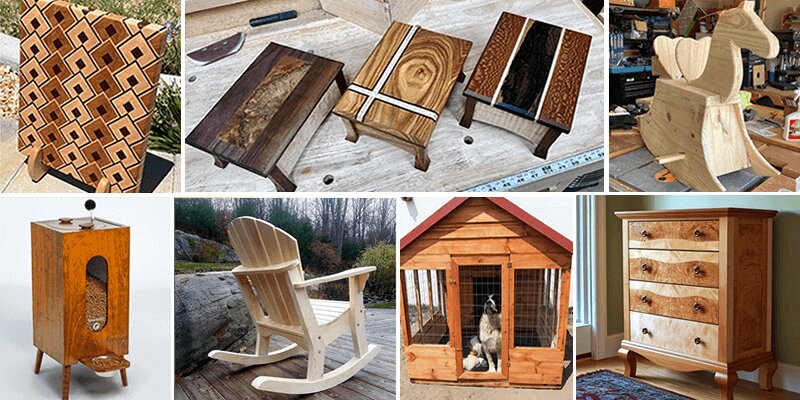
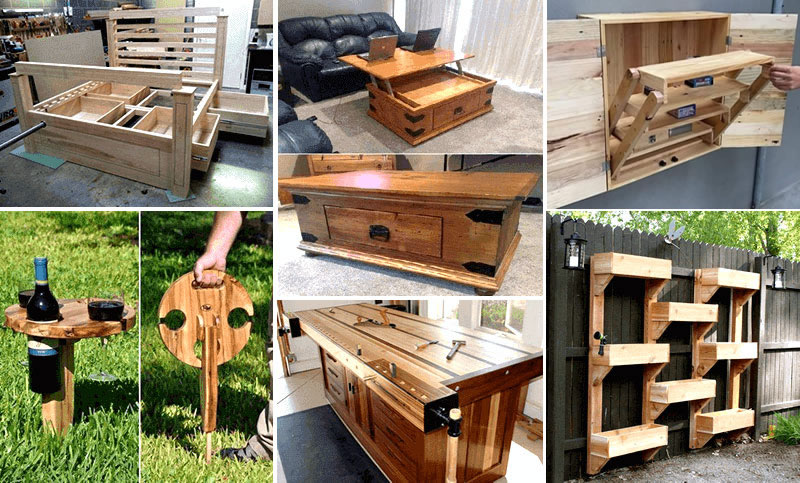
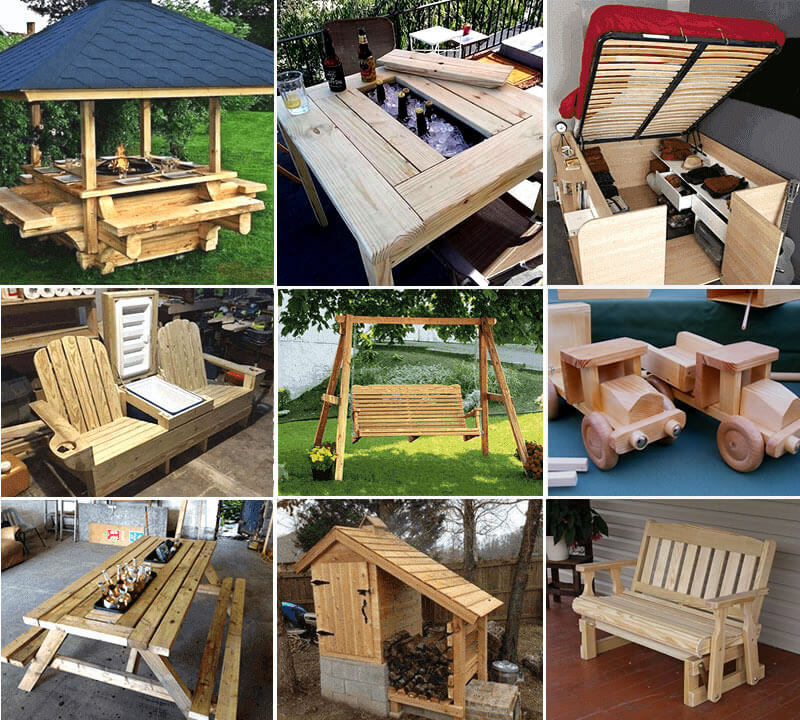
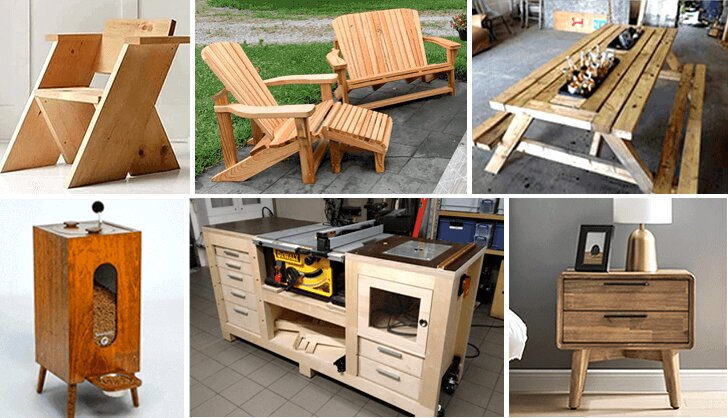
TedsWoodworking lists wall shelves among the more than 1,650 plans in its Home Decor category, and more than 1,400 in Storage & Organization. Every plan in the 16,000-plan library includes step-by-step instructions, exact cut lists, complete materials lists and multi-angle schematics with exploded views of every joint.
A look inside TedsWoodworking

FAQ
How much weight can a floating shelf hold?
It depends on the support, the studs and the depth. A cleat or bracket screwed into studs holds far more than drywall anchors; check the hardware’s rating.
Can I hang floating shelves without studs?
Only light decorative shelves, with anchors rated for the load. For books or dishes, screw into studs.
How deep should floating shelves be?
About 8 to 10 inches for most uses. Deeper shelves put more strain on the support.
What is the easiest way to build floating shelves?
A hollow box shelf over a 2×2 or 2×3 cleat screwed to the studs. It needs only basic tools.
Next step
Tonight, find and mark the studs on the wall you have in mind; that decides the length and position of the shelf.
Based on standard practice for hidden-support shelving: stud fastening, cleat and rod supports, and load limits. Product details for TedsWoodworking are from the vendor’s published offer page as of September 29, 2026.