Disclosure: this article contains affiliate links. If you buy through them, we may earn a commission at no extra cost to you. How this works.
Short answer
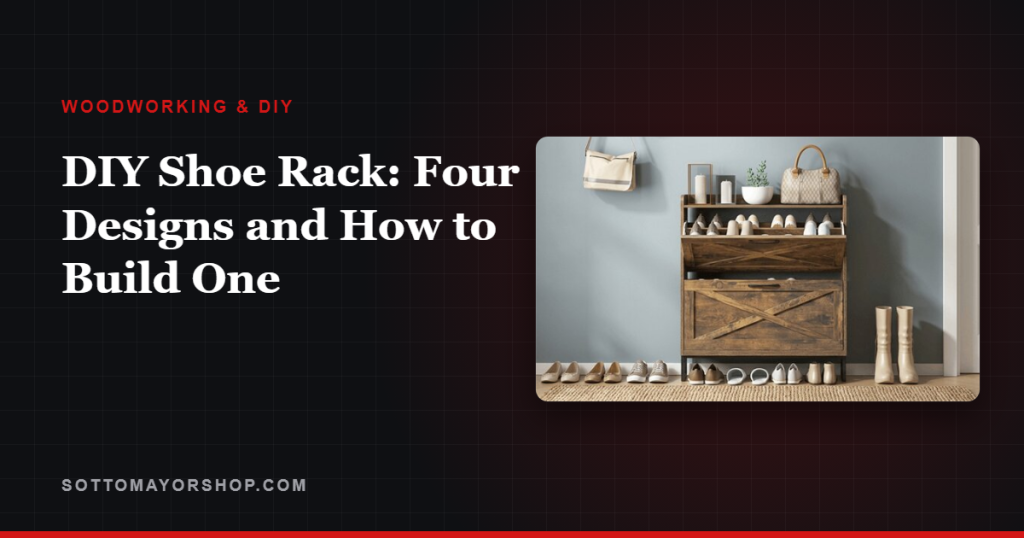
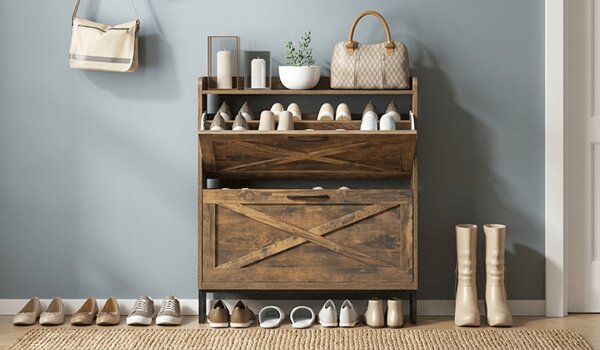
A DIY shoe rack is one of the most useful first furniture projects: a few boards, a few hours, and the pile by the door disappears. The right design depends on the space — an open slatted rack, a tilt-out cabinet, a bench with a shelf underneath, or a rack on the wall.
Size it to real shoes, give it airflow, and anchor anything tall to the wall.
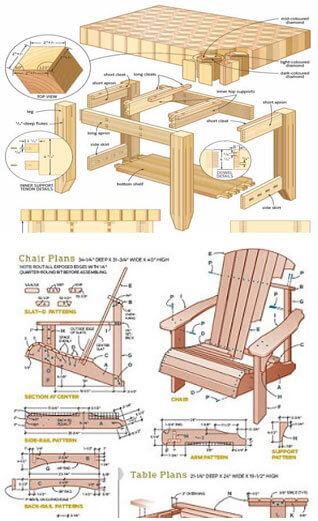
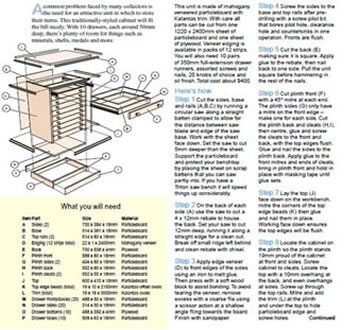
Storage plans with every cut listed
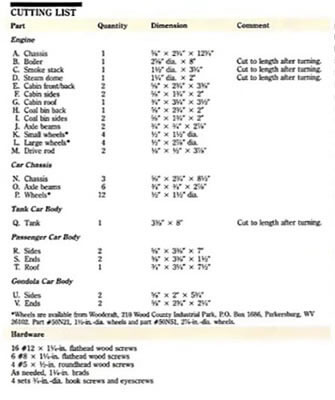
- 16,000 plans with step-by-step instructions, exact cut lists and materials lists
- Multi-angle drawings with exploded views of every joint
- Search by keyword or browse 100+ categories by difficulty
- New plans every month and a 60-day money-back guarantee
Four designs
| Design | Best for | Difficulty |
|---|---|---|
| Open slatted rack | Entryways and closets; shoes dry fast | Easy |
| Tilt-out cabinet | Narrow halls; shoes hidden behind doors | Moderate |
| Bench with shelf | A place to sit while putting shoes on | Easy to moderate |
| Wall-mounted rack | Small spaces where floor area is tight | Easy |
Sizes that fit real shoes
- Depth: 12 to 14 inches fits most adult shoes; tilt-out cabinets can be shallower because shoes sit at an angle.
- Shelf spacing: about 6 to 8 inches for flats and sneakers, 12 inches or more for ankle boots, and a tall bay for knee-high boots.
- Width: plan roughly 7 to 9 inches per pair side by side.
- Height: a bench-height rack, around 18 inches, doubles as a seat.
Let shoes breathe
Wet shoes on a solid shelf stay wet. Slatted shelves, or shelves with a gap at the back, let air move and let grit fall through. Add a removable tray at the bottom to catch water and dirt from winter boots.
In a closed cabinet, drill a few ventilation holes or leave a gap under the doors.
Materials and joinery
Pine boards and 3/4-inch plywood are all a shoe rack needs. For slats, 1×2 or 1×3 strips screwed into the side frames are quick and strong. A shelf-support ledge or a shallow dado in the sides carries the load better than screws alone.
Pocket screws or glued dadoes keep the frame square; check the diagonals before the glue sets. The same shelf-building principles appear in how to build a bookshelf that won’t sag.
A simple slatted rack, step by step
A three-shelf open rack like this holds nine to twelve pairs in the space of a small doormat, and it is a comfortable afternoon build.
- Cut two side frames from 1×3 boards: two uprights and a short rail for each shelf level, joined with glue and screws.
- Cut the slats from 1×2 strips to the rack length, three or four per shelf with about 3/4-inch gaps.
- Screw the slats to the rails, starting with the front slat flush and working back.
- Stand the rack up, check it for square by measuring the diagonals, and add a back rail if it racks.
- Sand every edge you might touch, then finish before the shoes move in.
Safety for tall racks
A tall shoe cabinet with weight on its upper shelves can tip, and children climb furniture. Anchor anything taller than about 30 inches to a wall stud with an anti-tip bracket or strap. The U.S. Consumer Product Safety Commission’s Anchor It! campaign recommends securing furniture that can tip over.
Finish
A wipe-on polyurethane or a hard-wearing paint stands up to scuffs and wet soles better than an oil finish. Finish the shelves before assembly where you can; it is much easier than reaching between slats later.
If you are new to building, a shoe rack is a natural next step after the projects in beginner woodworking projects you can finish this weekend.
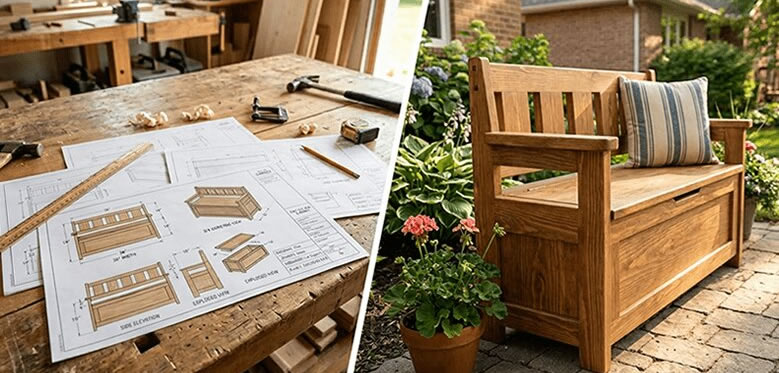
Start from a plan
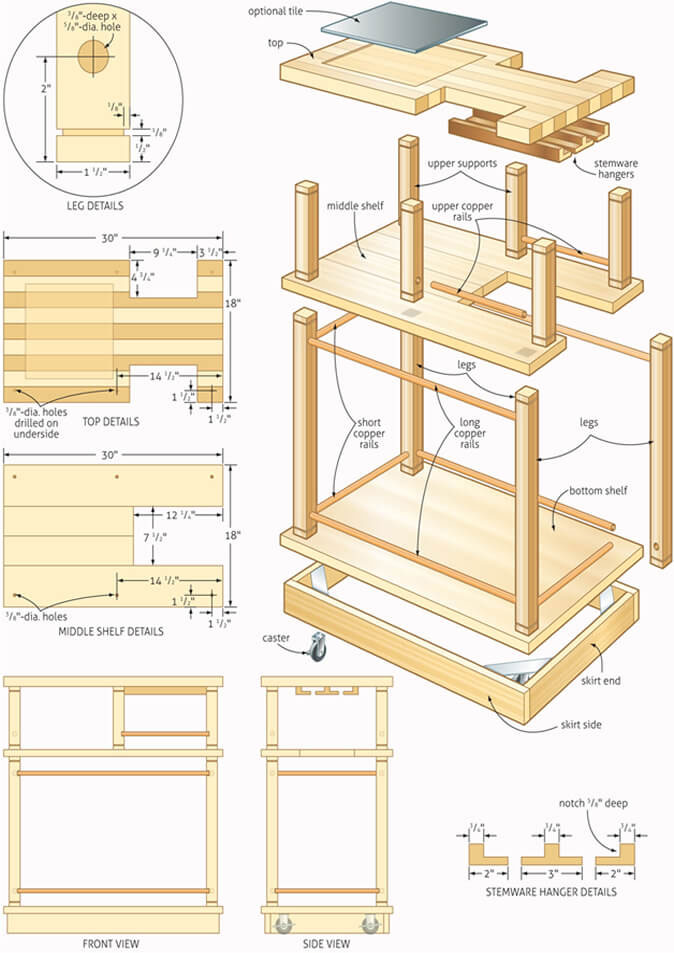
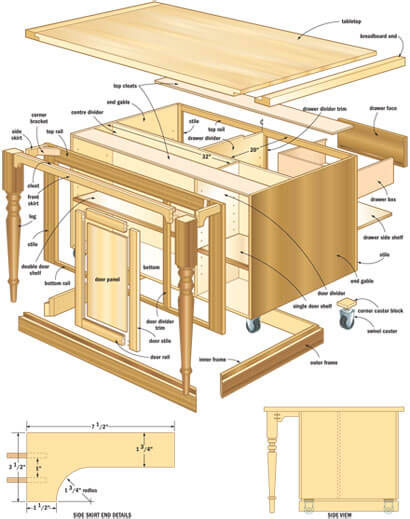
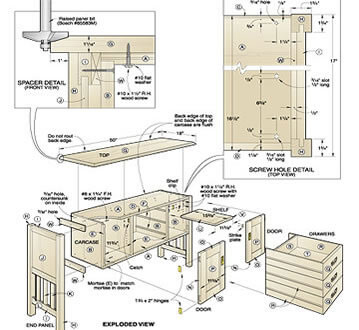
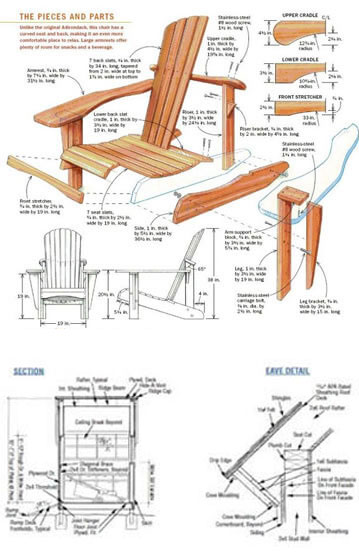
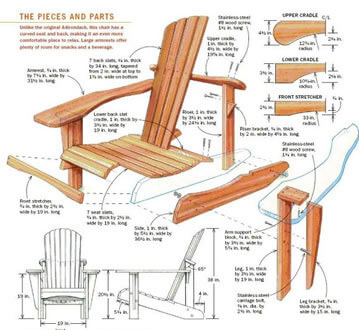
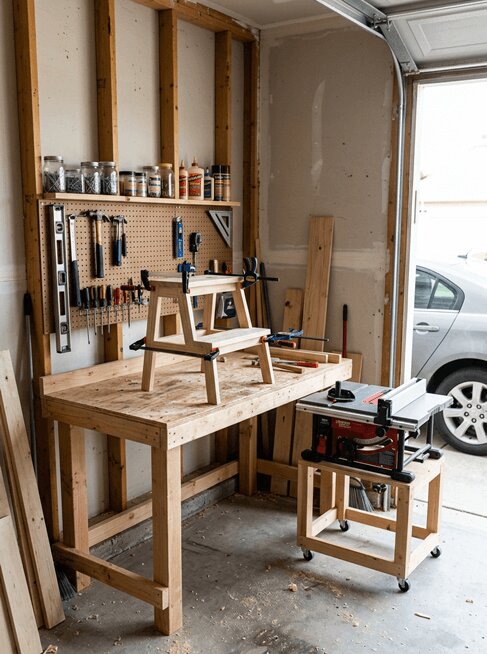
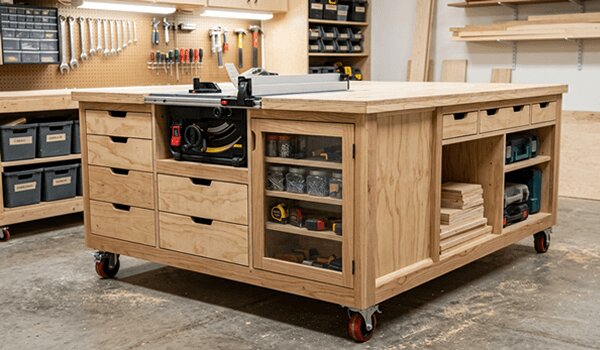
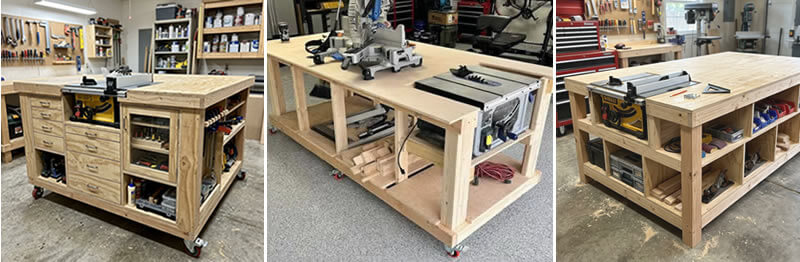
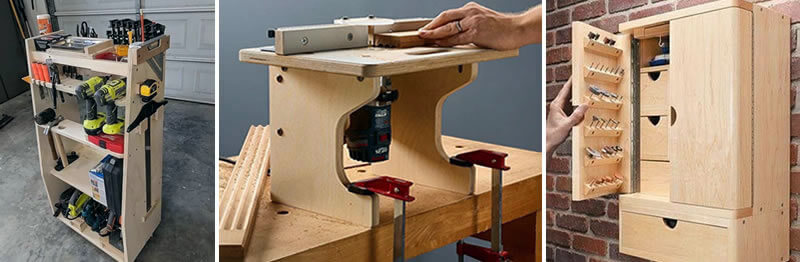
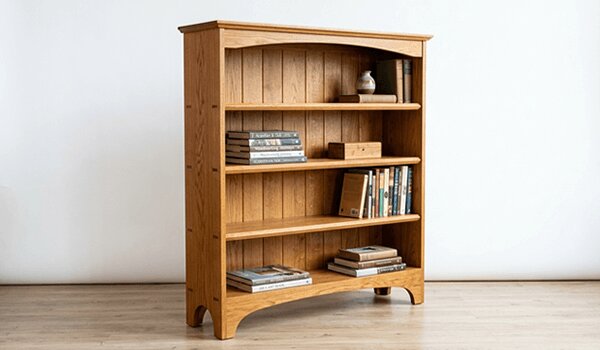
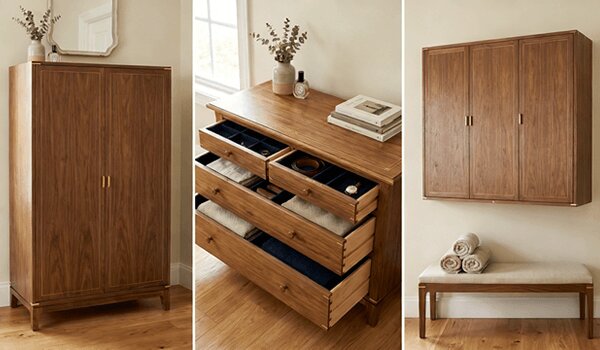
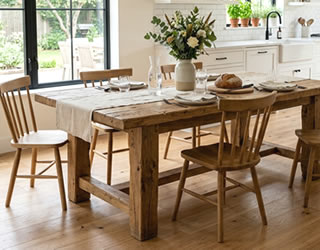
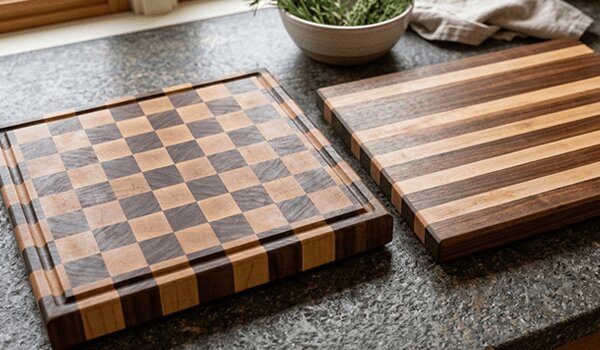
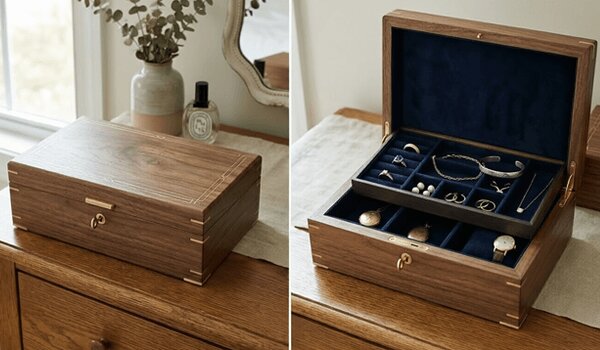
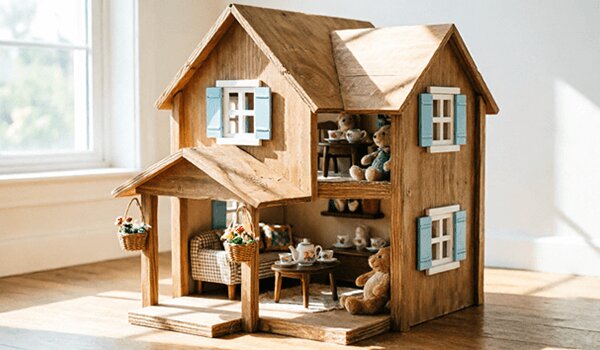
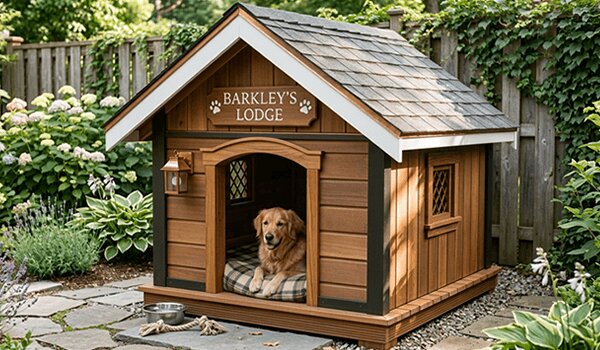
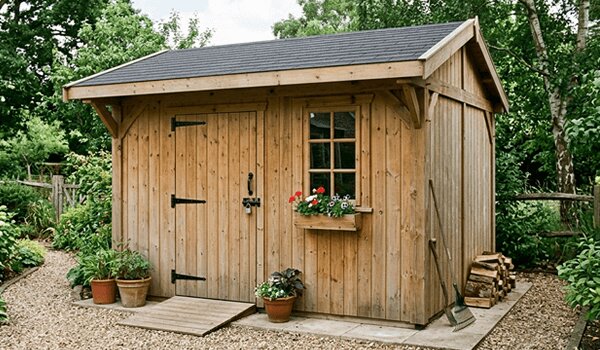
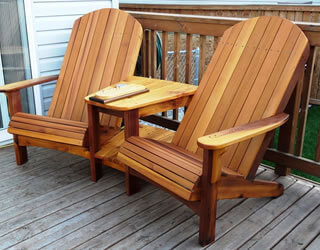
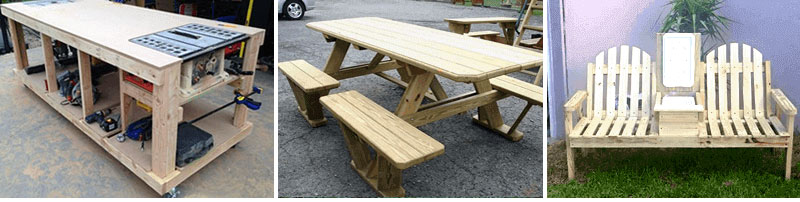
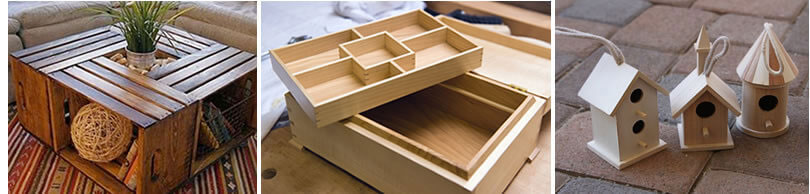
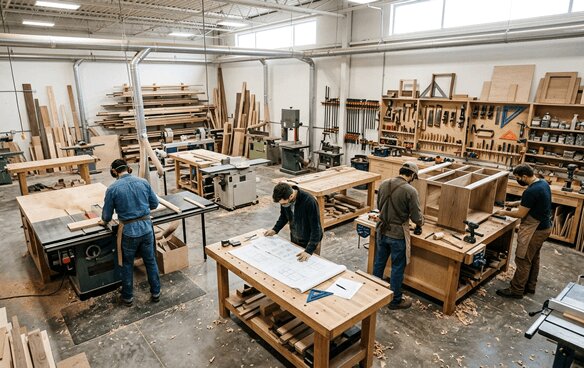
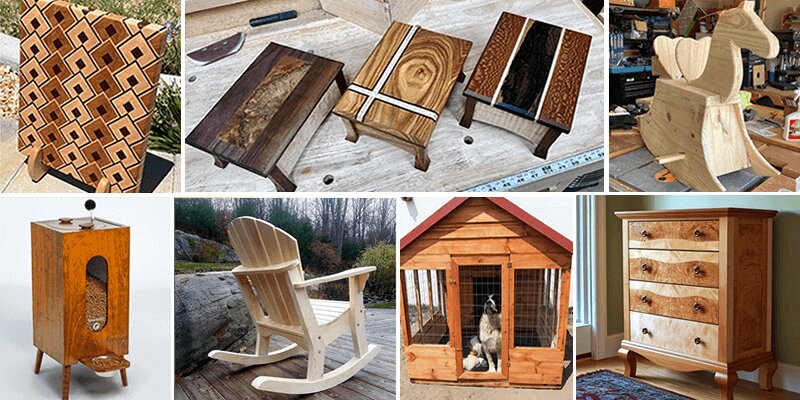
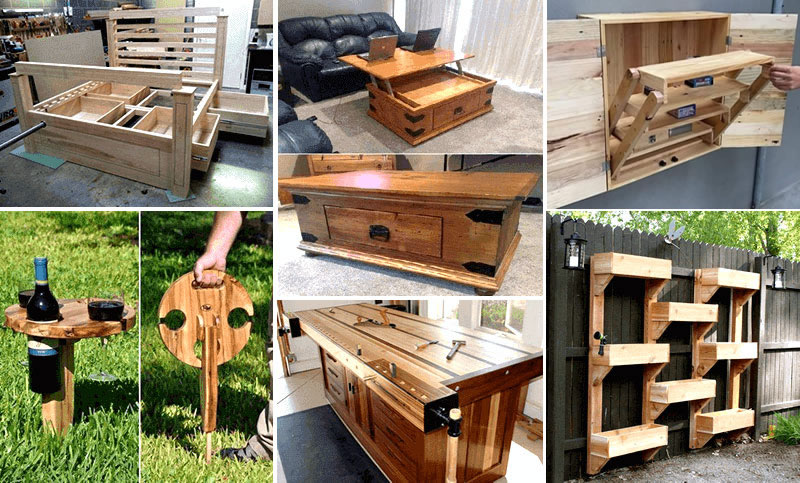
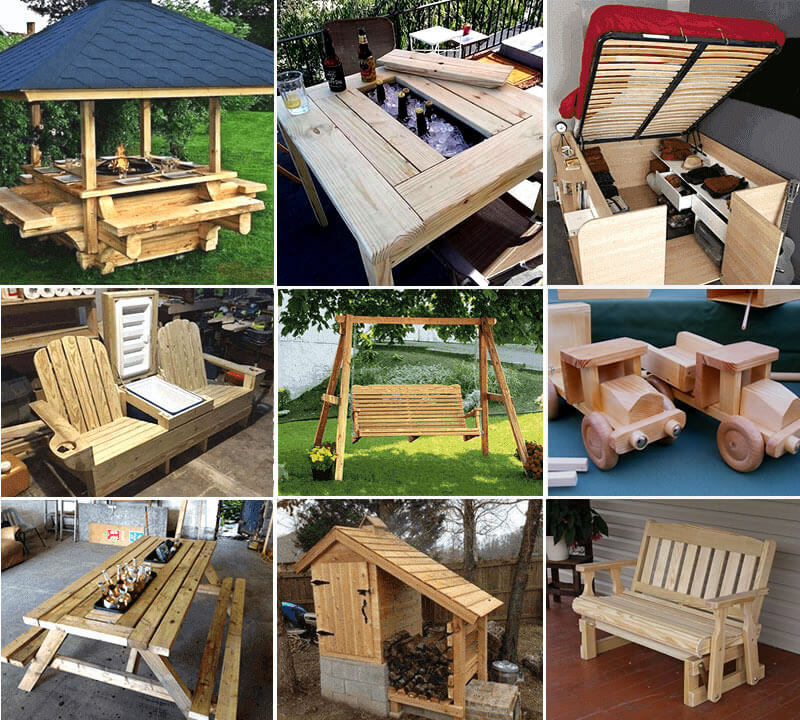
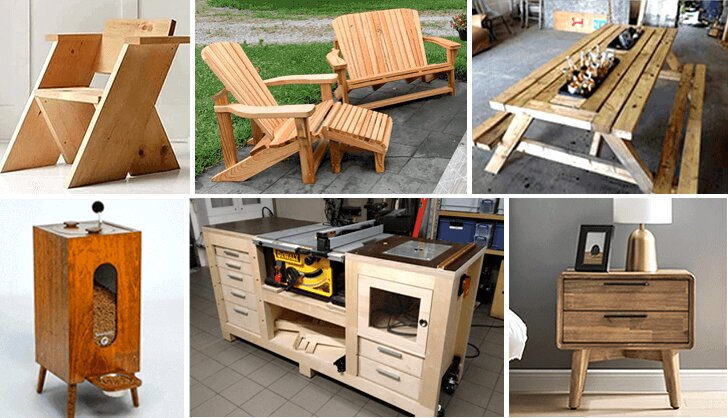
TedsWoodworking lists more than 1,400 plans in its Storage & Organization category, shoe racks among the projects it shows, and every plan in the 16,000-plan library comes with step-by-step instructions, an exact cut list and a complete materials list.
A look inside TedsWoodworking


FAQ
How deep should a shoe rack be?
12 to 14 inches fits most adult shoes. Tilt-out cabinets can be shallower because shoes stand at an angle.
What is the best wood for a shoe rack?
Pine or plywood for a painted rack; oak or walnut for a piece on display. All are strong enough.
How far apart should shoe rack shelves be?
About 6 to 8 inches for everyday shoes and 12 inches or more for boots.
Should a shoe rack be anchored to the wall?
Anything tall enough to tip — roughly 30 inches or more — should be anchored to a stud, especially in homes with children.
Next step
Count the pairs that live by your door, measure the space, and choose the design from the table that fits both.
Based on standard small-furniture construction practice and on the U.S. Consumer Product Safety Commission’s furniture-anchoring recommendation. Product details for TedsWoodworking are from the vendor’s published offer page as of September 29, 2026.