Disclosure: this article contains affiliate links. If you buy through them, we may earn a commission at no extra cost to you. How this works.
Short answer
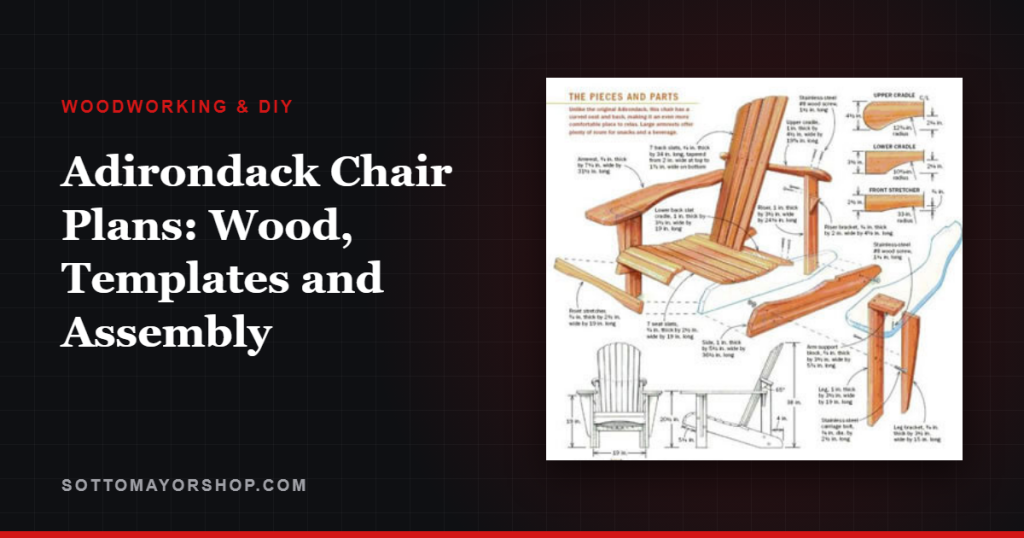
Good Adirondack chair plans give you full-size patterns for the curved parts, a clear assembly order and the exact angles for the seat and back. Build from a rot-resistant wood such as cedar, cut the curves from templates, and assemble with stainless or coated exterior screws.
The angles are what make the chair comfortable, so follow the plan’s numbers exactly rather than adjusting by eye.
Adirondack chair plans with exact cut lists
- 16,000 plans with step-by-step instructions, exact cut lists and materials lists
- Multi-angle drawings with exploded views of every joint
- Search by keyword or browse 100+ categories by difficulty
- New plans every month and a 60-day money-back guarantee
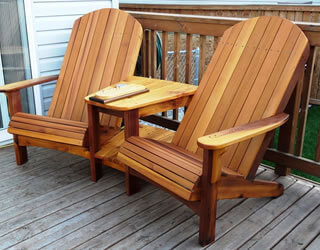
What makes an Adirondack chair
- A low seat that slopes down toward the back.
- A tall back of slats that reclines well past vertical.
- Wide, flat arms, with room for a drink and a book.
- Few parts, most of them cut from standard 1x and 2x boards.
Choose an outdoor wood
| Wood | Why choose it | Keep in mind |
|---|---|---|
| Western red cedar | Light, naturally rot-resistant, easy to cut | Soft; dents more easily |
| Cypress | Rot-resistant and stable | Availability varies by region |
| White oak | Hard and durable | Heavy, and harder on tools |
| Pressure-treated pine | Widely available, long-lasting outdoors | Best painted; let it dry before finishing |
Make templates for the curved parts
Print or draw the curved parts — the back legs, the arms, the top of the back — full size, glue the paper to 1/4-inch hardboard or plywood, and cut and sand the template to the line. Trace it onto every board and the parts come out identical, which matters most when you build a pair.
Cut just outside the line with a jigsaw or bandsaw, then sand or rout to it. Round over every edge a hand or leg will touch.
Assembly order
- Join the back legs with the front apron to make the seat frame.
- Attach the front legs, checking that the seat frame sits at the plan’s angle.
- Fit the arms and their support blocks, level from side to side.
- Add the back supports, then the back slats, spaced evenly with a spacer block.
- Screw on the seat slats last, rounding the front edge of the first slat.
Tools you need
- A jigsaw or bandsaw for the curves, and a circular saw or miter saw for the straight cuts.
- A drill-driver with a countersink bit.
- A random-orbit sander, or a sanding block and some patience.
- A roundover bit in a router, or a rasp and sandpaper, for soft edges.
- A few clamps to hold parts while you pre-drill and fasten.
Fasteners and glue for outdoors
Use stainless steel or exterior-coated screws and pre-drill every hole near an end, since outdoor woods split easily. Waterproof exterior glue in the main joints adds stiffness; the clamping basics are in wood glue and clamping basics.
Countersink the screw heads slightly so they sit below the surface, and seal the end grain of the legs where they meet the ground.
Finish and care
Cedar can weather to silver or take a penetrating exterior oil each year to keep its color. Paint suits pine and gives the classic look. Add plastic glides under the feet so the end grain does not sit in puddles.
Adirondack chairs pair naturally with other outdoor builds, such as the storage bench in garden bench plans.
Build a pair from one plan
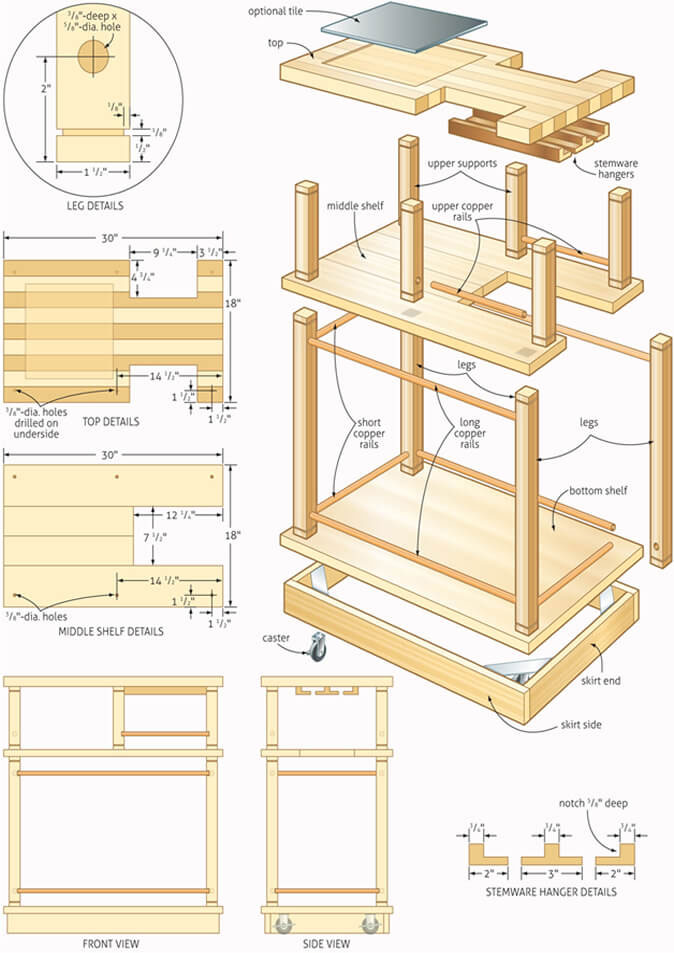
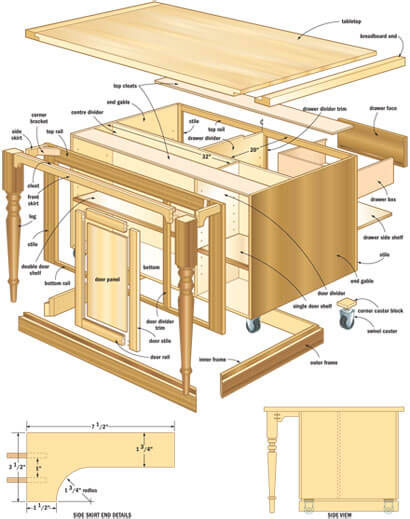
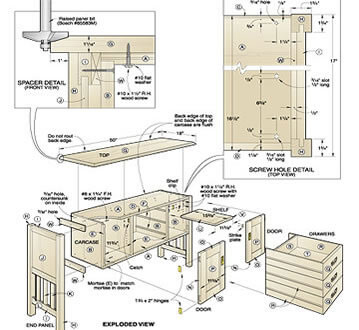
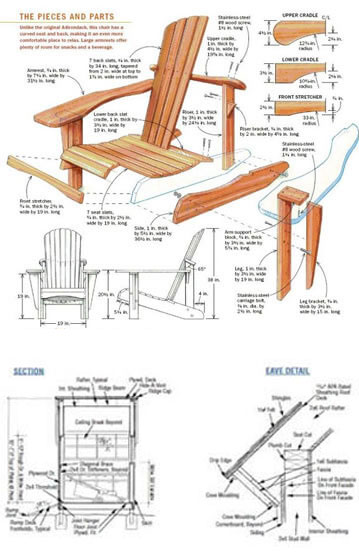
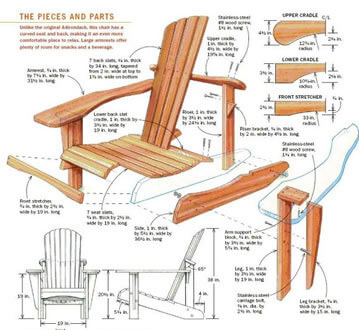
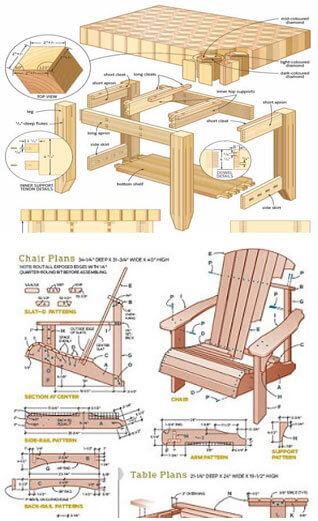
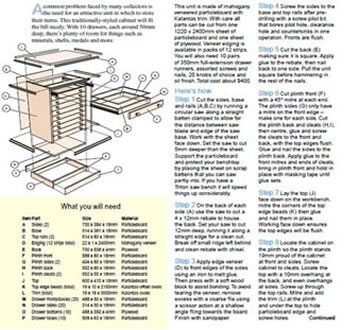
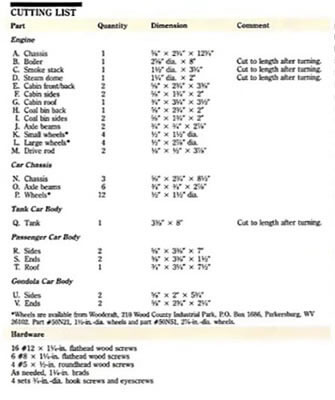
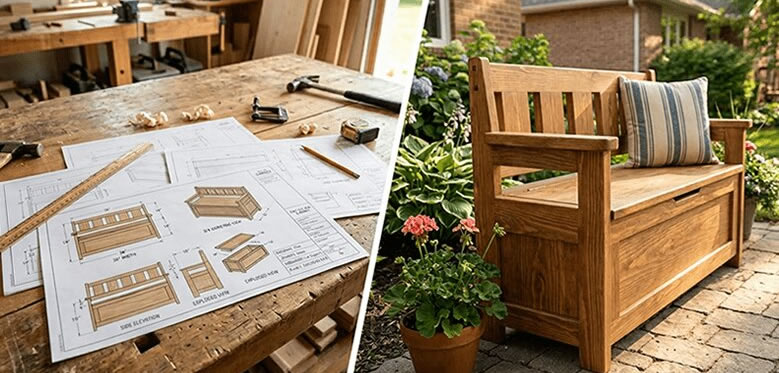
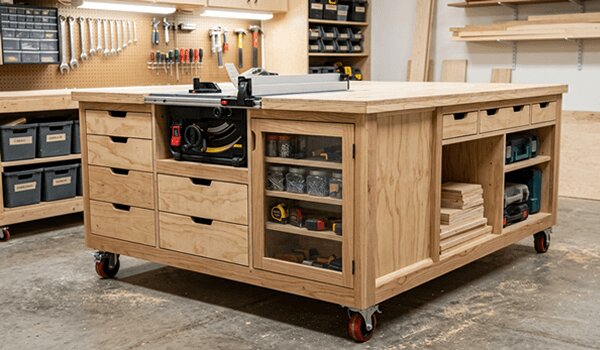
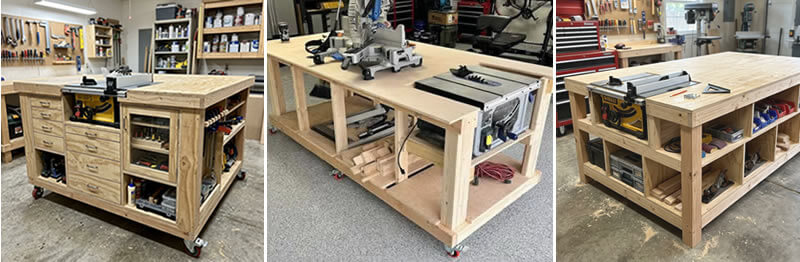
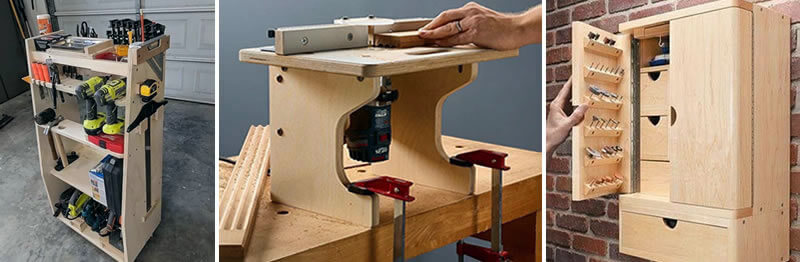
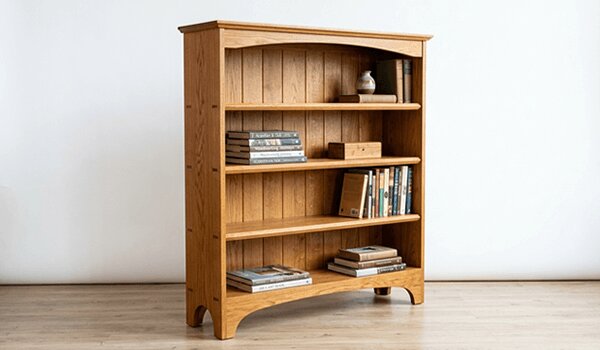
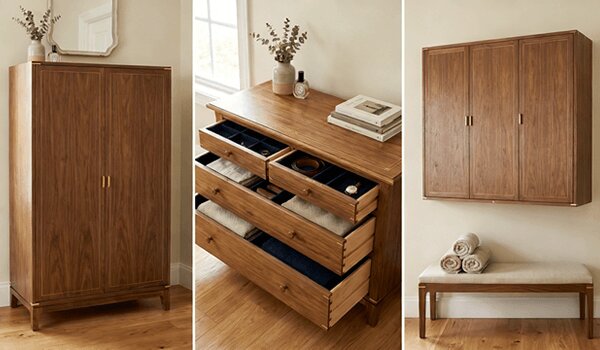
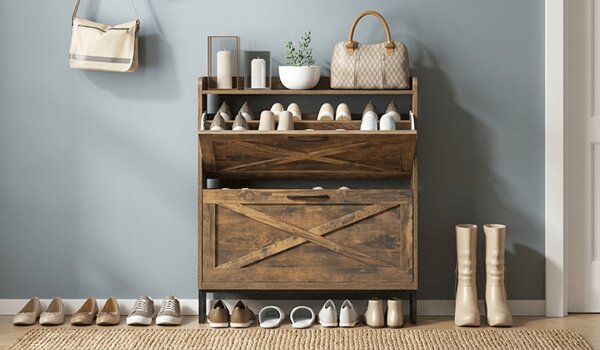
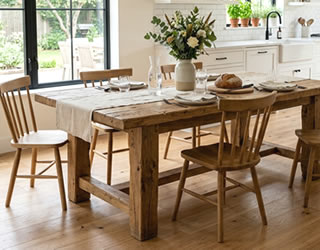
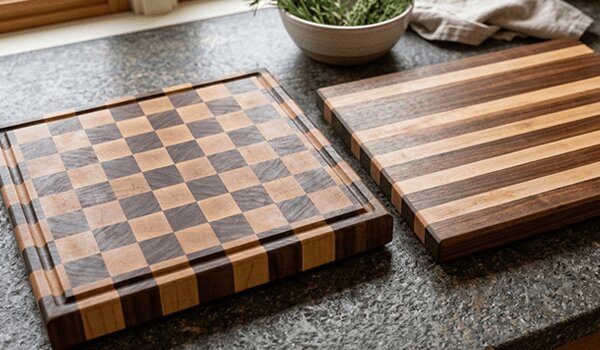
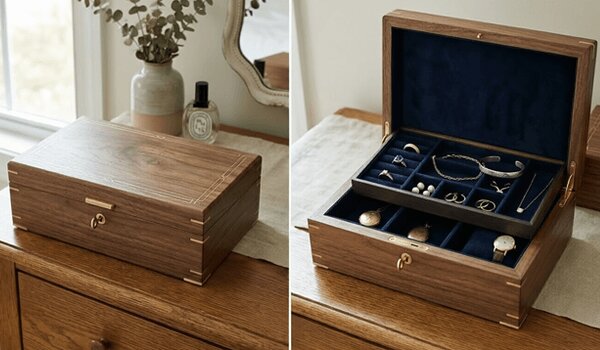
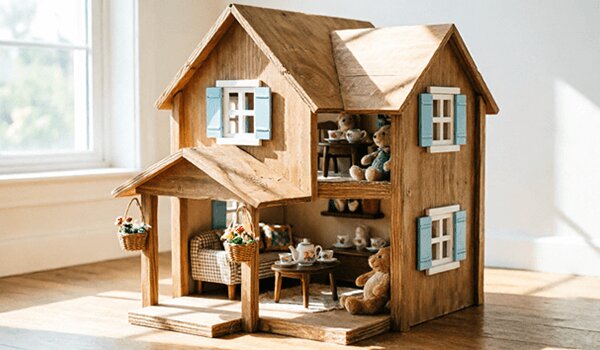
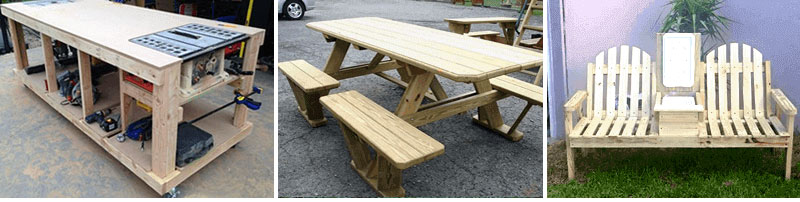
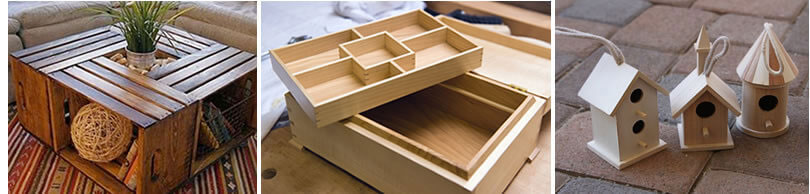
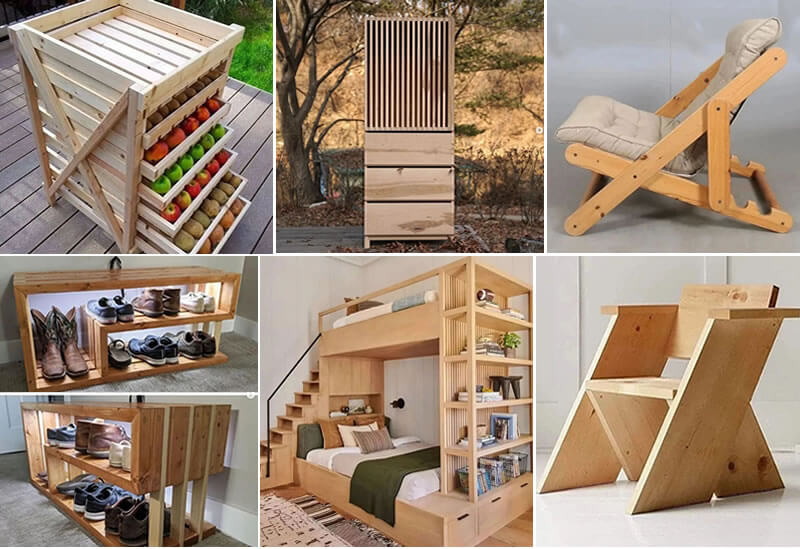
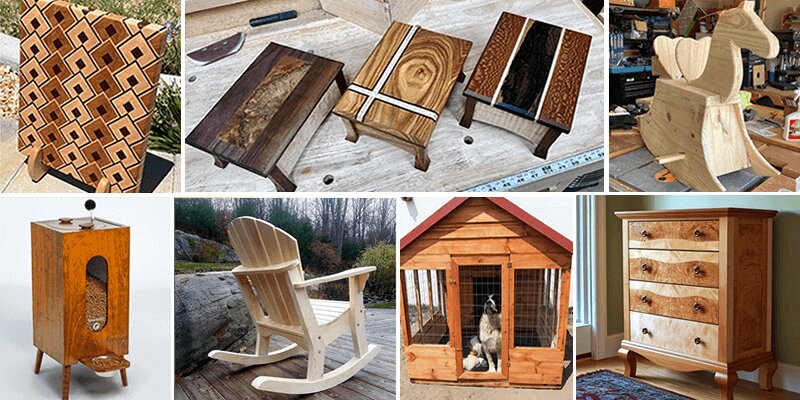
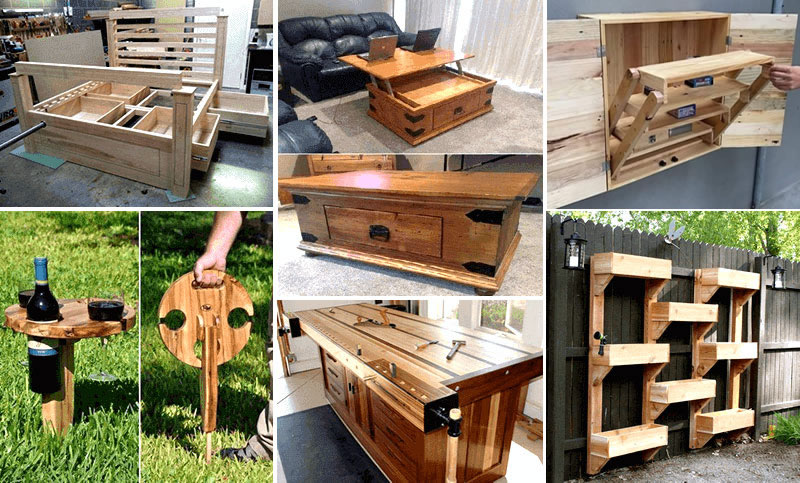
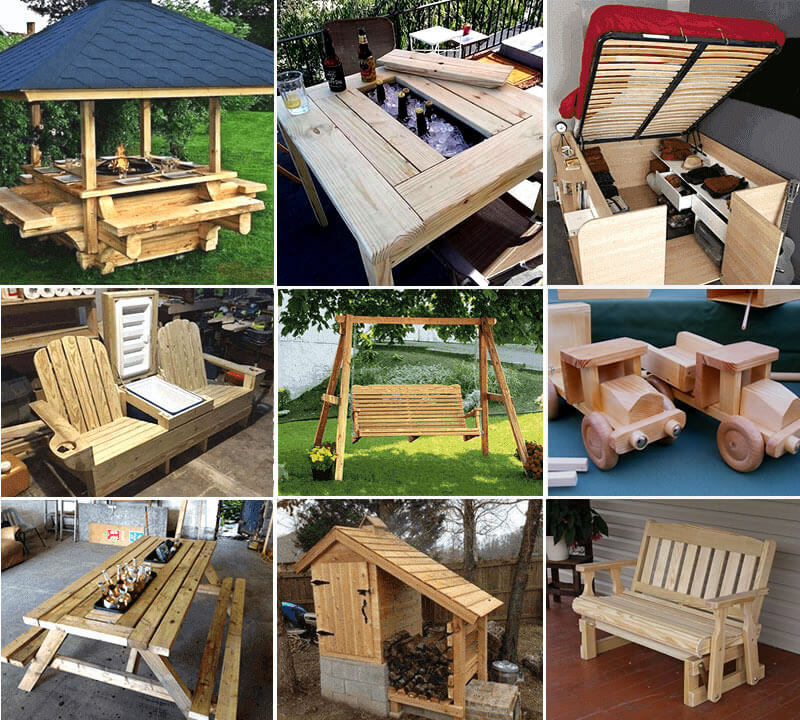
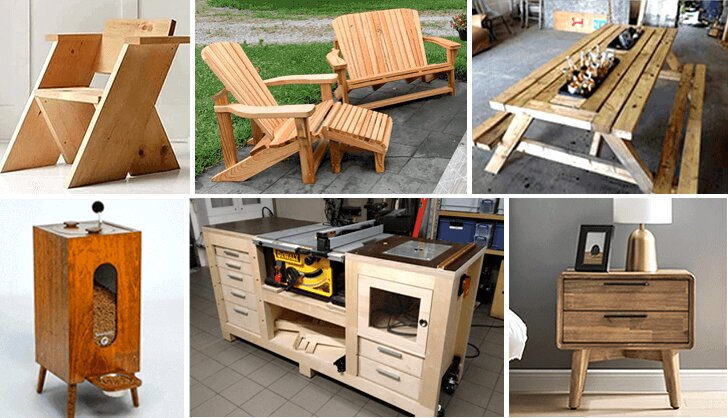
TedsWoodworking names Adirondack chairs among the more than 100 categories in its library, which holds more than 2,650 plans in Furniture and 2,150 in Outdoor & Garden. Every plan includes step-by-step instructions, exact cut lists, complete materials lists and multi-angle schematics with exploded views of every joint.
A look inside TedsWoodworking

FAQ
What is the best wood for an Adirondack chair?
Cedar is the classic choice: light, rot-resistant and easy to work. Cypress, white oak and painted pressure-treated pine also last outdoors.
How long does it take to build an Adirondack chair?
Often a weekend for the first chair, and less for the second once the templates are made.
What screws should I use for outdoor furniture?
Stainless steel or exterior-coated screws, with pilot holes near the ends of boards.
Do Adirondack chairs need a finish?
Cedar can weather naturally; pine should be painted or sealed. Either way, seal the end grain of the legs.
Next step
Make the templates first: once the curved parts are on hardboard, the second chair takes half the time.
Based on standard outdoor furniture practice: wood selection, templates for curved parts, assembly and exterior fasteners. Product details for TedsWoodworking are from the vendor’s published offer page as of September 29, 2026.